Best Greek Tzatziki Sauce recipe

This is the Best Greek Tzatziki Sauce recipe ever. It is fresh, homemade and has dill & mint in it which gives it such depth of flavor.

This is my go to tzatziki recipe, it does not compare to anything you could buy in the store. 

Kind like spinach dip, you do not want the store bought you want homemade. Same goes for tzatziki, it just tastes fresh homemade and real. 

So please forget the store bought kind because this stuff is in a whole other caliber. 

YUM!

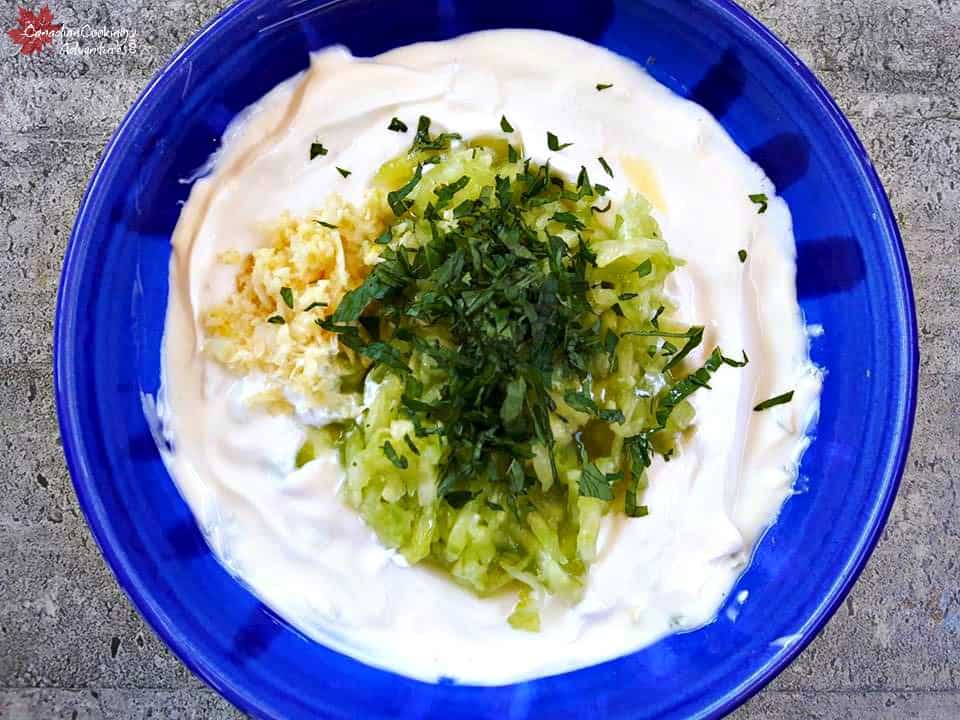
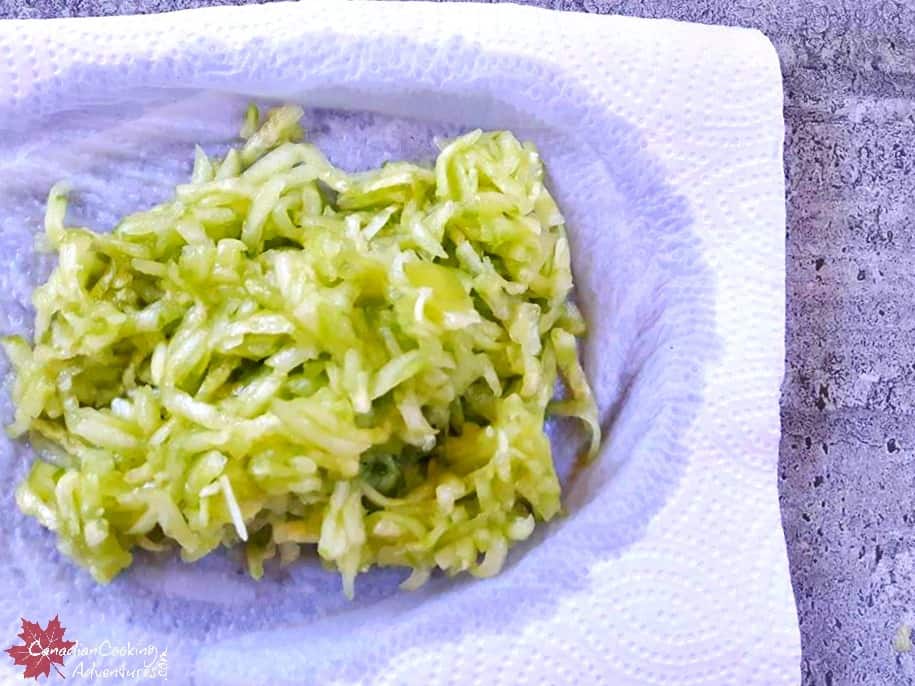
Tzatziki is a greek sauce that is made from thick Greek yogurt, fresh english cucumbers, fresh garlic, olive oil, and dill. Some people also add mint. 

I add both!! Why not? It is sooooo good. 

This tzatziki is sure to be one of the best varieties you have ever tasted.

TRUST ME!

It goes great with just about any Greek meal and it’s a very very easy to make!!


Simply add in your grated and chopped vegetables, stir and you’re ready to eat it!

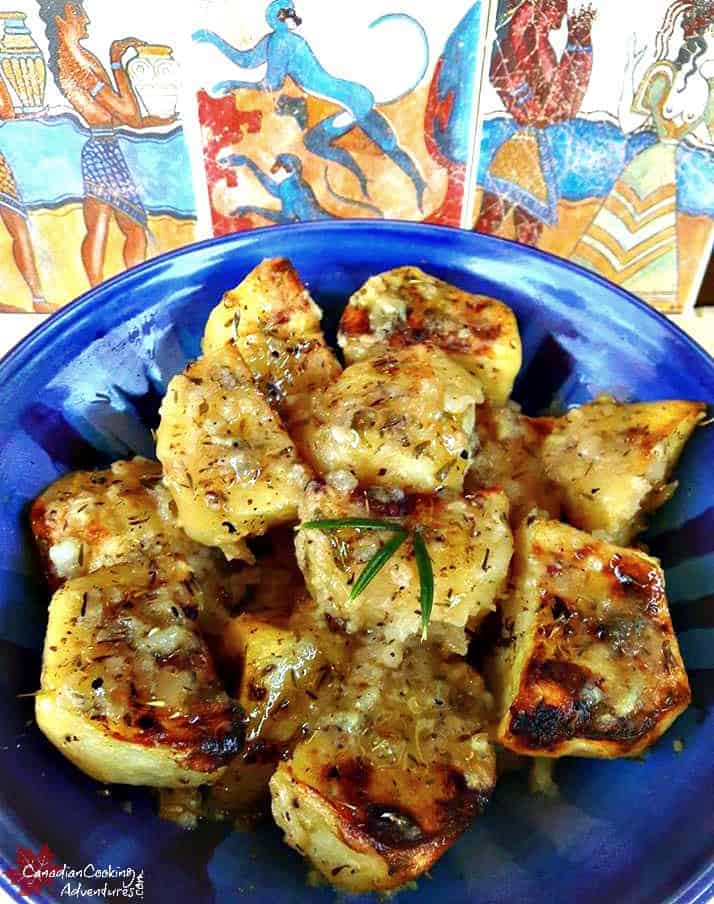
Serve it with chicken, lamb or just about any other type of Greek Main dish.


Eat as much as you want, because it’s super healthy for you too. 

And because of the Greek Yogurt, it also has a ton of protein. 

MAN OH MAN, THIS IS THE GOOD STUFF!

For best results chill it in an airtight container for up to 2 hours or more before serving.

The longer it chills in the fridge the thicker it becomes and the flavors really set in.

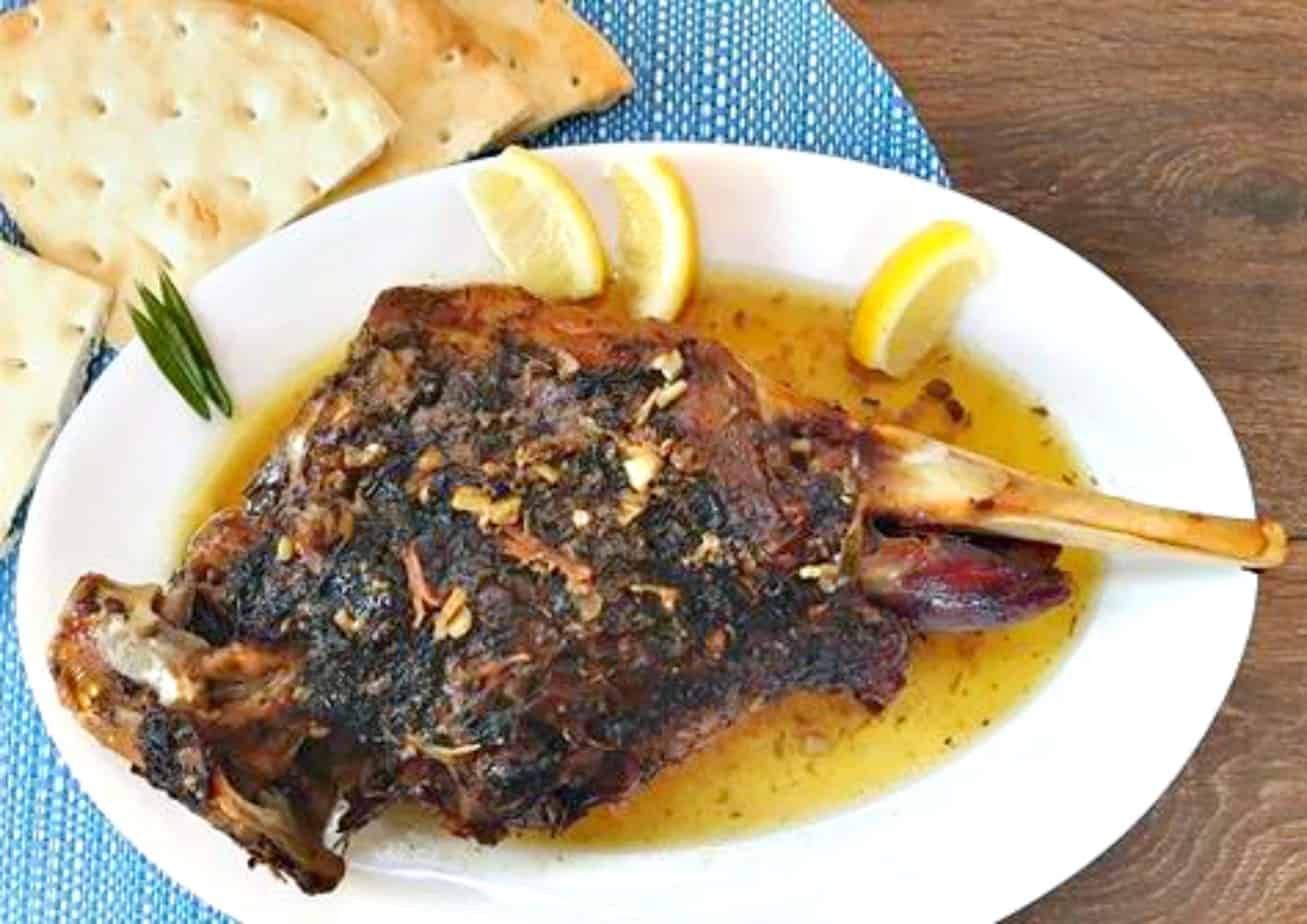
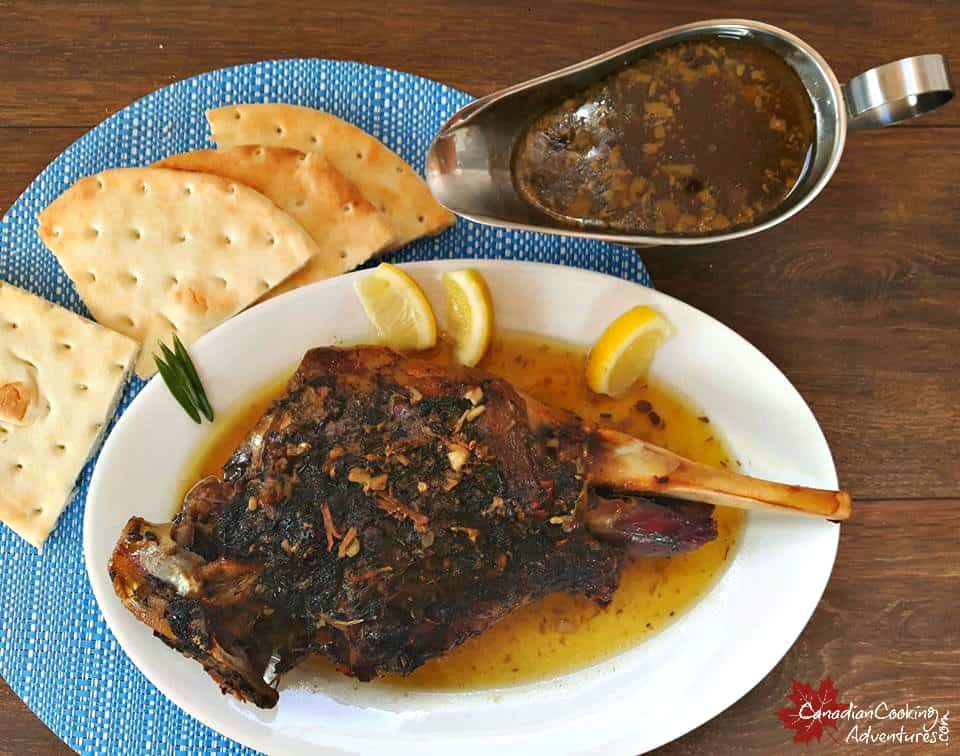
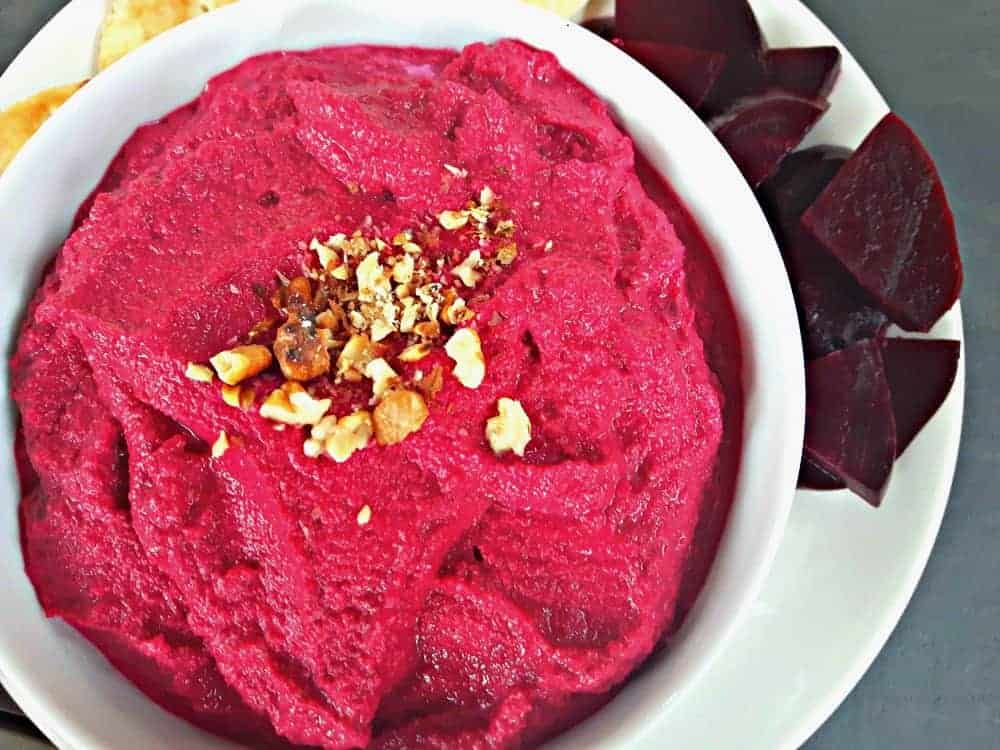
LOOKING FOR A RECIPE THAT WOULD GO WELL WITH THIS SAUCE?

I am so thrilled you are reading one of my recipes, if you made this recipe i’d love to hear about it! Thank you very much for reading and until next time see ya in the kitchen. Don’t want to miss a recipe? Sign up for our NEWSLETTER delivered right to your inbox!


Oven Roaster Turkey Recipe

This Oven Roaster Turkey Recipe is juicy and crispy all at the same time. Seasoned with just the right spices, it is sure to become a family favorite during your Christmas, Thanksgiving family dinner.

Serving this Turkey up for the holidays? Then you may want to add some other holiday favorites to the table such as my Homemade Cranberry sauce or my Tourtiere Pie

Making this oven roaster turkey recipe for a group? Then your going to want to serve it alongside some mashed potatoes. And I have just the right recipe for you with my Instant Pot Garlic Mashed Potatoes recipe!

Want anther tasty turkey recipe? Try my Baked Turkey Wings sometime as well.

I have included an easy homemade gravy recipes as well that utilizes the drippings from the bird right here. So whether your cooking for a large crowd or just a few you will be pleased with this recipe. 

IS ROASTED TURKEY HEALTHY

Yes, it is packed full of nutrients and is considered a lean protein. 

Here in Canada we have our Thanksgiving and Christmas holidays pretty far apart. So we tend to have Turkey twice per year.

I have made a few Turkey’s myself over the years and also have watched family and friends prepare it, so you can rest assured this recipe is a Winner! 

By following some basic tips you too will achieve a super moist and crispy turkey this holiday season guaranteed.

How to make Oven Roaster Turkey Recipe

  • Allow the bird to fully defrost and then sit on the counter at least one hour prior to baking, this ensure that the skin doesn’t break and that the bird cooks properly thought out.
  • Butter the turkey all over with solid butter as well as liquid.
  • Place 1 cup of water into the bottom of the pan to prevent burning and aid in creating the gravy.
  • Bast the turkey every hour to ensure it stays moist.
  • Cover the legs and wings of the turkey with tinfoil and place the birds legs towards the back of the oven where it’s the hottest and where the bird needs most the cooking. “The breasts always cook the fastest.
  • Do not stuff the bird with stuffing, rather make the dressing on the side.

Note: If you notice the bird getting to BROWN during the last hour, you can put some aluminum foil around it. Or just cover the wings to prevent burning.

CAN ROASTED TURKEY BREAST BE FROZEN

Yes, as long as the Turkey was fresh not frozen in the first place. You can freeze any leftovers or make another recipe the very next day.

Now what is turkey without the stuffing? It’s really not a complete holiday meal now is it, so that part is definitely something you do not want to forget!

Personally I do not make my stuffing in the turkey, and I encourage you not to either. Even though I was raised to do so, I find my turkey comes out much better cooked without it in the bird. 

My stuffing recipe is listed below, if you too choose to do the stuffing outside the bird. Otherwise you can do the same thing and just stuff the bird, keeping in mind you may need to cook it longer.

HOW LONG WILL ROASTED TURKEY KEEP IN THE FRIDGE

Ruffly 2 to 3 days once it has been cooked. Be sure to seal it in a container of sorts so that it does not dry out!

Looking for another way to make a Turkey?

Looking for an awesome Dressing recipe? Try my Sweet and Savory Stuffing

More Christmas & Thanksgiving recipes you may like:

See below for more inspiration!

Lemon Garlic Shrimp Tortellini

This one pot Lemon Garlic Shrimp Tortellini is sauteed in light cheese sauce and goes so well tossed with pasta.

Looking for another Tortellini recipe? Try my so tasty Mushroom Balsamic Tortellini

This Lemon Garlic Tortellini is super easy to make and can be on the dinner table in less than 30 minutes. It’s comfort food meets healthy food, and yes this is surely possible. 

My mom used to make tortellini often for me as a kid and I typically order Tortellini whenever I go to those Italian restaurants, I just love it.

I’m fancying it up a bit today by adding asparagus and shrimp. This dish has become our all time favorite shrimp pasta recipe.

If you end up giving it a try, I would love to hear what you think of it in the comments below.

Super satisfying this is sure to hit the spot if your craving something fancy for dinner tonight and comforting at the same time. You can always add chicken if desired, however I like shrimp best for this recipe.

You can use just about any pasta for this recipe, however I really like the tortellini. You will want to start by cooking the tortellini first in a pot of boiling water.

Then saute the asparagus till slightly tender along with the shrimp beforeing bringing everything back together to merge in the pan. Season with salt and pepper, lemon juice and white cheddar cheese before serving! Bon Appetit!

MEAL PREP IDEA: Make enough to create a few meal preps bowls for the week ahead!

I am so thrilled you are reading one of my recipes, if you made this recipe I’d love to hear about it! You can post a review, picture below or via Instagram and let me know how it turned out.Don’t want to miss a recipe? Sign up for our NEWSLETTER delivered right to your inbox every Month!

Other pasta Dishes you will love

I am so thrilled you are reading one of my recipes, if you made this recipe i’d love to hear about it! Thank you very much for reading and until next time see ya in the kitchen. Don’t want to miss a recipe? Sign up for our NEWSLETTER delivered right to your inbox!

Salmon Artichoke Pasta

This Creamy Salmon Artichoke Pasta is super simple to make and can be served for dinner! 

Looking for another excellent recipe that utilizes artichokes? Try my Chicken Artichoke Skillet

This Salmon Artichoke Pastauses canned salmon however you can of course use cooked fresh salmon if desired. Both work well for this dish. 

Also, this recipe can serve a large family in a short period of time and also does well as leftovers or packaged into meal prep bowls for the weeks lunches ahead.

It is creamy and oh so satisfying this is sure to hit the spot if your craving something fancy for dinner tonight.

You can always add more salmon if desired, depending on your taste.

Just make sure to break it up as you see in the pictures below, that sure spreads the salmon flavor out nicely and enhances the dish but definitely doesn’t overpower it.

You can use just about any pasta for this recipe, however I really like the texture of the bowtie pasta. 

This dish is very satisfying, both as a lunch dish or to serve as main meal.

You will want to start by cooking the salmon in a frying pan, once the pasta and kale has been cooked or during if your good at multitasking.

Once the salmon is cooked, take a spatula and break it up, pouring in one cup of either whole milk or %2 milk along with one cup of parmesan cheese and stirring to combine. 

If you end up giving this a give it a try, I would love to know how you liked it. Bon Appetit!

MEAL PREP IDEA: Make enough to create a few meal preps bowls for the week ahead!

Imagine your work colleagues seeing this in your bowl for lunch.

I know my old work colleagues would have been so jelly! It sure looks fancy but really is easy to prepare. 

LOOKING FOR OTHER SUMMER SALAD RECIPES?

I am so thrilled you are reading one of my recipes, if you made this recipe i’d love to hear about it! Thank you very much for reading and until next time see ya in the kitchen. Don’t want to miss a recipe? Sign up for our NEWSLETTER delivered right to your inbox every Month!

Simple Potato Salad Recipe

This Simple Potato Salad Recipe has hints of lemon and paprika in it and is made with russet potatoes, eggs, garlic powder and is seasoned just right.

Let me tell you, this recipe is something special. Just cause I call it a Simple Potato Salad recipe does not mean it is not GREAT!

I can say that because I was never much of a fan of potato salad. Probably because the kind I was used to was to sweet and full of mayo. But this one is different and super tasty!

There is nothing like homemade potato salad, nothing. So if you’re looking for one that is a bit different than the average potato salad recipe out there than your going to want to try this one.

I came up with this recipe recently as I wanted to bring something a bit different to a potluck party I was attended. It turned out to be a major hit with everybody! 

For this recipe I made a separate dressing on the side, then once the potatoes and eggs cooked and cooled I combined them all together by mashing with a potato masher.

Then poured the chilled dressing overtop to combine.

My dressing calls for full fat mayonnaise, so if your wanting a lower calories dressing. Then feel free to use a lighter variety or substube half of the mayo with plain yogurt.

You can use just about any type of potato to make this potato salad, however I like to use the russets because the skin just peels off very nicely once cooked.

And that is exactly what you will want to do. Simply bring a large pot of  boiling water to a rapid bowl, then dump in the potatoes slowly and allow them to cook till fork tender.

Once cooked you will simply strain the water out and soak them in ice water till cooled. Once cooled all you will need to do is peel the potatoes with your hands. Easy enough eh!

If your wanting to feed less people or more peoples simply use my recipe adjuster above. The ingredients amounts with change according to how many people you want to prepare this for.

I am so thrilled you are reading one of my recipes, if you made this recipe i’d love to hear about it! Thank you very much for reading and until next time see ya in the kitchen. Don’t want to miss a recipe? Sign up for our NEWSLETTER delivered right to your inbox!

Lemon and Garlic Roast Chicken

I have an easy Lemon and Garlic Roast Chicken recipe that can be pulled of in no time and serves as a meal for four. 

Lemon and Garlic Roast Chicken is one of those no brainer, one pot recipes that can feed a family of four. By simply adding potatoes, carrots and onions to this baking dish. You can have a whole meal ready in under 1 hours time with very little effort.

Talk about easy peezy right! Wanting another awesome recipe that uses a whole chicken? Try my Air Fryer Whole Chicken

This super simple, one pan recipe is sure to have your family requesting for more. Now if you are wanting to feed more than 4 people then you simply just have to bake two chickens.

And don’t forget to keep the bird/bones to make some leftover chicken noodle soup for the next day!

Can it get better than this? We think not.

Note: It’s very important to preheat your oven prior to cooking the bird.

I am so thrilled you are reading one of my recipes, if you made this recipe i’d love to hear about it! Thank you very much for reading and until next time see ya in the kitchen. Don’t want to miss a recipe? Sign up for our NEWSLETTER delivered right to your inbox every Month!


Roasted Leg of Lamb (Greek Kleftiko)

You have not truly tried traditional Greek food, until you tried a Roasted Leg Of Lamb, also known as Lamb Kleftiko.

And you don’t have to wait till Easter to serve either, this recipe is so good you will be sure to crave it just as often as the Greeks do in Cypress.

If you follow this recipe to a tea, you will have the most juicy and tender leg of lamb you ever tasted. 

The size of your leg you make depends on how many you are cooking for.

A 6 pound leg of lamb will feed about 8 people so you can judge by this what weight you will need.

I am using 3 pound leg which will feed a family of three to four. 

HOW TO MAKE GREEK LAMB KLEFTIKO 

  1. If your lamb leg is frozen, start by defrosting it in the bottom of the fridge anywhere from 24-48 hours (if fresh skipped this step)
  2. Next prepare your marinade. In a bowl, mix your crushed garlic, rosemary, thyme, oregano, olive oil, and lemon juice.
  3. Lay your lamb out on the counter, and season on both sides generously with salt and pepper.
  4. Then take your knife and make slits all over the leg, front and back.
  5. Place the lamb now on a long piece of parchment paper and make a boat around it to hold in the marinade.
  6. Massage the marinade all over the lamb, making sure to get some of the marinade in the slits.
  7. Place the wrapped leg in the bottom of your roasting pan, and allow it to marinade overnight in the fridge.

HOW TO COOK LAMB KLEFTIKO 

  1. The next morning, take your lamb out and allow it to sit on the counter for 30 minutes prior to cooking.
  2. Open up the parchment paper, and pour in your “Chicken Stock” around the leg (try not to pour it all over the leg) rather around. As you don’t want to remove the seasonings.
  3. Now with a little bit of tinfoil cover the ends of the leg to ensure the parchment paper does not fold away.
  4. Preheat your oven to 425 f (convection ovens) or 450 for (standard ovens) for 30 minutes, then lower it to 325 f (conventional ovens) or 350 for (standard ovens) and allow it to bake for 3 1/2 hours.
  5. Once cooked, remove from the oven and open the paper to baste the lamb with the remaining juices.
  6. Place back in the oven for 30 more minutes uncovered till browned. (You may want to add a bit more liquid) totally up to you.
  7. Once done, remove the leg and drain the broth directly into a gravy holder.
  8. Allow it to rest 30 minutes before serving and serve with that delicious broth, adjust to taste.

Note: You can add potatoes into the parchment paper. I like to serve my lamb with pita bread, either are great ways to sop up that delicious gravy. Goes great with my Greek Tzatziki sauce too.

Serve with some warm pitas to mop up that amazing gravy!

You can also serve with mash potatoes and any vegetable of your liking.

I am so thrilled you are reading one of my recipes, if you made this recipe i’d love to hear about it! Thank you very much for reading and until next time see ya in the kitchen. Don’t want to miss a recipe? Sign up for our NEWSLETTER delivered right to your inbox!

Creamy Beetroot Hummus

Once you try this homemade Creamy Beetroot hummus, you will be hooked. 

It’s absolutely delicious and very healthy for you. Not to mention it’s that much better tasting than the store bought kind, which is always to sweet. 

If that is not enough motivation enough for you to give it a Go, then check out the health benefits; Beets are high in immune-boosting vitamin C, fiber, and essential minerals like potassium (essential for healthy nerve and muscle function) and manganese (which is good for your bones, liver, kidneys, and pancreas). 

Beets also contain the B vitamin folate, which helps reduce the risk of birth defects. Not to mention with powerful phytonutrients that give beets their deep crimson color may help to ward off cancer. If that is not reason enough to prepare this then i don’t know what is!

Hummus never tasted so good, serve with a warm pita and enjoy!

Make sure to peel your beets while there warm, otherwise there too hard to peel when there cold.
 
Also don’t throw out the beet greens as they are packed with nutrients that may strengthen your immune system, support brain and bone health, and more. Cook them up with some butter, salt and pepper and serve as a side dish to any meal. 
 

I am so thrilled you are reading one of my recipes, if you made this recipe i’d love to hear about it! Thank you very much for reading and until next time see ya in the kitchen. Don’t want to miss a recipe? Sign up for our NEWSLETTER delivered right to your inbox!