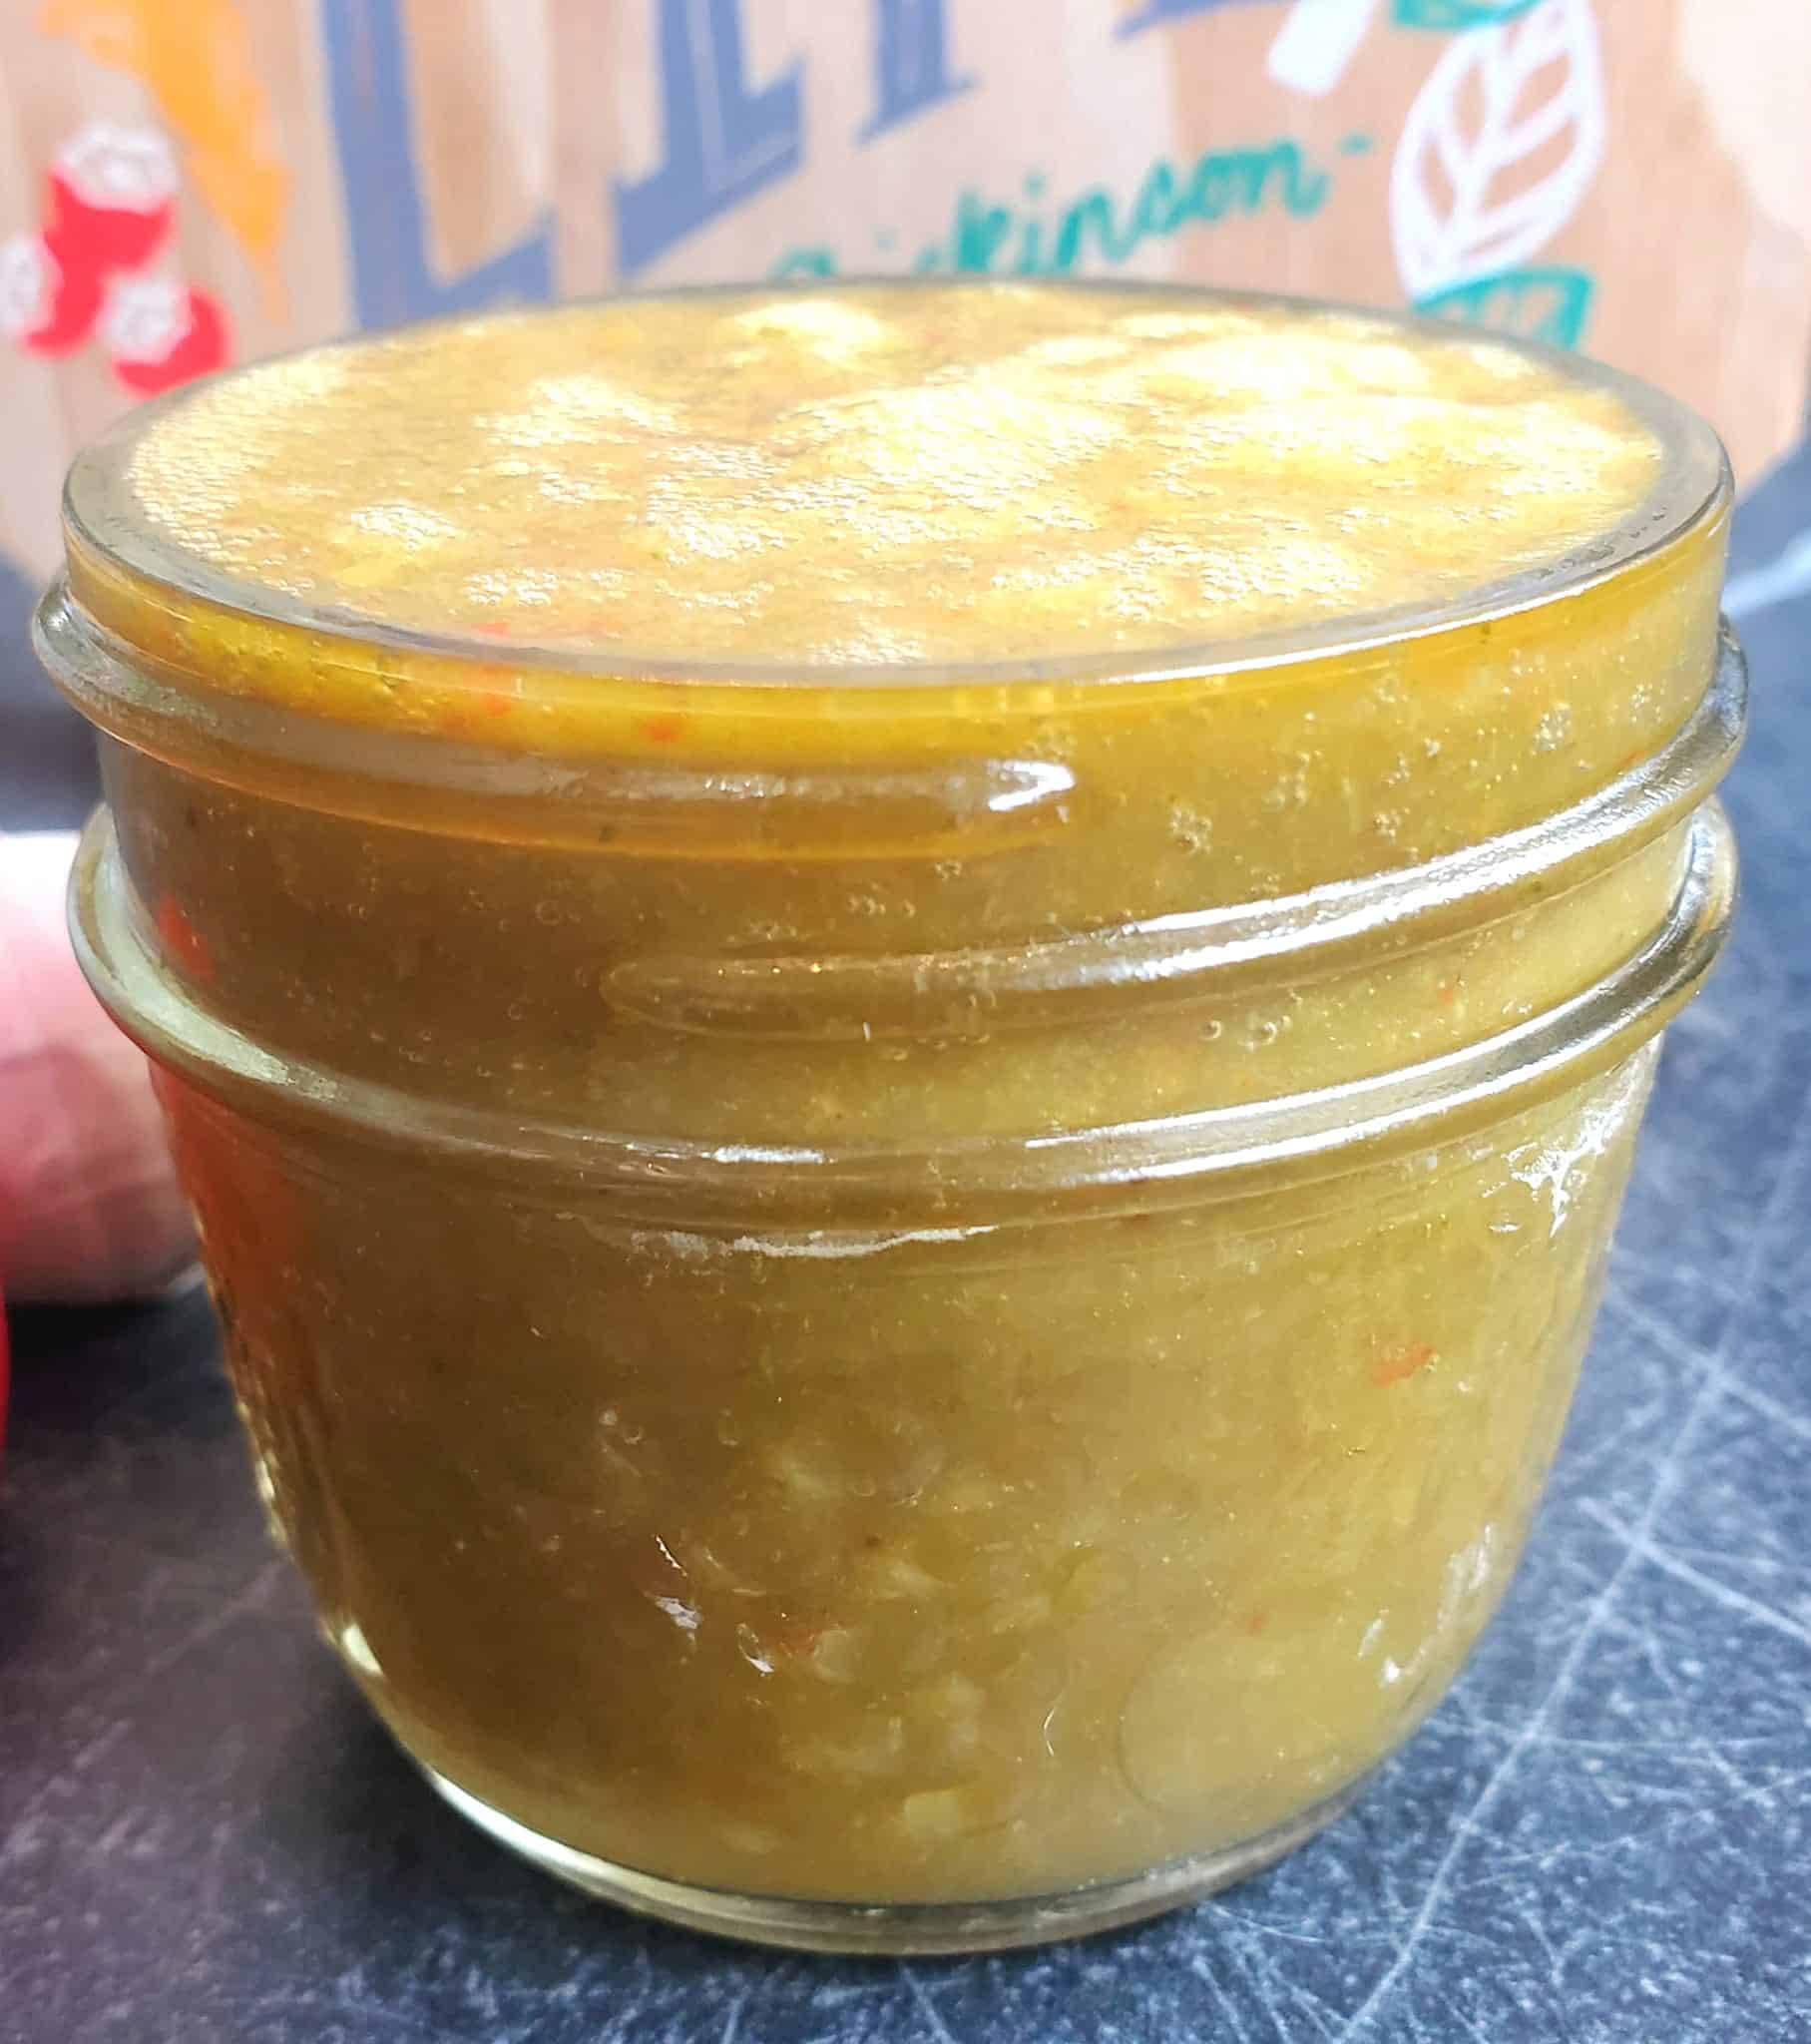
This Jamaican Hot Sauce also known as (Scotch Bonnet Sauce) is made the traditional way with fresh scotch bonnet peppers with the addition of orange juice which really enhances this sauces flavor.
Traditional Jamaican Hot Sauce has lime juice in it. I replaced that with Orange Juice and it is so so good. A must try! Especially over JERK CHICKEN
How Hot is A Scotch Bonnet Pepper
According to Forbes. A Scotch Bonnet Pepper has a heat rating of 100,000-350,000, the scotch bonnet can be up to 40 times hotter than a typical jalapeño pepper.
Which Color Scotch Bonnet is the Hottest
The Yellow and Red are the hottest. Yellow has the best flavor. If you find a purple one beware that is the hottest of them all.
This homemade Jamaican Hot Sauce is so FRESH you ARE GOING to want to have this in your fridge at all times.
You can replace the Orange Juice with Pineapple or Mango Juice if you prefer.
I am so thrilled you are reading one of my recipes, if you made this recipe I’d love to hear about it! Thank you very much for reading and until next time see ya in the kitchen. Don’t want to miss a recipe? Sign up for our NEWSLETTER delivered right to your inbox!
These Shredded Brussel Sprouts recipe comes in a Bacon and Balsamic dressing and makes for an excellent side dish to just about any meal.
SHREDDED BRUSEEL SPROUTS RECIPE
If you liked my other Bacon and Brussel Sprout recipe, then your sure to like this recipe for shreddedBrussel Sprouts with Bacon and Balsamic.
Now, I don’t normally make claims like this, because everyone has different tastes right?
But seriously who doesn’t like bacon? Then adding it to brussels is just a match made in heaven, I could eat this all day everyday. And I’m sure most people could too!
Think Christmas and thanksgiving side dish with this recipe!
Not cooking for a crowd? Well then cut the recipe in half if you want, by why would you want too?
You can have this for lunch over the next few days, just store any leftovers in a sealable container and enjoy. It’s even good cold, but serving it warm is certainly best.
BENEFITS OF BRUSSEL SPROUTS
Did you know that Brussel Sprouts are packed full of nutrients?
Such as vitamin C and vitamin K, folate, manganese, vitamin B6, dietary fiber, choline, copper, vitamin B1, potassium, phosphorus and omega-3 fatty acids.
So don’t feel bad for adding bacon to them to enhance their flavor, after all the same amount of bacon in this recipe is similar to that of a large pizza.
You are allowed to indulge once in awhile right?
This a true one pot dish, that anyone can prepare in a cinch.
CAN SHREDDED BRUSSLE SPROUTS BE FROZEN
Yes, just make sure you are you wash and dry them before freezing.
HOW SHRED BRUSSEL SPROUTS
The best way to shred Brussel sprouts is in a food processor. Set it to shave!
Just make sure you pre wash them and trim off the bad ends before placing in the food processor.
WILL SHREDDED BRUSSEL SPROUTS TURN BROWN
No, not if your cooking them the day of.
Wash and trim the ends off the Brussels, then cut in half before placing in the food processor.
Thanks to my Hamilton Food Processor shredding these Brussels was a Breeze.
HOW TO MAKE SHREDDED BRUSSEL SPROUTS
Start by sauteing the chopped bacon, once it is cooked but not fully caramelized add in the garlic and sauté for 2 minutes till fragrant. Then add in the shredded brussels.
Season with salt and pepper and add in the balsamic vinegar, butter and saute till the brussels are cooked as you like.
Looking for another more Brussel Sprout recipe? I have some more tasty ones below.
I am so thrilled you are reading one of my recipes, if you made this recipe i’d love to hear about it! Thank you very much for reading and until next time see ya in the kitchen. Don’t want to miss a recipe? Sign up for our NEWSLETTER delivered right to your inbox!
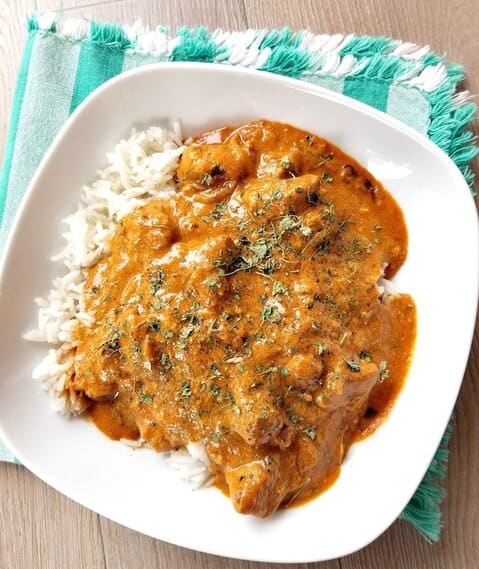
Today I’m so very happy to show you this recipe for a Simple Butter Chicken Recipe that your sure to make time and time again.
Awww the infamous Butter Chicken, also known as (Murgh Makhani). Almost everyone that has tried this dish has loved this dish and if you have not tried it before at home your in for a treat!
To make this Curry easy to make, try purchasing a pre-made Butter Chicken curry powder package like the one below.
WHAT SPICES ARE USED IN BUTTER CHICKEN
Salt, Red Chilli, Turmeric, Cumin, Black Pepper, Large Cardamom, Cinnamon, Green Cardamom, Clove, Ginger, Garlic, Star Aniseed, White Pepper
I always use a BUTTER CHICKEN SPICE blend as seen below as it has all of this in it already. Otherwise if your wanting to add in your own spices I highly recommend adding 1 tsp of chili powder, cumin, turmeric and fresh crushed garlic and onions.
Below you will see the pre-marinaded and cooked chicken being added to the sauce for the final step in cooking this delicious dish.
The part where your simmering the sauce, you can switch from 1/2 tsp of chili powder to 1 tsp for that extra heat. I love to do that, personally. I will add 1 tsp every time for this recipe.
WHO INVENTED BUTTER CHICKEN
It’s origins came from three Punjabi restaurateurs, Kundan Lal Jaggi, Kundan Lal Gujral and Thakur Dass, who founded the world-renowned Moti Mahal restaurant in Delhi.
WHATS BUTTER CHICKEN SAUCE MADE OF
Fresh Cream
Ghee or Butter
Oil
Cashews or Almonds if you do not have you can always use sugar for added sweetness
Plain Yogurt
Tomatoes
Garlic and Onions
WHAT’S BUTTER CHICKEN
It is one of the most popular Indian curries Worldwide today.
It’s become so popular that the supermarkets are now selling various versions of it in pre- packaged bottles in hopes to win your business.
But that stuff just won’t cut if for those of us who are familiar with traditional Butter Chicken. Because real butter chicken uses ghee butter you can use regular butter if desired. Then of course there is cream and some stronger curry flavors than most of those pre-made bottled types entail.
Plus those bottles are expensive costing near 4x the price that it takes to make it from scratch, not to mention not nearly as tasty.
IS BUTTER CHICKEN SPICY
This popular dish hails from the Indian subcontinent and is noted for its creamy and smooth butter taste, you can make it more spicy by adding an extra 1 tsp of red chili powder if desired.
Otherwise this is a mild curry compared to other traditional Indian dishes.
In comparison we would rate the spice level of this dish to other Indian dish, a 4 out of 10.
Such as Grama masla and Indian curry powder. All which can be found in almost any grocery store spice section.
I think the reason people by those pre-made bottles is because they think making it from scratch is hard, but I assure you it’s not.
It’s all about having the right ingredients and nothing in this ingredients list is is foreign besides possibly the fenugreek leaves also known as kasuri methi. Also that can be found in almost all grocery stores today.
HOW LONG WILL BUTTER CHICKEN LAST IN THE FRIDGE
In a sealable container up to 3 days and if you want to freeze it for meal – preps you can do that and store in the freezer up to 3 months.
We hope you enjoy this tasty dish as much as we do! Serve it alongside some naan bread and enjoy!
We don’t add as much cream to this Butter Chicken as most do, which will give it a more orange color.
If your wanting a more cream heavy type of Butter Chicken just add 1/2 cup of cream opposed to the 1/4 cup that my recipe calls for.
If your a CURRY lover like me. Then you will want to try these dishes below!
Note: If you want a more creamy butter chicken add 1/2 cup of cream instead of the 1/4 cup that I used in this recipe.
I am so thrilled you are reading one of my recipes, if you made this recipe i’d love to hear about it! Thank you very much for reading and until next time see ya in the kitchen. Don’t want to miss a recipe? Sign up for our NEWSLETTER delivered right to your inbox!
Did you like this curry?
Then you’re sure to like my “Creamy Coconut Chicken Curry” which uses coconut milk as is by far my most popular recipe on this blog.
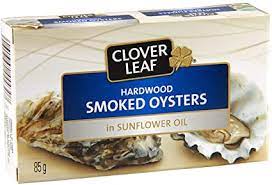
This creamy Smoked Oyster dip is made with cream cheese and sour cream and it is the perfect appetizer for the holidays or any large gathering. Plus it is super easy to make guy’s as it takes less than 10 minutes from start to finish.
What is in this dip besides Smoked Oysters? Sour cream, cream cheese, capers, garlic, Worcestershire sauce, lemon juice along with some other seasonings. Make sure to add the juice from the smoked oysters this makes for an extra tasty and creamy dip.
If you are anything like me and love smoked oysters then you are going to love this dip.
I like to make this dip whenever I have guests coming over, typically around the busy holiday season and or around game day.
HOLIDAY DIP RECIPE
You can eat this all to yourself or make a bowl for a group of guests. Think Christmas, Thanksgiving or even the Super Bowl Party!
The nice thing is it takes less than 10 minutes to prepare, doesn’t get any easier than that right?
CANNED SMOKED OYSTER DIP
HOW TO MAKE SMOKED OYSTER DIP
Combine all your ingredients in food processor and blend everything together.
Chill for one hour before serving.
Sprinkle a little seasoning salt over top and serve with some light crackers for dipping. Enjoy!
I’m aware that this is something not everyone has tried before, because they simply don’t sell this dip pre-made in the stores.
But trust me it is a WINNER!
Feel free to omit placing a whole oyster on top before serving, so they know what is really in this dip. Not every one likes Oysters, but I am more than certain if they don’t and try this recipe.
They may have a change of taste!
Most people’s first reaction is what is that? And then well, the rest is history because everyone wants the recipe. It’s that good, and simple to make.
Which will allow you to focus all your attention on the main course.
Plus it’s makes for an interesting appetizer around the living room table. Simply chill in the fridge right before serving and let the snacking begin.
Serve with some light crackers and watch it disappear before your eyes.
This recipe serves around a group of 10 people, if your feeding less or just making it for yourself then you can cut the recipe in half.
I hope you give it a try! I would love to know how you like it.
Note: Store leftovers in an airtight container up to 3 days.
I am so thrilled you are reading one of my recipes, if you made this recipe i’d love to hear about it! Thank you very much for reading and until next time see ya in the kitchen.
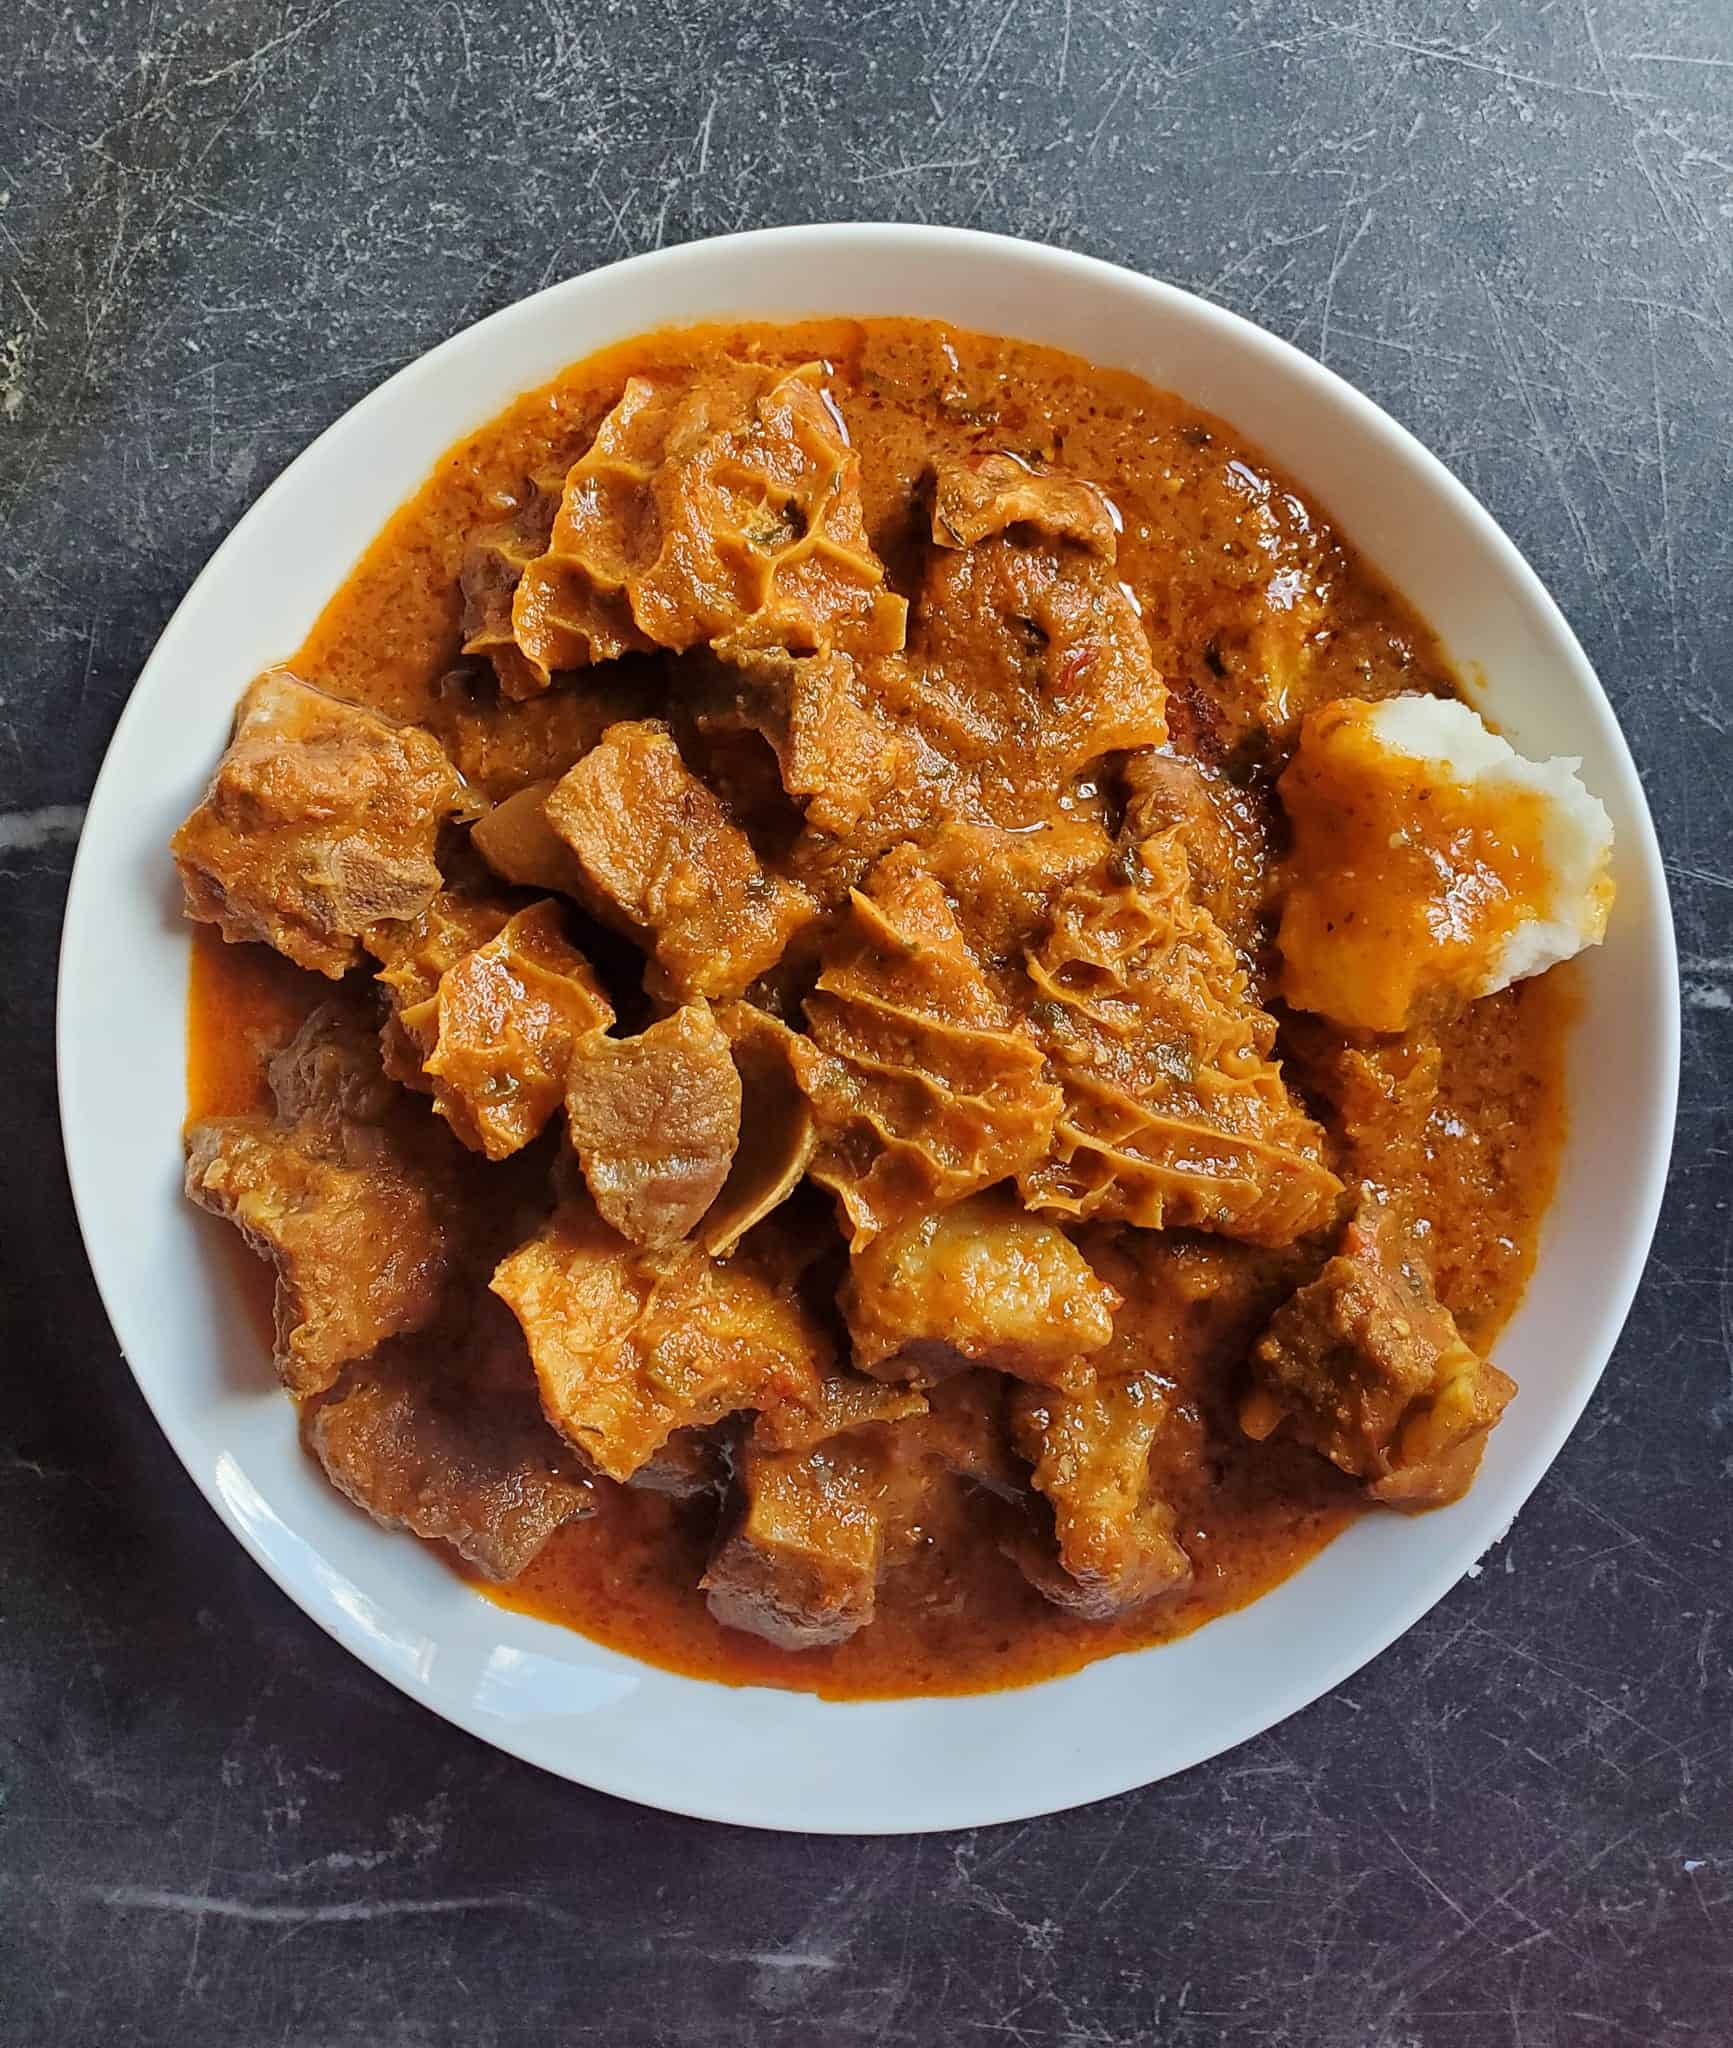
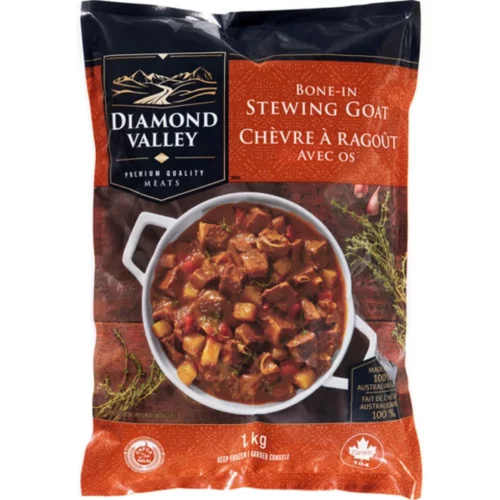
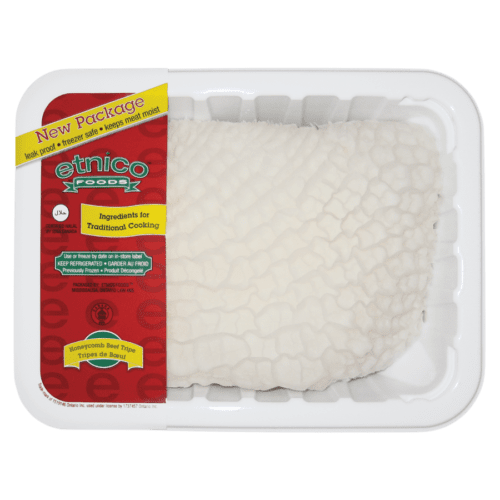
This Nigerian Stew is made with cubed bone in goat meat and beef tripe. And is cooked in a traditional tomato, red pepper, scotch bonnet pepper, onion based sauce that you are going to love.
Nigerian stew is on the list of my top 5 favorite foods in the whole entire WORLD. I kid you not, I could eat this every other day till FOREVER!
I’m so excited to share this recipe with you today! Red Stew has been a favorite recipe of mine since I was a little girl.
My mom cooked African food for me along with many other cultural dishes as she has a diverse set of friends and so this is where I developed my love for spicy foods from an early age.
is nigerian stew healthy
IS NIGERIAN STEW HEALTHY
Yes, it is full of natural ingredients and full of vegetables and protein.
WHAT IS NIGERIAN STEW MADE OF?
The intense “Red” color that you see in this recipe is from a blended mixture of red peppers, onions, tomatoes and spices. This stew is so special that it is served as the main dish during the holidays in Nigeria.
Yup you heard that right, so instead of our North American Turkey they serve Red Stew.
I will always serve it with some pounded yam. You can find my recipe on How to make Pounded Yam here . However it can also be served with white rice or another African favorite such Fufu.
Traditionally Nigerian Stew is meat based, so the meats used are goat, cow, turkey or chicken. It also is know to have smoked catfish in it.
I have tried all the above and can honestly say this combination is my all time favorite then the smoked cat fish version would be next.
You can really use just about any type of meat protein for this recipe. It is really up to you how you want your stew to taste.
This stew is basically a process of completing several steps where the meat is cooked then the stew then it is all added together to make the most delicious recipe that I personally have ever tasted.
I like to make big pots of this and will freeze it into separate meals to enjoy whenever I have a craving and trust me. That is often! Haven’t I told you already ha! That I love NIGERAIN STEW.
There is many different ways to make this stew, I have tried many different methods myself. This is my favorite method, I hope you give it a try if you are a Nigerian red stew fan and let me know what you think.
There is just something so comforting about this recipe. It does take some time to make also, but let me tell you it is so so so worth it!
WHAT IS IN NIGERIAN STEW
You can omit the tripe if desired and add chicken or beef instead, personally this is my favorite combo. Goat and Tripe!
I want to make this recipe as simple as possible for the everyday reader and for someone who has never made this stew themselves before. So follow along and I assure you, it is an easy recipe that just takes some pre to complete.
HOW TO MAKE NIGERIAN STEW
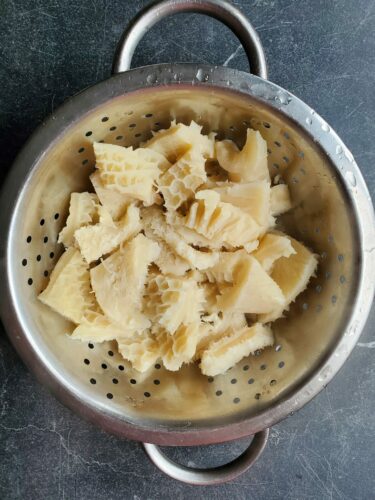
First off you want to start with some cleaned tripe, the whiter the better as it has been bleached. Then place that tripe into a colander and under running water rinse it scrubbing it with your hands all over for several mins.
Then simply dice it up on a large cutting board, then repeat the cleaning process before placing in a medium stock pot.
Cover the tripe with water and simmer it on medium heat for 15 minutes till softened and remove.
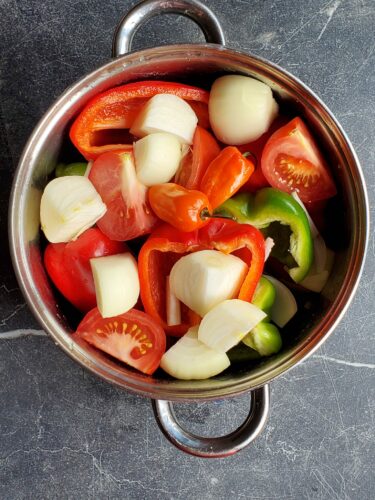
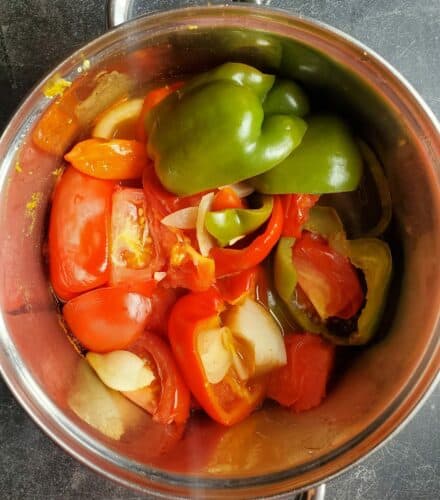
Meanwhile, on a cutting board, dice your onions, tomatoes, garlic and place in a large stock pot cover with water and bring to a boil.
Boil the vegetables till tender ruffly 20 minutes, before removing the water and placing all the vegetables in a blender to blend till smooth.
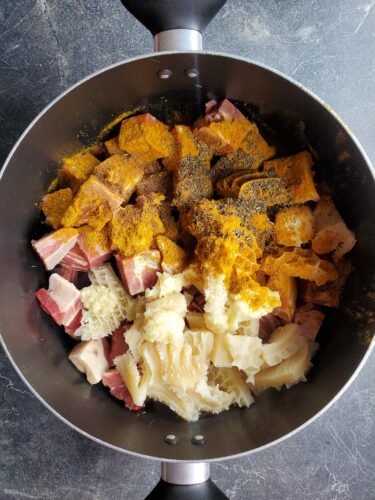
Next in a large stock pot add your goat meat along with the diced tripe and the fresh purred garlic and ginger.
Season the meat with curry powder, thyme, Maggi powder and salt.
Steam over medium heat for 10 minutes turning often and then cover with water fully and cover the pot and cook on medium – low heat for 30 mins.
Once the meat has cooked, make sure to strain the stock and KEEP THE STOCK this STOCK is GOLDEN.
Next in a large stock pot add a good amount of COOKING OIL 2 1/2 cups to be exact.
Bring it to high heat then add in the meat and fry the meat till golden brown, remove and set aside.
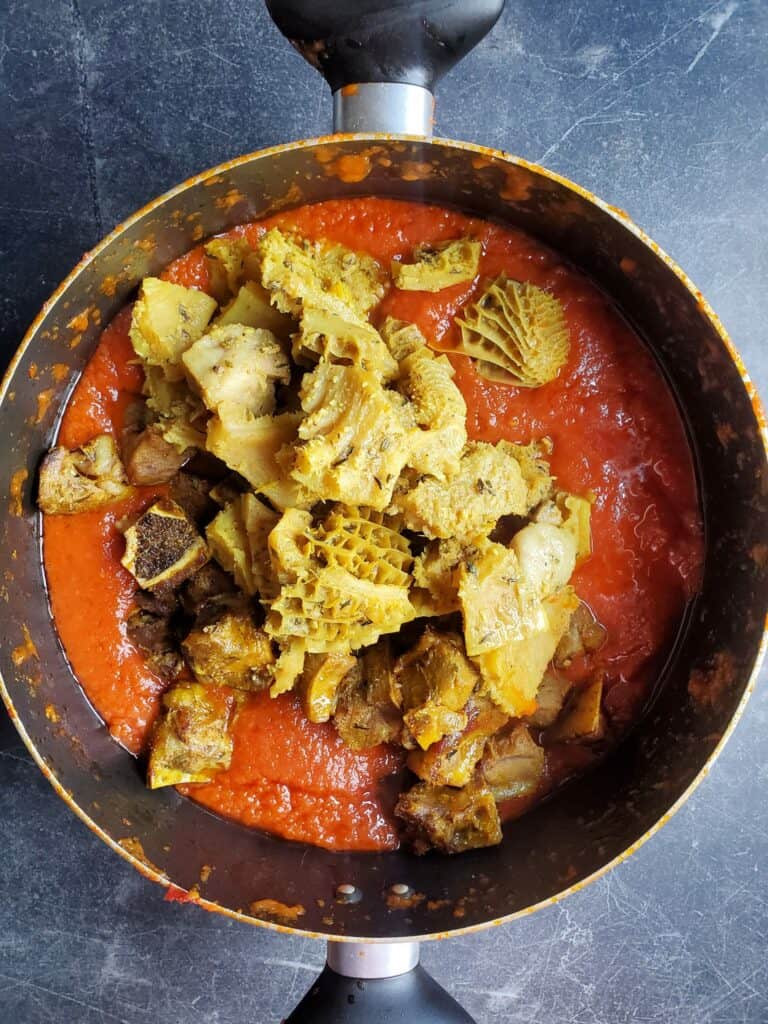
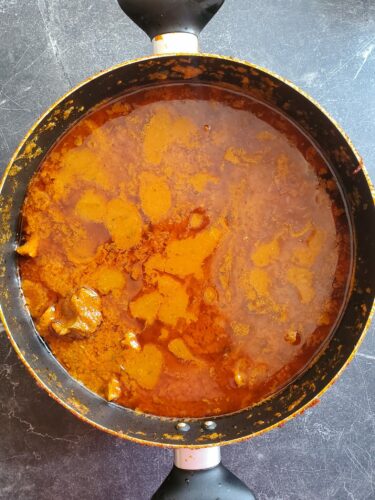
In the same pot with the oil add in your tomato paste, purred tomatoes and onions, ground crayfish powder etc and fry on medium heat with the lid closed for 35 minutes. Turning often so that it does not burn, be careful as it is hot and you will need to turn the heat down each time you lift the lid to ensure you do not get burned.
Add back in all the meat and stir, season with more maggi cubes or salt.
Adding in the set aside MEAT STOCK at this time then allow it to cook all together the remaining 15 minutes.
Serve alongside some pounded yam, fufu or rice.
Delicious!!
How long does Nigerian stew last?
I always like making a big batch of this stew, as it keeps in my fridge up to 3 days and in the freezer up to 3 months.
This stew can easily be made in your pressure cooker or slow cooker, so follow along. It really is not hard to make.
Some people will also add tripe as well to this dish, personally my favorite way to make it is with boneless goat meat as you see here.
WHY IS MY NIGERIAN STEW BITTER
It just needs a spoon full of sugar if you find it bitter. However the tomato paste should level the bitterness out so be sure to use that.
Notes: The type of curry powder you use here is important, you don’t want a masala type curry which is to mild. Ideally a Jamaican curry will work best here.
I am so thrilled you are reading one of my recipes, if you made this recipe i’d love to hear about it! Thank you very much for reading and until next time see ya in the kitchen. Don’t want to miss a recipe? Sign up for our NEWSLETTER delivered right to your inbox every Month!
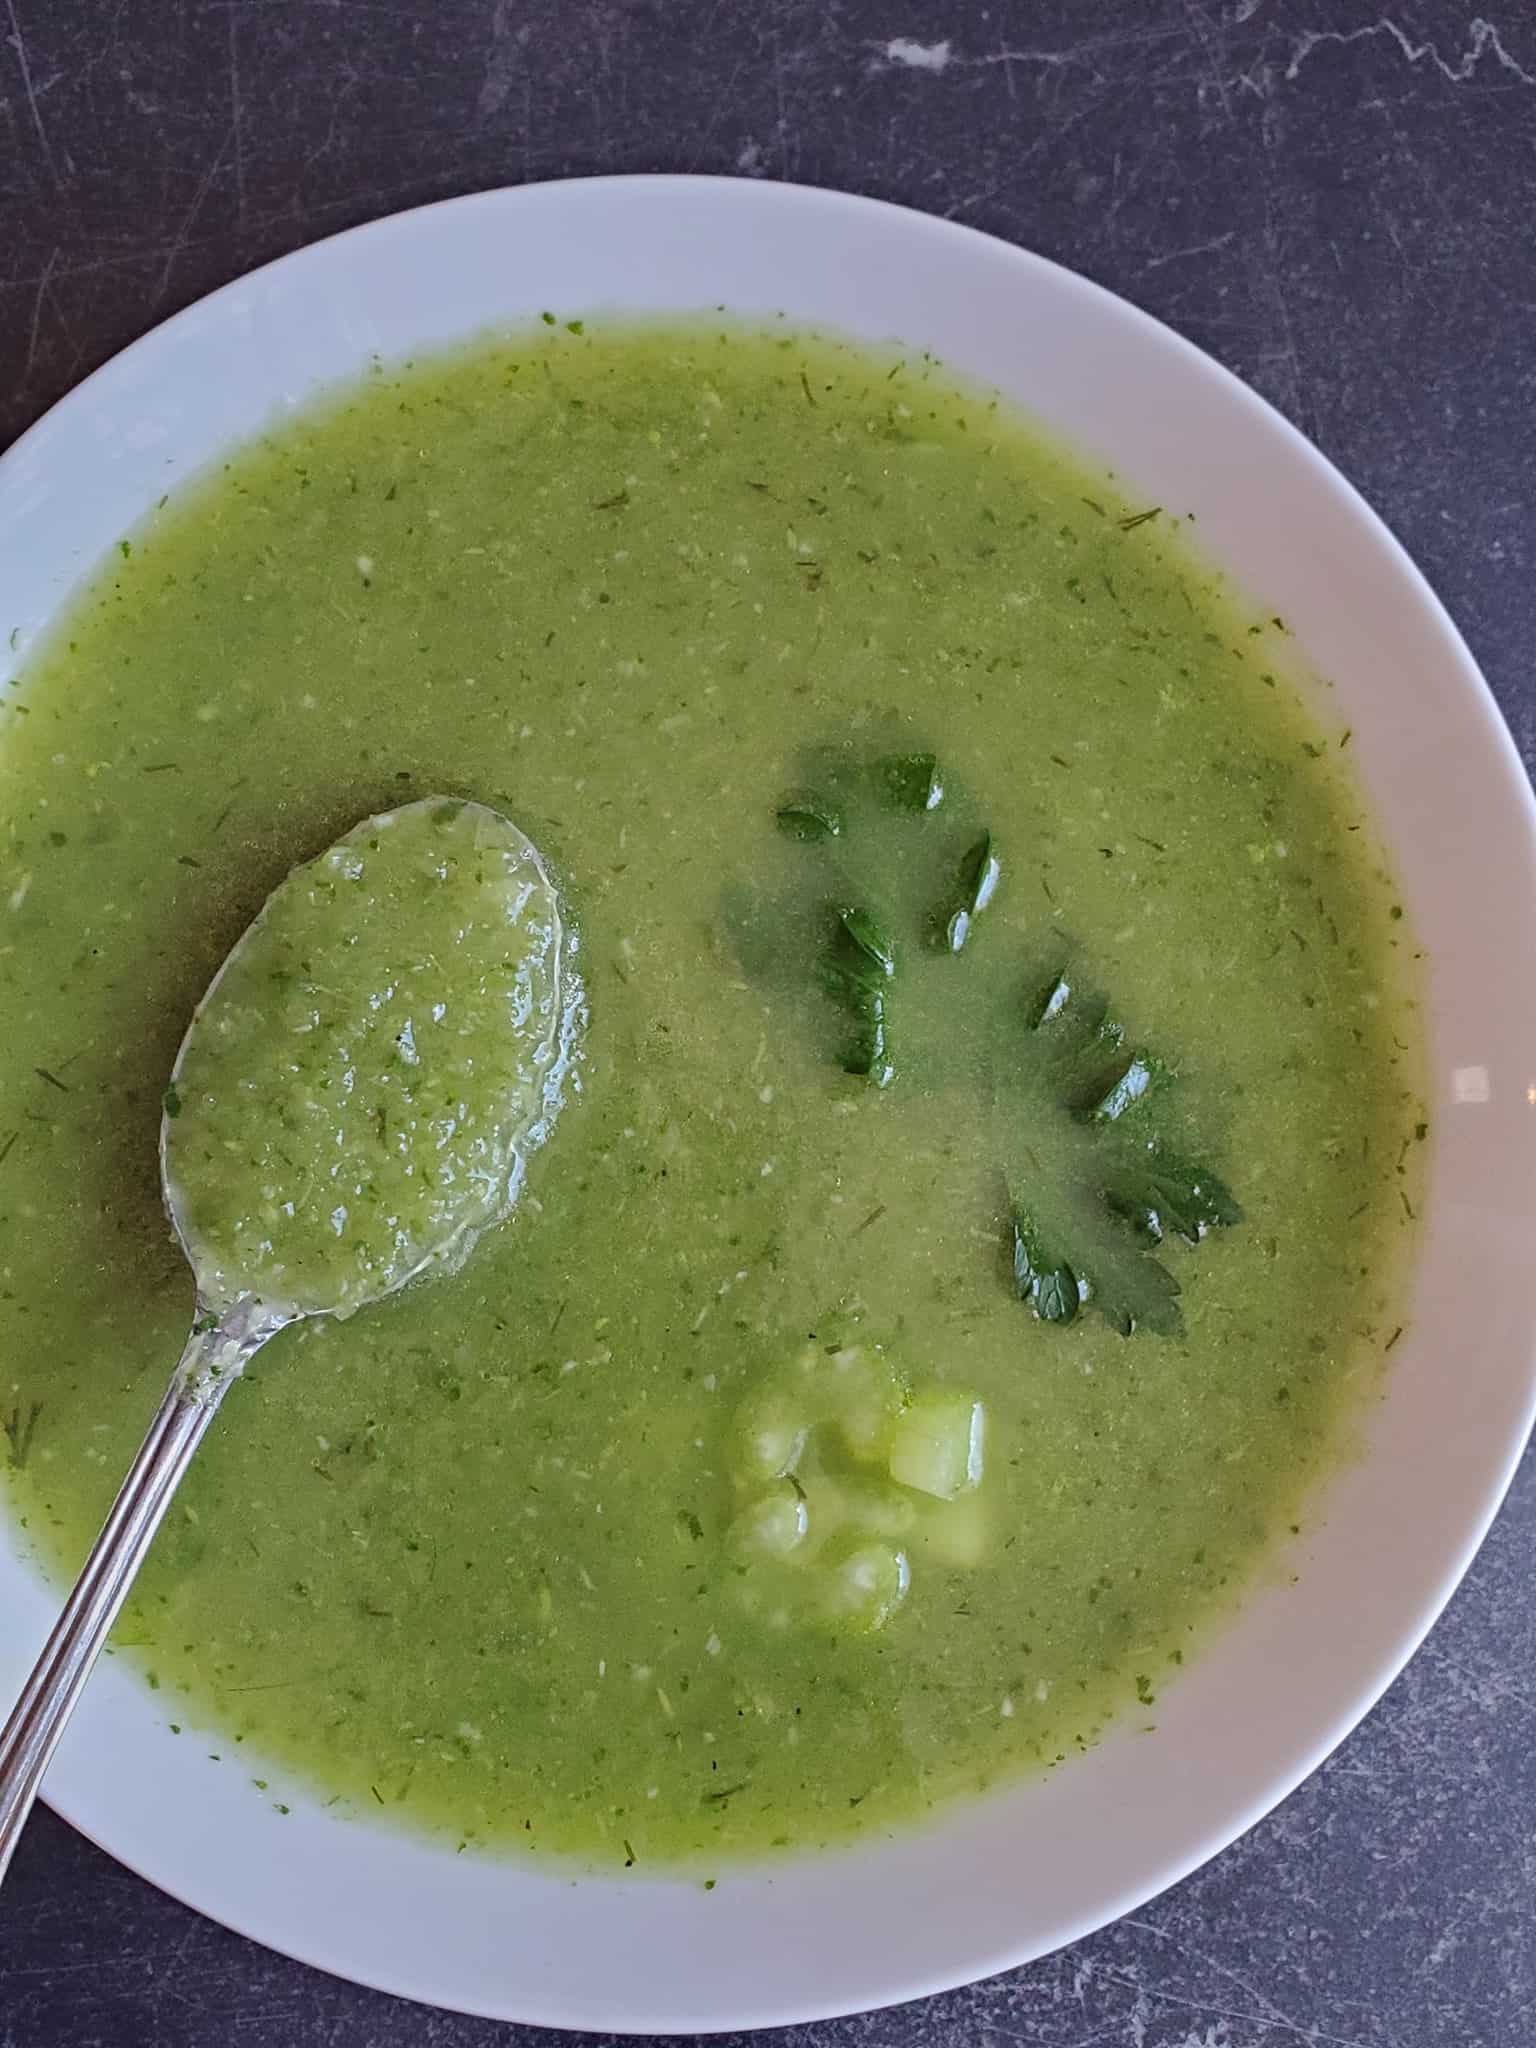
This Healthy Celery Soup is super easy to make and can be made in large batches and enjoyed over a few days. Make in your Instant pot or Slow Cooker or even on the Stove Top.
I grew up eating celery soup, my Mother made it often.
The nice thing about this soup is that it can be served warm or cooled down once cooked and served on a hot summers day!
If you want to thicken it up a bit you can also add in some pureed potatoes.
Just make sure those potatoes are cooked ahead of time, and blend them just as you would the celery.
Leeks taste like mild onions and once they are cooked they take on a sweet taste.
WHAT SPICES FOR CELERY SOUP
Garlic Powder
Salt an pepper to taste
Fresh Dill
This recipe will make a large pot of soup.
So if you have any any leftovers “which is highly unlikely” unless it’s just you. Then you can enjoy it over the next few days or freeze it as a meal prep option for another time if desired.
CAN CELERY SOUP BE FROZEN
Yes, and it even tastes better the next day.
So go ahead and make a BIG old pot and save some for another day!
The soup should be stored in a sealable container for up to 3 months.
IS CELERY SOUP HEALTHY
Yes, it is made with root vegetables.
I just love the freshness of this soup.
HOW MAKE CELERY SOUP
Place the celery, stock, chopped onion, dill and seasonings into a large blender and blend until smooth.
Then in a large stock pot add the butter or oil and bring to a high heat add the blended celery soup
Simmer for 25 minutes and serve.
HOW LONG DOES CELERY SOUP LAST IN THE FRIDGE
In a sealable container up to 3 days!
Notes: Keep in mind, as with all my recipes. If you want to make more or less of this soup, simple adjust the serving size in the ingredients section above and the servings will automatically adjust for you. And save yourself time and hassle, and let your food processor chop up your beets and cabbage up, also it gives a great consistency to the soup.
I am so thrilled you are reading one of my recipes, if you made this recipe i’d love to hear about it! Thank you very much for reading and until next time see ya in the kitchen. Don’t want to miss a recipe? Sign up for our NEWSLETTER delivered right to your inbox every Month!
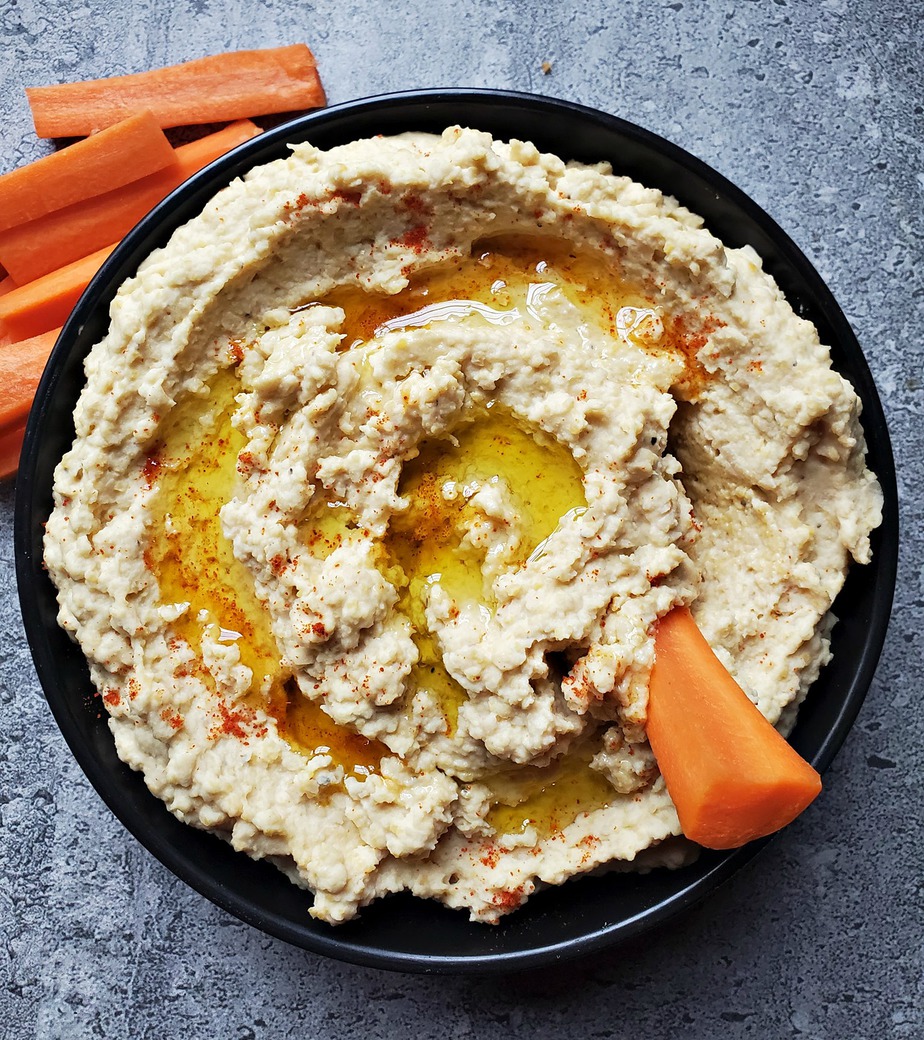
This is theBest Roasted Garlic Hummusyou will ever try! Serve it alongside some carrot or vegetables sticks for the Ultimate snack.
I’m serious, this recipe will put every store bought variety to shame.
YOU are going to love how fresh it tastes along with how the roasted garlic really brings out all the flavors.
If you’re tired of those expensive store bought varieties and thought that was the stuff! Well your in for a surprise.
Plus making this at home will save you a lot of hard earned cash.
Let’s be honest it costs anywhere from $4 to $6 dollars for a 350 grams of hummus in the stores.
But making it at home this way, will cost you under $1.00 for that same amount hummus.
CAN YOU FREEZE HUMMUS
Absolutely, I do it all the time. I will make a big batch and store some in the fridge for my family. Which lasts us up to a week in an air tight container.
Then I will section some off for the freezer, for movie nights, game nights and snacks.
There is always hummus in our fridge or freezer.
THIS IS WHAT IT LOOKS LIKE FROZEN, BE SURE TO DEFROST!
WHAT TO EAT WITH HUMMUS
Pita Bread
Carrots
Broccoli
Peas
Cauliflower
You name it!
I always like to make a fresh batches of hummus early in the week.
So that I can then store it in an airtight container for the unlimited guilt free munching ALL week!
Which usually happens at night, watching the food network or something!
You can also eat this Hummus with tortilla chips or pita bread, both are super healthy and delicious snacking options too.
HOW TO MAKE ROASTED GARLIC HUMMUS
Preparing Beans from Dry: Cover you garbanzo beans in water and allow to soak over night. The next day cook your garbanzo beans in a pot with 2 inches of water to cover, and bring to a boil. Cook for 1 1/2 hours or until they are soak. Drain and place in your blender or food processor Add your Cilantro, jalapeno, greek yogurt, garlic, olive oil, tahini and lime juice and purée. Then add in your garbanzo beans and blend till combined. Add in all your seasoning, and pulse for a few more seconds.
Preparing the Beans from the Can: Drain and rinse your chickpeas, add to your blender or food processor. Add your Cilantro, jalapeno, greek yogurt, garlic, olive oil, tahini and lime juice and purée. Then add in your garbanzo beans and blend till combined. Add in all your seasoning, and pulse for a few more seconds.
Once the beans are soft, place them into a large pot and cover with water.
Cook on medium heat for 15 minutes till they have been cooked.
Strain the chickpeas and set aside.
For best results chill it in an airtight container for up to 2 hours or more before serving.
The longer it chills in the fridge the thicker it becomes and the flavors really set in.
HOW LONG TO ROAST GARLIC
It is very simple, place the garlic whole in a preheated oven or your air fryer at 400 f and roast for 35 to 40 minutes, or until soft.
Serve this with some Homemade Pita Breadand enjoy!
I am so thrilled you are reading one of my recipes, if you made this, I want to see! Follow Canadian Cooking Adventures Instagram, snap a photo, and tag and hashtag it with @canadiancookingadventures and #canadiancookingadventures.
This Chocolate Strawberry Frosty is super creamy healthy and delicious!
Do you love Strawberries? how about Chocolate? Well then this creamy treat is going to make you very happy.
And since summer is right around the corner, now is a good time to learn to make these types of treats for yourself.
Plus the nice thing is they really take no special skills at all to make, simply make sure everything is cold prior and your good to go!
I admit I used to be one of those people that would get all caught up it it.
Idling my car in those ridiculously long drive thru lineups, just because I needed that cooling taste of a creamy frosty.
I knew they were not very healthy but the reward of a creamy cool down was worth it!
Well I found a way to have that cool cooldown at home and in a much healthier way.
This recipe has the addition of a banana in it, however if you want just a Chocolate Frosty, then you can omit the banana. Easy eh enough eh!
Since these frosties contain all natural ingredients vs some of those unmentionable ones you do find in the restaurant kinds.
You can really feel good about making and serving these to your family and friends on those hot summer days!
A frosty is basically like Chocolate ice cream, made in a similar way. However the trick is to make it with very cold ingredients and to only let it sit in the freezer there after for a minimum of 15 minutes. You do not want it to freeze otherwise it will be more like a ice cream!!
Plus these frostys are super simple to make as only contains 5 ingredients to make it. This recipe makes the most creamy frosties around.
This recipe will make 2 medium sized frosties, however if your wanting to serve more people, simple double to recipe with my easy to use recipe adjuster above.
When making frostys at home, your expected to enjoy them shortly after. Because this is not ice-cream and itt does not need freezing at all. A frosty literally can be made and enjoyed in less than 30 minutes from start to finish!
Just be sure to follow the directions I have listed below and you will be on your way to Strawberry Chocolate frosty heaven!
Like this recipe? Try my “Chocolate Banana Frosty ” or my “Chocolate Frosty” it is very similar to this with a fruit flare.
If you make this recipe, I would love to hear about it! You can leave a 5 star review in the comments below! Thank you very much for reading and until next time see ya in the kitchen. Don’t want to miss a recipe? Sign up for our NEWSLETTER delivered right to your inbox!