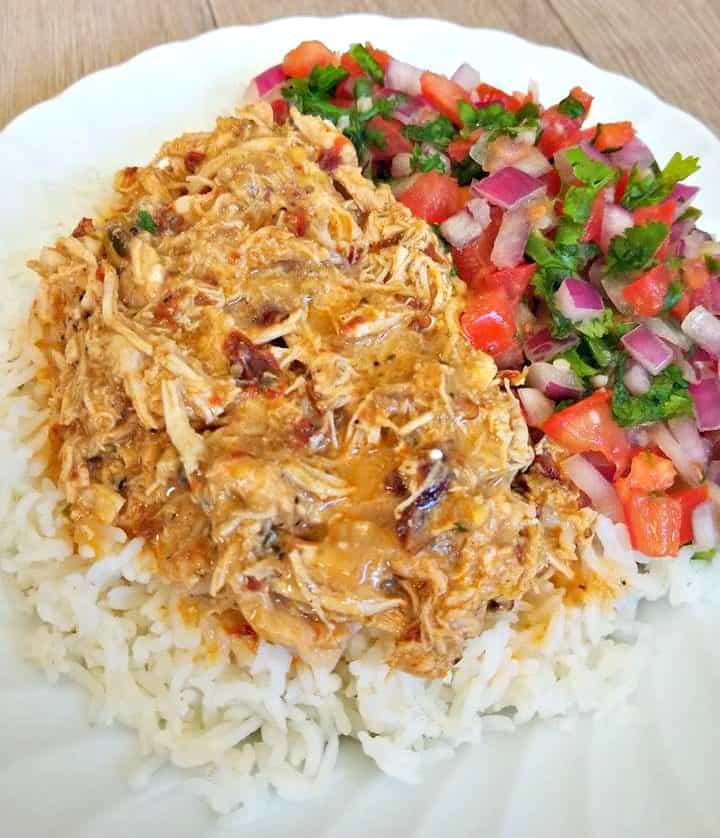
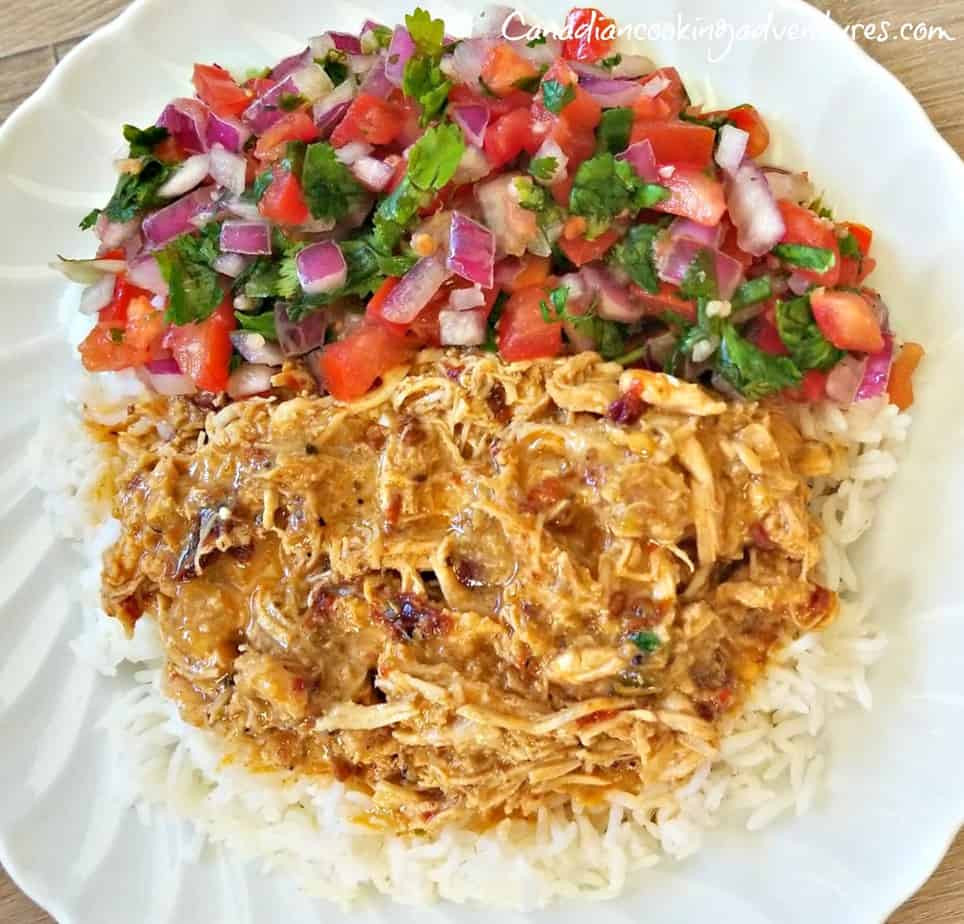
This Mexican Pulled Chicken is slow-cooked in Mexican green chili sauce and jalapenos, this melt-in-your-mouth smoky chicken is the perfect comfort zone. Pair it with fresh pico de gallo and rice and you’re in for a dinnertime treat!
And is little on the spicy side.
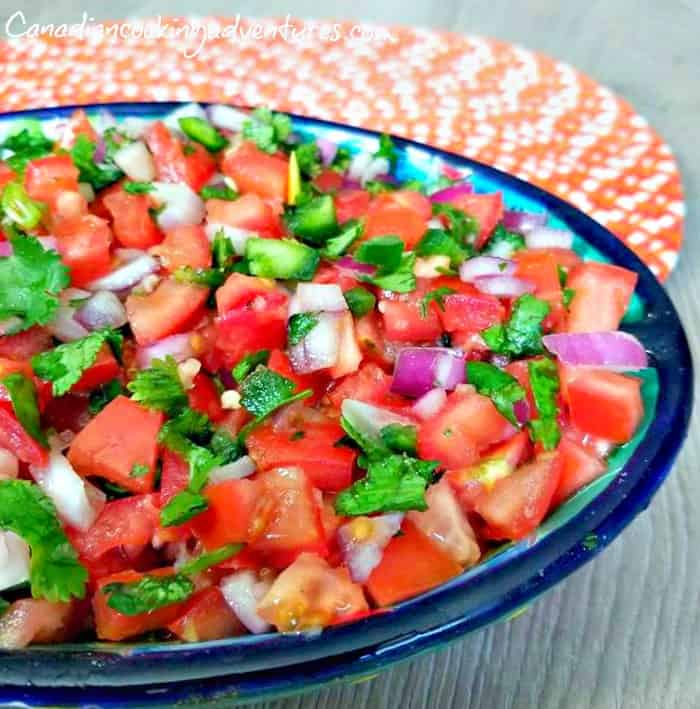
So if you are paring this with homemade pico de gallo (salsa fresca).
I would advise to omit the jalapenos in the salsa since the chicken has enough heat it it already.
But do not worry, it’s not too hot due to the addition of the chile adobo which give it a sweet smoky flavor as well.
Pair this dish with some full fat sour cream and you will have a more mellowed out dish. So if you like Mexican food just as much as me, then I’m more than certain this will become one of your new favorites.
Personally I can handle the extra heat, that is why I made my pico de gallo with jalapenos in it.
As you may know I really love spicy food, however my partner leans more towards sweet stuff and said he would prefer the pico de gallo to have no jalapenos in for this pairing.
This recipe is super easy to make, and packed with full of flavor so follow along.
All we are doing here is simply placing our chicken breasts into the slow cooker, along with 1/2 cup of mexican green chili sauce, a few adobo chilies, some chicken stock and our seasonings.
Then we are allowing it to simmer on medium to low heat all day, only to return to shred the chicken with two forks.
Then placing back into the pot to simmer/brown for a few minutes to allow the sauce to thicken up some. This dish is so tasty and is my new favorite way to eat pulled chicken.
Serve over a bed of jasmine rice, along with homemade pico de gallo and you will be in flavor heaven.
The nice thing about mexican food is that you can make a lot of it in a short period, and you can store any leftovers in the fridge for up to 3 days. I hope you enjoy, ARRIBA MEXICO!
Looking for an awesome recipe for Mexican Salsa? Check out my recipe for Pico De Gallo this goes great with this pulled chicken.
Notes: Squeeze some fresh lemon juice overtop for a pop of extra flavor.
I am so thrilled you are reading one of my recipes, if you made this recipe i’d love to hear about it! Thank you very much for reading and until next time see ya in the kitchen. Don’t want to miss a recipe? Sign up for our NEWSLETTER delivered right to your inbox!
I am so thrilled you are reading one of my recipes, if you made this recipe id love to hear about it! Thank you very much for reading and until next time see ya in the kitchen. Don’t want to miss a recipe? Sign up for our NEWSLETTER delivered right to your inbox!
This post may contain affiliate links. This means if you click on a link and make a purchase, even if it isn’t the item I mentioned, I receive a small percentage (at no extra cost to you). This helps support this blog, and makes it possible for me to bring you new recipes! I only share links to items I personally use or would recommend, and I have no outside incentive to promote a particular item or product all opinions are my own.
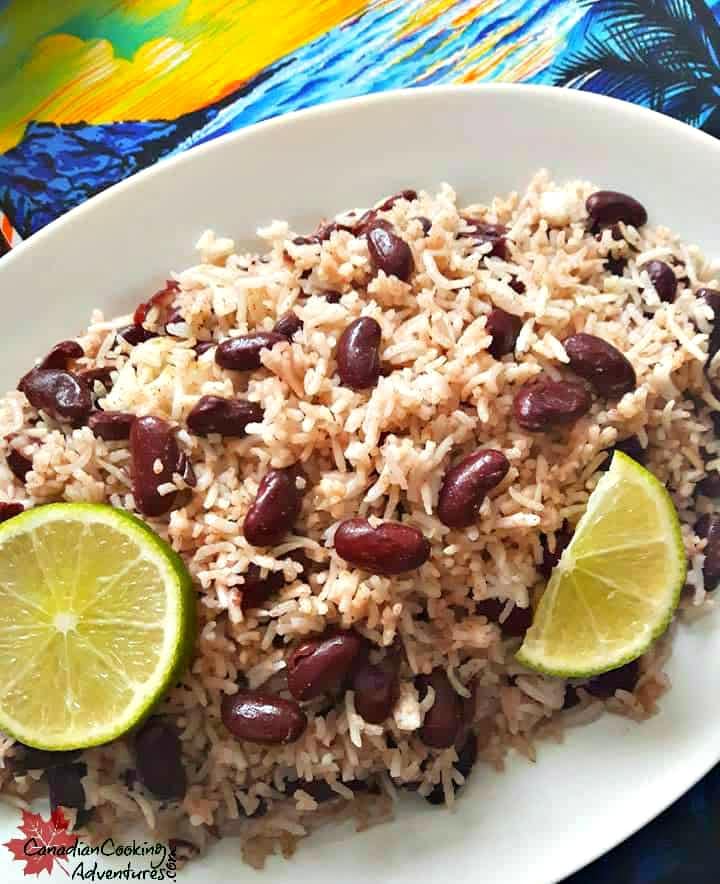
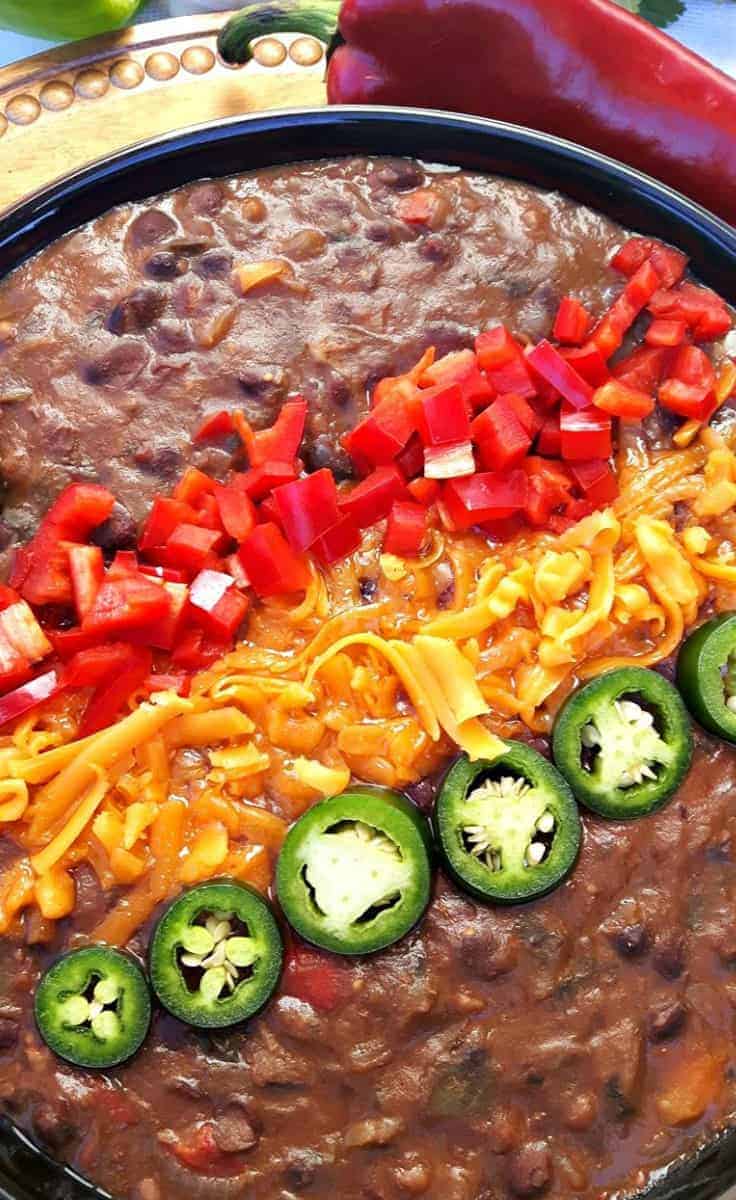
I absolutely love black bean chili and this is my favorite way to make it. Without any meat, because you really don’t need it.
Now there are so many black bean chili or soup recipes out there and almost all call for some type of meat protein in it.
However, if done right you really don’t need meat for black bean chili, because one cup of black beans provides 15.2 grams of protein.
Plus black beans are also a good source of antioxidants making this one of the healthiest chili recipes around.
Did you know that the fiber in black beans actually helps lower the total amount of cholesterol in the blood and decrease the risk of heart disease?
Well if that is not more reason enough to omit the meat and go Vegetarian tonight, I don’t know what is!
I like to serve fresh jalapenos on-top this chili before serving.
So if you have small kids or those who can’t handle the heat, you can omit the fresh jalapenos at the end.
You can cook this on the stove top or in your slow cooker, both methods work great.
I hope you give this a try because it’s super delicious!
Note: I like to use “Better than Bouillon” Chicken stock. We buy ours from Costco, so instead of using 8 cups of liquid Chicken Stock, we use 3 tbsp of that instead. If your interested in trying it out, the link is below.
I am so thrilled you are reading one of my recipes, if you made this recipe i’d love to hear about it! Thank you very much for reading and until next time see ya in the kitchen. Don’t want to miss a recipe? Sign up for our NEWSLETTER delivered right to your inbox every Month!
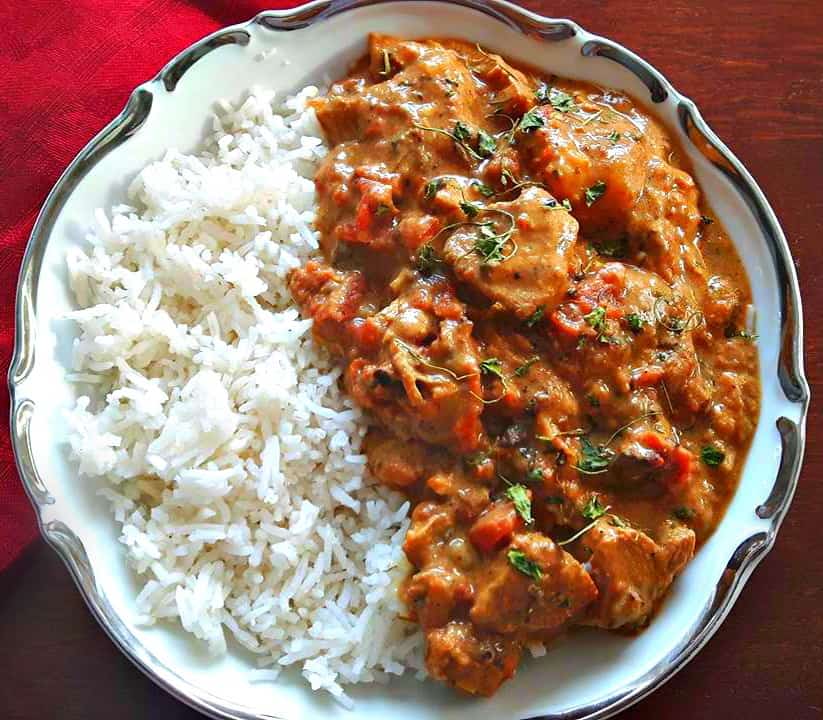
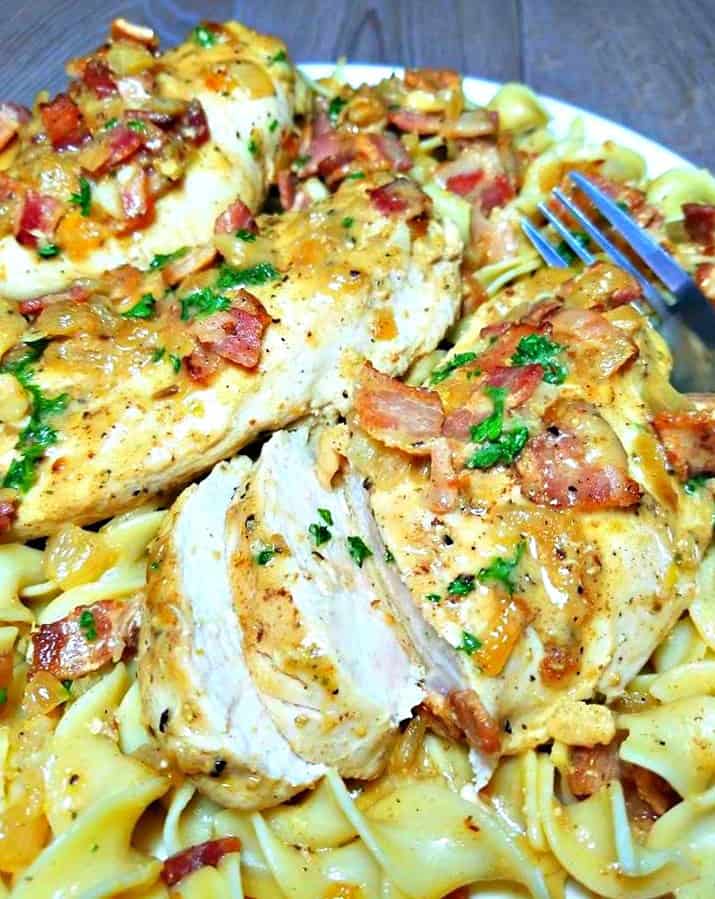
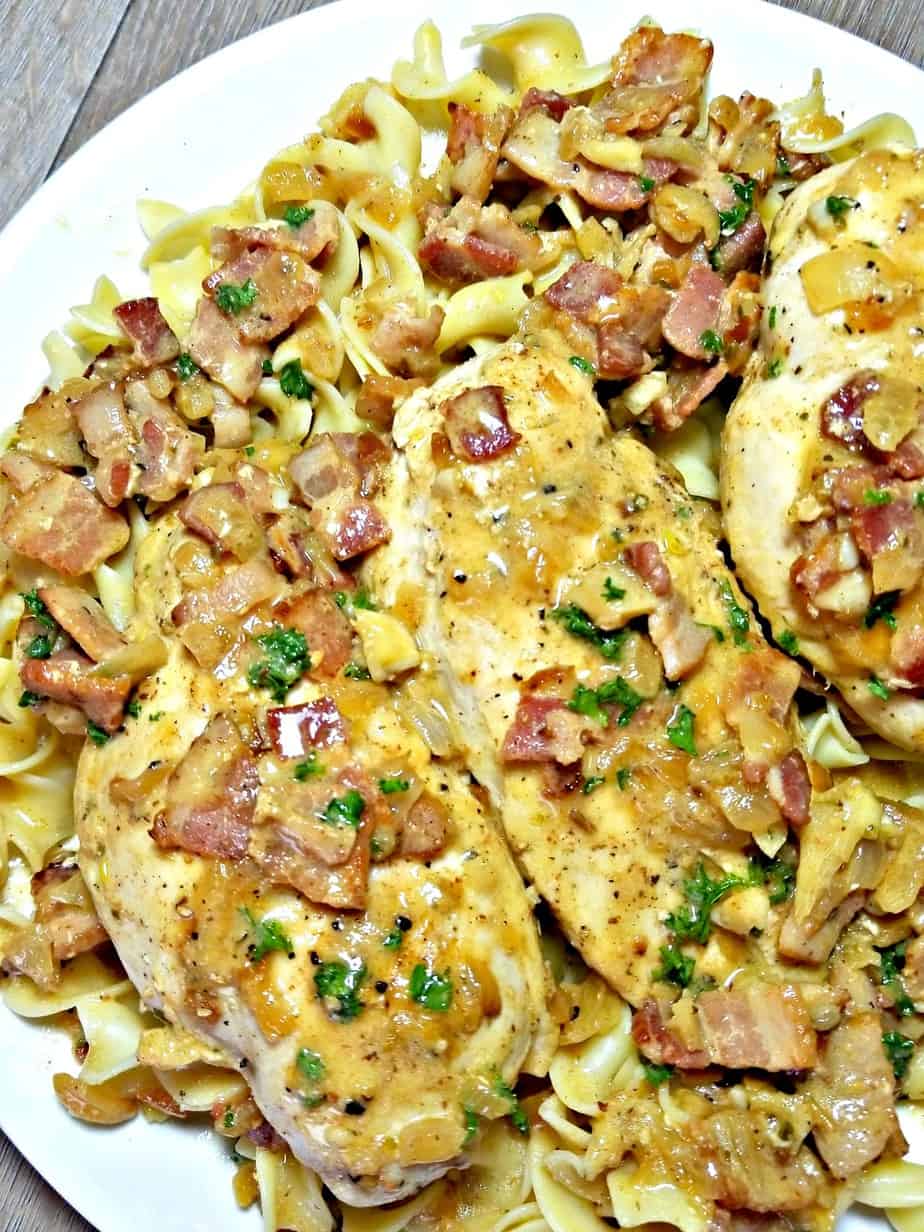
This Chicken and Bacon in a Dijon Mustard Sauce recipe is out of this world, you may think there is a lot of fattening ingredients in this one pan dish, but you would be wrong.
If you know me, you know that I like to balance my cooking. So if I’m adding an indulging ingredient into my cooking such as bacon,. Then I will make sure not add too many other ingredient that could take away from such flavours.
This dish comes together beautiful in a mustard sauce that is not full of fat but rather flavour. Made with onions, Dijon mustard, lemon, apple cider vinegar and just the right seasonings that only enhance the dish not mask it.
I kid you not this recipe is pretty healthy for you, compared to other similar recipes out there which call for heavy cream, which I find ruins the dish.
This recipe reminds me of a dish I tried many years ago, called Yassa Chicken (Poulet au Yassa) which is a very popular Senegalese dish.
So in this dish we are basically merging the flavors from that traditional dish with some other amazing dishes that are more popular in Europe to come up with this unique and out of this world recipe.
So follow along below for the most mouth-watering dinner that you are your family are sure to love, it’s definitely become one of our family favorites.
You must try this dish over a bed of egg-noodles, it gives it that German snitches feel without all the heaviness, and goes so well with the sauce.
On a gluten free diet?
No worries you can choose gluten free egg- noodles then you will have a completely gluten free meal.
Start by cooking your egg noodles first, because the rest takes less than 20 minutes to prepare and you want to be able to merge the two at the end.
Next start with chopping the bacon and onions, and sauteing them together till cooked.
Be sure to remove the bacon and onions one cooked and set aside, before placing the chicken breasts back in the pan to saute the chicken.
Saute the chicken on medium heat in the bacon fat till cooked, approx 10 minutes or until they are lightly browned and cooked in the center.
Then remove the cooked chicken from the pan and finished off by making your dijon mustard sauce in the same pan. Merge everything back for one last time in the pan, allowing everything to simmer together before serving.
I hope you give this absolutely mouth-watering recipe a try!
I am so thrilled you are reading one of my recipes, if you made this recipe id love to hear about it! Thank you very much for reading and until next time see ya in the kitchen. Don’t want to miss a recipe? Sign up for our NEWSLETTER delivered right to your inbox every Month!
I have been doing meal preps for some time now, however have never blogged about it. This will be my first meal prep, of many that I will be coming out with in 2018. We are all busy these days, and spending every night in the kitchen is not on everyone’s agenda. I get it! Either is eating out for lunch everyday, but we all seem to keep doing it. If your sick of eating out all the time or slaving in the kitchen every night. Then your going to want to + add this recipe to your “Meal Planner” that we offer for free here.
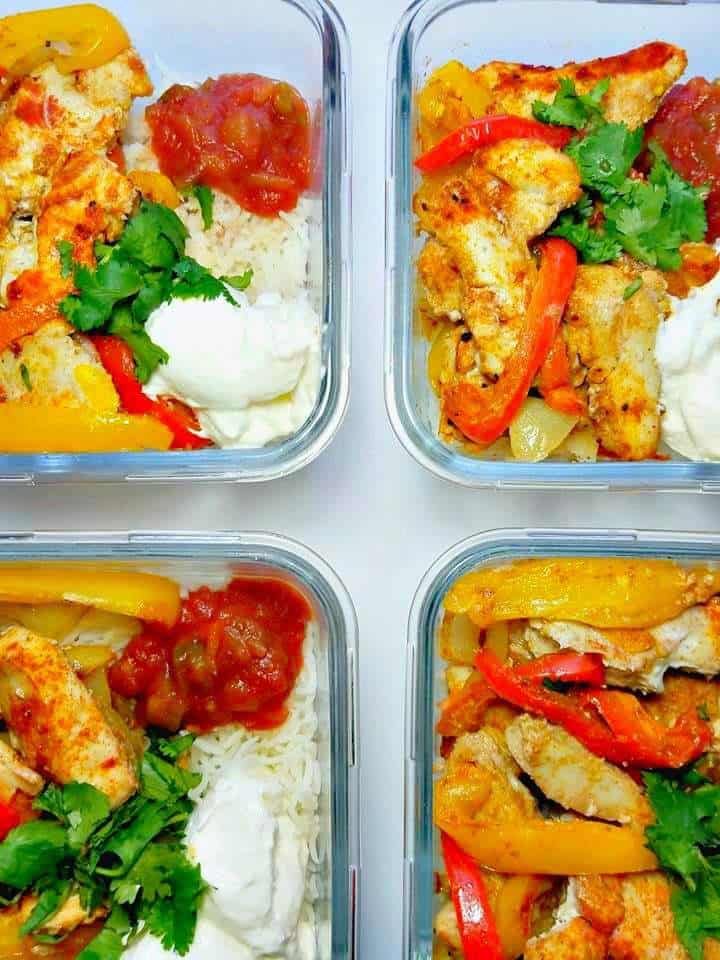
So what are meal preps? And how can they help you? Meal preps are meals done all at once, then stored in sealable containers for lunches or dinners for you and your loved ones to eat ahead of time. Some can be frozen, while most are to be eaten within 4 to 5 days, I recommend eating this one here within 4 days. That is why this is going to be a 4 day meal prep. Meal preps basically are a convenient and healthy way to prepare meals in advance for either yourself or loved ones. They work well for either lunches or dinners, so if there is more than just you in the home. You may want to prepare more preps today to feed a few of you over the week. All you will need to do is simply double this recipe, with the “recipe adjuster” option below. So for all of you who are either sick of a, cooking everyday or b, eating out everyday. This recipe is for you!
When doing meal preps, your going to want to purchase some quality glass bowls. Plastic just is not healthy for you, and they hardly last long. The bowls you will be looking for will be sturdy and with a solid lid, you do not want your food leaking all over your bag if you are packing these for lunch. I recommend buying glass bowls, that can be microwaved and put in the oven and dishwasher as well. Investing in a quality set vs cheaper set will pay for itself in years to come, not to mention save you a ton of money.
Ready to go in the Oven
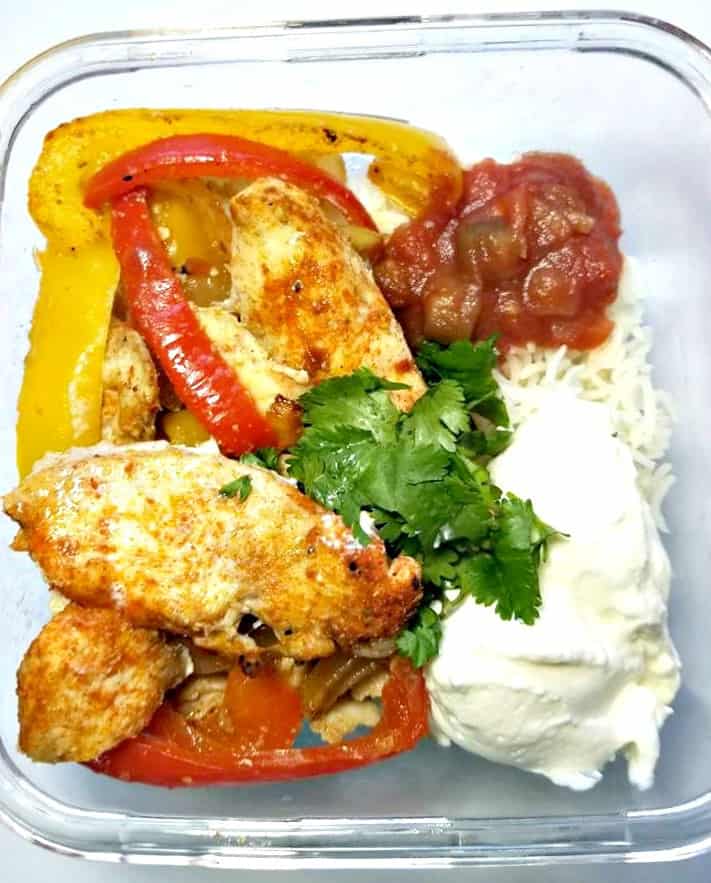
To season the fajitas you will want a good fajita seasoning, however please don’t waste your money on those overpriced packaged ones. Those cost around $2 dollars a pack you can make the same stuff at home for a fraction of the cost. Fajita seasoning is a combination of cumin, coriander, chili powder, paprika, cayenne pepper, garlic powder, onion powder with salt and black pepper. Then all you need is some fresh chicken breasts, and sweet red peppers, lime juice and your ready to rock and roll. These One Pan Chicken Fajitasare one of my favorite recipe for doing meal preps with. Once cooked you can sectioned the sheet pan fajitas off into four separate prep bowls as seen above. I fill mine in this order, basmati rice, topped with my cooked fajitasand a couple spoon full of salsa and sour cream. You of course can use quinoa or brown rice if preferred, after all there your prep bowls.
Once the bowls have been prepped I like to squeeze fresh lime juice over the chicken fajita mix. I find placing a lime wedge inside starts to taste strange by the third day. Also keep in mind, these last on average about 4 days in the fridge. You will want to top each bowl with fresh cilantro daily, otherwise that part will taste bad after a few days stored in these containers. That’s is all there is too it folks, pretty simple eh? Do this a couple times per month, and you will be saving 100$ of dollars vs eating out.
You can pair these chicken fajitas with:
Basmati rice = my choice
Brown rice
Quinoa
You can substitute the chicken for shrimp, beef or tofu also.
To make the Easy One Pan Chicken Fajitas:
Start by making your fajita seasoning. Mix together cumin powder, coriander powder, chili powder, paprika, onion powder, garlic powder, and pepper in a small bowl. Set aside.
Next wash and slice your sweet bell peppers into thin strips, then your onions then placing them onto one side of your baking sheet.
Next, slice your chicken breasts into strips and place on the other side of your baking sheet.
Crush the garlic and place on-top of the chicken and onions.
Prepare your fajita mix, stir everything together and pour over your fajita pan and stir so everything is covered with the mix.
Bake in the over at 400 f for 25 minutes.
While the fajitas are baking, in a rice cooker prepare your rice.
Once the fajitas have cooked and cooled down, squeeze the juice from one lime overtop the fajitas.
Now it’s time to prep the bowls, fill each bowl with the cooked rice and top with the fajita mixture.
Add sour cream and salas of your choice.
Cover with a sealable lid and store in the fridge up to 4 days.
Garnishes with chopped up cilantro the day your to eat your prep meal.
Enjoy!
If you liked this recipe, check back soon for more one pan recipes (meal prep) meals that will help you get through the week without cooking constantly or having you eating out everyday.
Note: You can serve these fajitas with mexican salsa instead of regular salsa if desired. My recipe for Pico de gallo, is right here.
I am so thrilled you are reading one of my recipes, if you made this recipe i’d love to hear about it!You can post a review, picture below or via Instagram and let me know how it turned out. And by doing so you will be automatically entered into our seasonal CONTEST to win one of our great prizes. Winner will be notified via email within a week after the contest closes. Thank you very much for reading and until next time see ya in the kitchen. Don’t want to miss a recipe? Sign up for our NEWSLETTER delivered right to your inbox every Month!
I am so thrilled you are reading one of my recipes, if you made this recipe I’d love to hear about it! Thank you very much for reading and until next time see ya in the kitchen. Don’t want to miss a recipe? Sign up for our NEWSLETTER delivered right to your inbox!
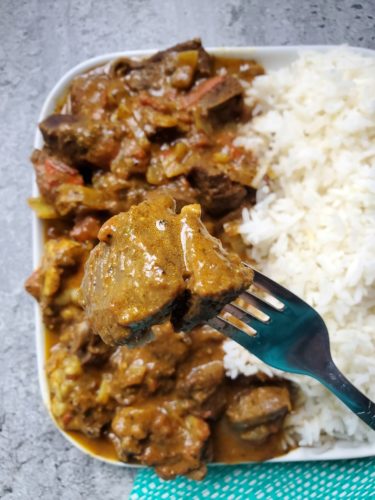
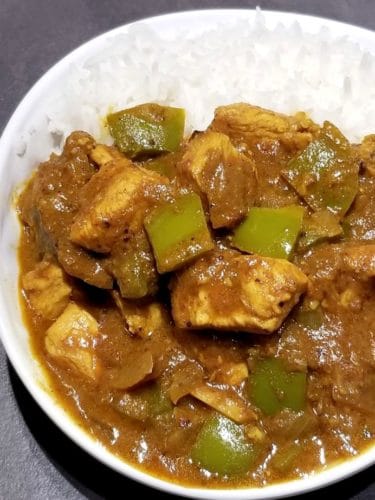
This Spicy Coconut Chicken Curry is a fusion type dish that I came up with in the past year or so.
This dish is packed with flavors that your sure to enjoy!
As you may know, I love Thai and Indian food. So you will always find all those types of spices in my pantry along with coconut milk.
For this recipe, I have infused spices from both cultures, to come up with this Chicken Potato Curry recipe, that I think is worth sharing. And have made time and time again in my kitchen.
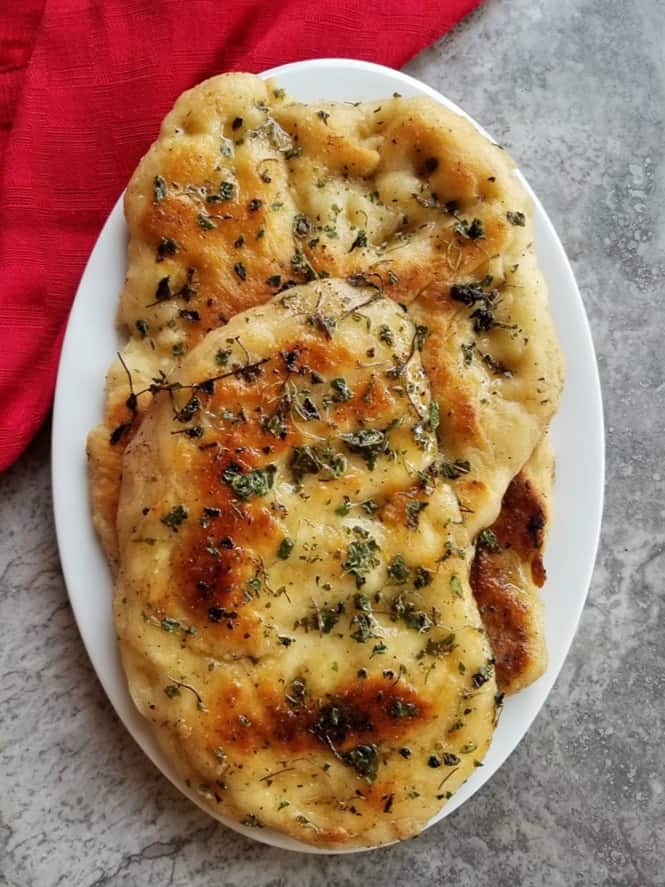
Everything goes so well together to make a creamy, spicy and flavorful curry. Serve over a bed of jasmine rice or alongside some naan bread.
NAAN bread also goes amazingly well with this meal. You can find that recipe at the bottom of this post!
This dish can be made with shrimp too, just add your shrimp during the last 5 minutes of cooking and omit the step of cooking the chicken.
Cooking Methods:
Pressure Cooker: Cook for approx. 10 minutes – after following the initial steps 1-6.
Slow Cooker: Place on LOW for 2-3 hours HIGH for 3 hours. – after following the initial steps 1-6.
Stove Top: Cook covered on low for 60 minutes. – after following the initial steps 1-6.
DID YOU MAKE THIS RECIPE?
If you make this recipe, I would love to hear about it! You can leave a 5 star review in the comments below! Thank you very much for reading and until next time see ya in the kitchen. Don’t want to miss a recipe? Sign up for our NEWSLETTER delivered right to your inbox!
If your a CURRY lover like me. Then you will want to try these dishes below!
LOOKING FOR AN AWESOME NAAN BREAD RECIPE TO SERVE ALONGSIDE THIS CURRY? Then look no further, I got you covered! My Garlic Naan Bread Recipe is a sure WINNER!


")