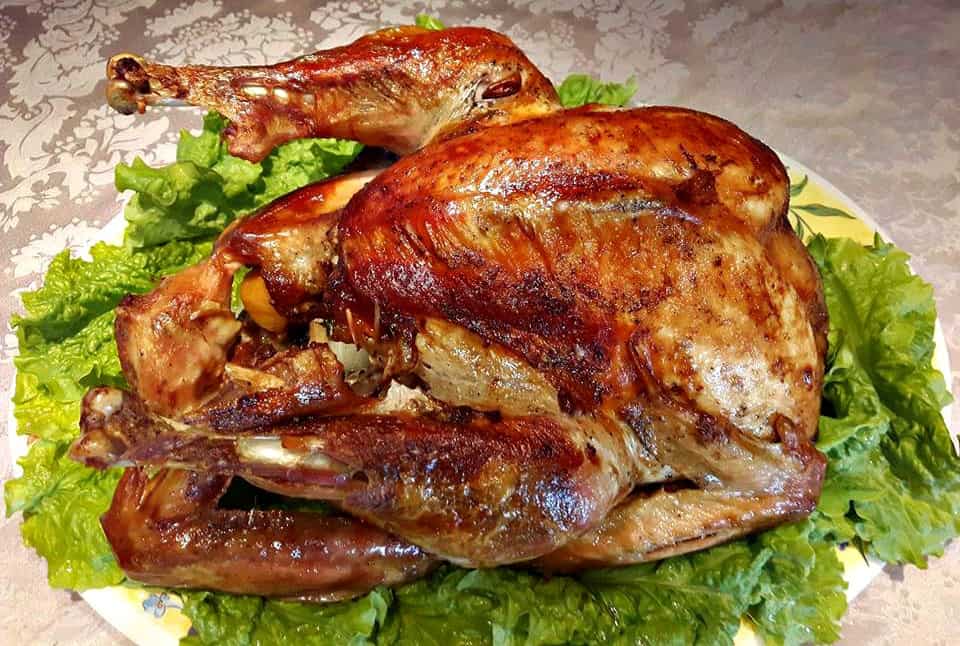
This Oven Roaster Turkey Recipe is juicy and crispy all at the same time. Seasoned with just the right spices, it is sure to become a family favorite during your Christmas, Thanksgiving family dinner.
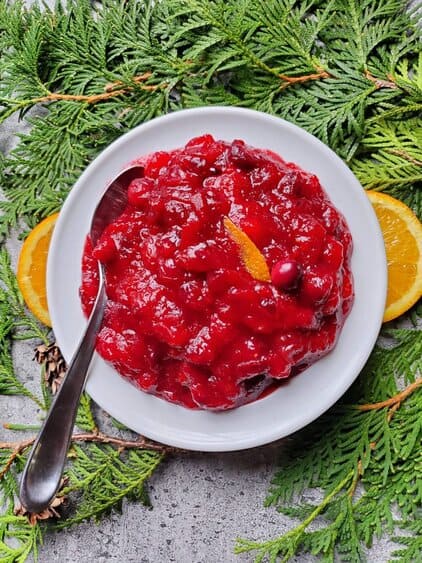
Serving this Turkey up for the holidays? Then you may want to add some other holiday favorites to the table such as my Homemade Cranberry sauce or my Tourtiere Pie


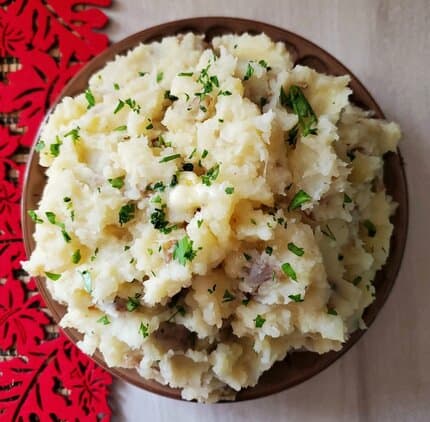
Making this oven roaster turkey recipe for a group? Then your going to want to serve it alongside some mashed potatoes. And I have just the right recipe for you with my Instant Pot Garlic Mashed Potatoes recipe!
Want anther tasty turkey recipe? Try my Baked Turkey Wings sometime as well.
I have included an easy homemade gravy recipes as well that utilizes the drippings from the bird right here. So whether your cooking for a large crowd or just a few you will be pleased with this recipe.
IS ROASTED TURKEY HEALTHY
Yes, it is packed full of nutrients and is considered a lean protein.


Here in Canada we have our Thanksgiving and Christmas holidays pretty far apart. So we tend to have Turkey twice per year.
I have made a few Turkey’s myself over the years and also have watched family and friends prepare it, so you can rest assured this recipe is a Winner!
By following some basic tips you too will achieve a super moist and crispy turkey this holiday season guaranteed.


How to make Oven Roaster Turkey Recipe
- Allow the bird to fully defrost and then sit on the counter at least one hour prior to baking, this ensure that the skin doesn’t break and that the bird cooks properly thought out.
- Butter the turkey all over with solid butter as well as liquid.
- Place 1 cup of water into the bottom of the pan to prevent burning and aid in creating the gravy.
- Bast the turkey every hour to ensure it stays moist.
- Cover the legs and wings of the turkey with tinfoil and place the birds legs towards the back of the oven where it’s the hottest and where the bird needs most the cooking. “The breasts always cook the fastest.
- Do not stuff the bird with stuffing, rather make the dressing on the side.
Note: If you notice the bird getting to BROWN during the last hour, you can put some aluminum foil around it. Or just cover the wings to prevent burning.
CAN ROASTED TURKEY BREAST BE FROZEN
Yes, as long as the Turkey was fresh not frozen in the first place. You can freeze any leftovers or make another recipe the very next day.
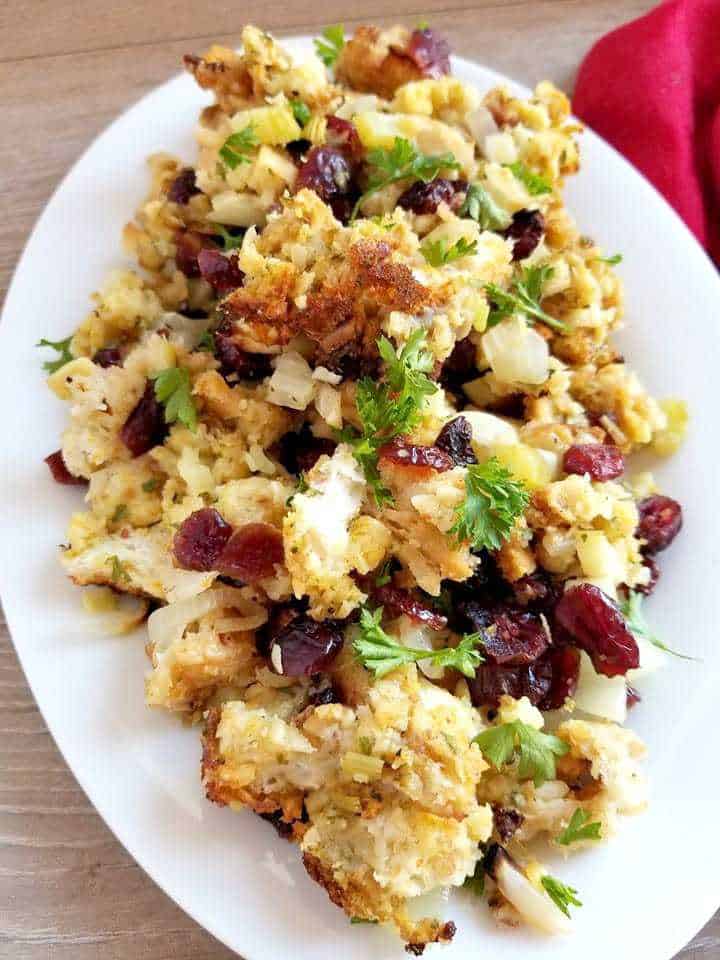
Now what is turkey without the stuffing? It’s really not a complete holiday meal now is it, so that part is definitely something you do not want to forget!
Personally I do not make my stuffing in the turkey, and I encourage you not to either. Even though I was raised to do so, I find my turkey comes out much better cooked without it in the bird.
My stuffing recipe is listed below, if you too choose to do the stuffing outside the bird. Otherwise you can do the same thing and just stuff the bird, keeping in mind you may need to cook it longer.
HOW LONG WILL ROASTED TURKEY KEEP IN THE FRIDGE
Ruffly 2 to 3 days once it has been cooked. Be sure to seal it in a container of sorts so that it does not dry out!
Looking for another way to make a Turkey?
Looking for an awesome Dressing recipe? Try my Sweet and Savory Stuffing

More Christmas & Thanksgiving recipes you may like:
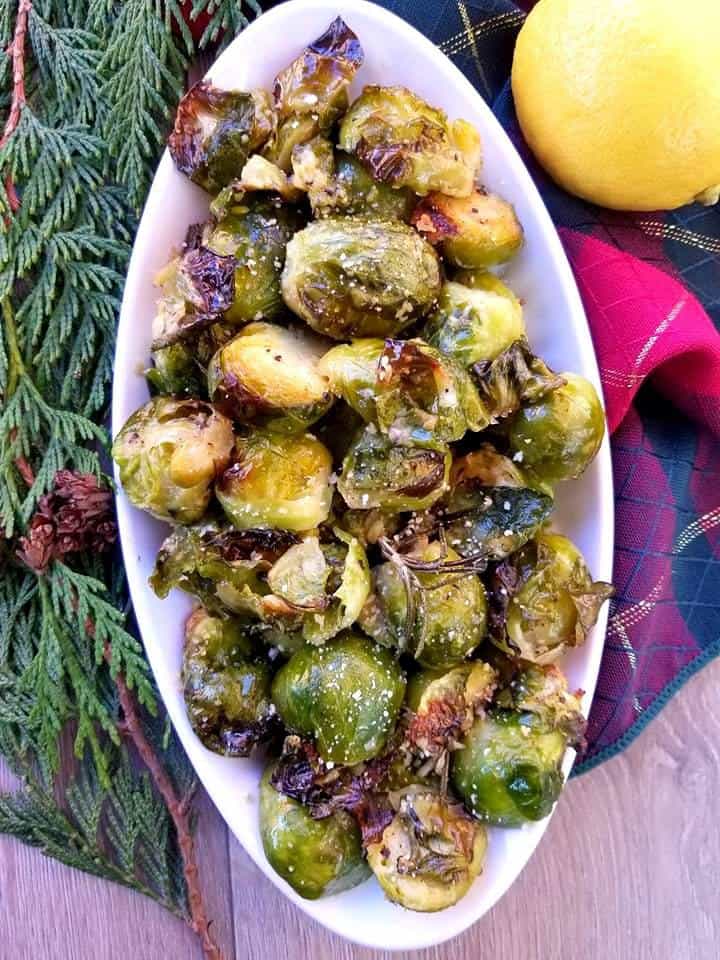
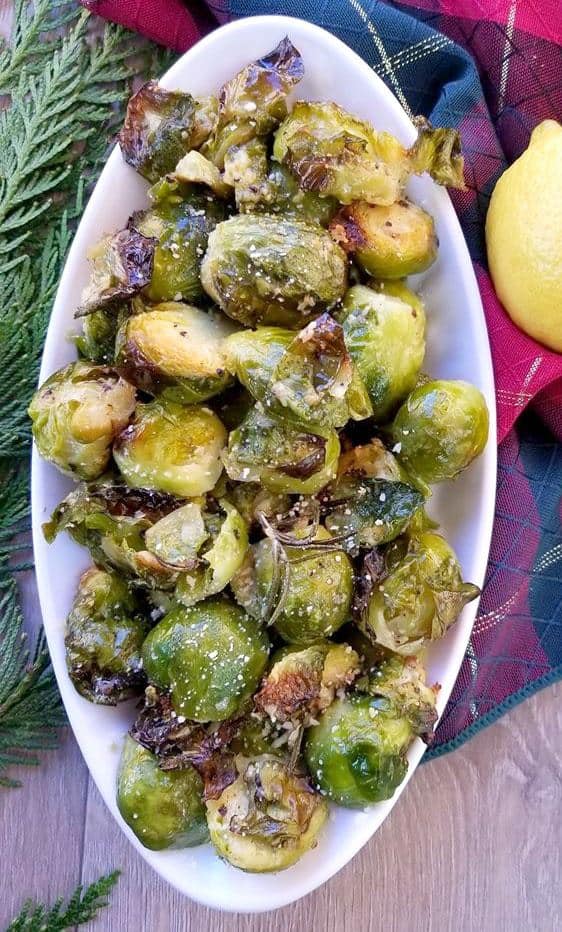
- Brussel Sprouts with bacon
- Butter Herb & Parmesan Mushrooms
- Turkey Pot Pies
- Creamy Cheese Mashed Potatoes
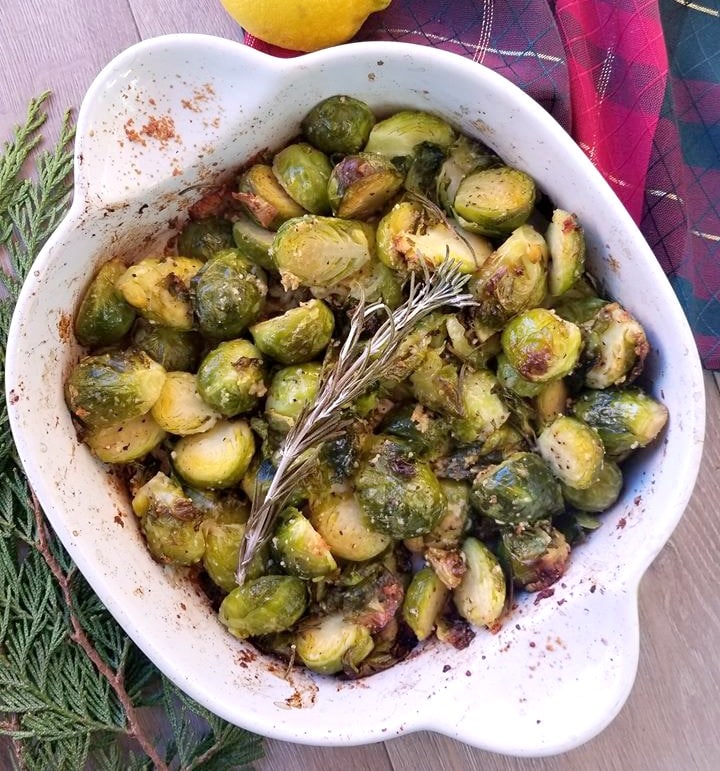
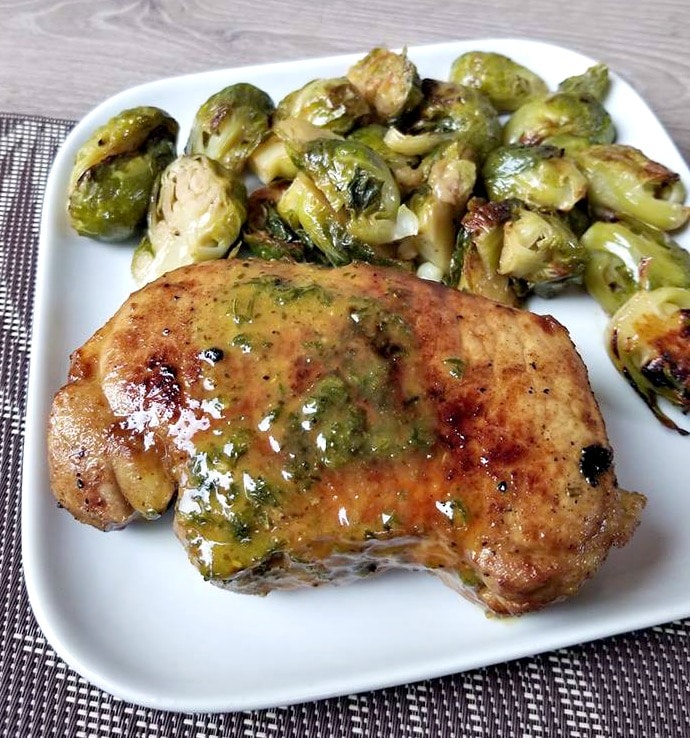
- Honey Mustard Brussel Sprouts
- Shredded Brussel Sprouts with Bacon and Balsamic
Also check out my roundup of Thanksgiving & Christmas Recipes from around the World or my 10 delicious stuffing recipes! for more inspiration!