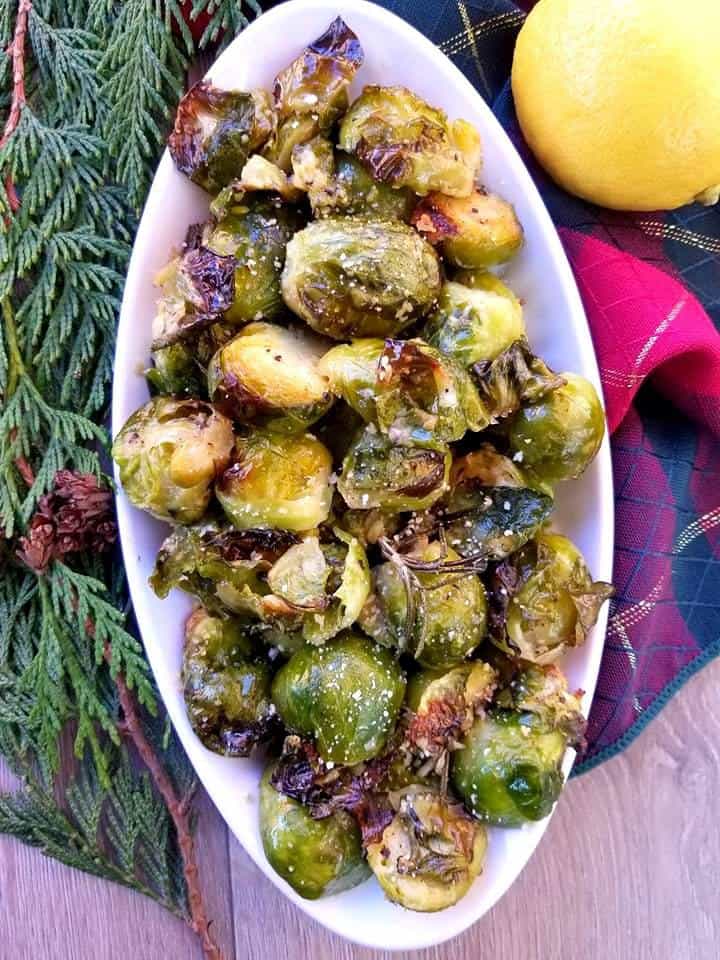
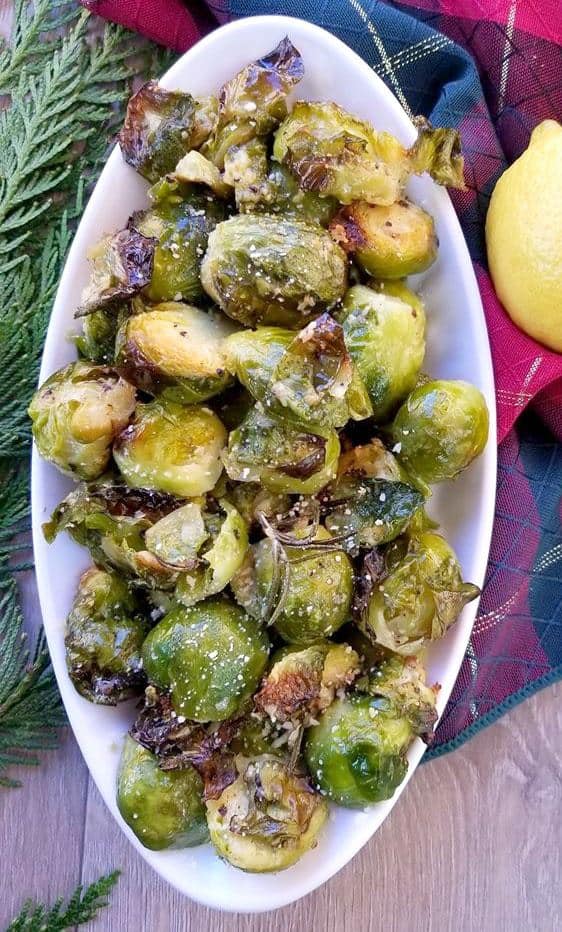
These Parmesan Rosemary Brussel Sprouts are the perfect side dish to just about any holiday meal.

Made with just a few simple ingredients, such as olive oil, salt and pepper, minced garlic, rosemary and lemon juice.
I just love Brussel Sprouts, but this wasn’t always so.
I actually hated them as a kid, along with broccoli, carrots and peas.
However today I love all of these veggies and that is because I have found the correct ways to prepare them.


There are many ways to prepare Brussel sprouts, you can bake them, fry them and even boil them.
My least favorite way, I must admit.
Baking them is truly the best, because something magical just happens to these veggies when you place them in the oven.
And trust me the kids will love them too!

Plus these delicious veggies are super healthy for you because there packed full of feel good fiber.
They take less less than 30 minutes to make from start to finish so really you can’t go wrong with this recipe.
First you will want to rinse then cut the ends off the brussels.
Then you will dice them in half and toss them in a bowl with olive oil and then bake in a preheated oven at 450 f for 15 minutes.

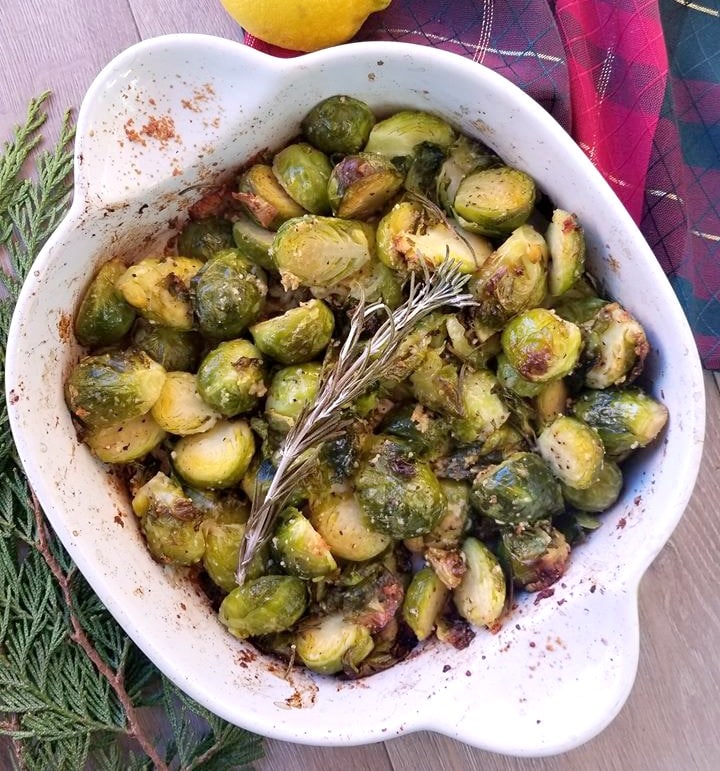
Once the 15 minutes is up, season with salt and pepper.
Then add in the minced garlic, rosemary and parmesan cheese and return the dish to the oven to cook for the remaining 10 minutes.
That is it, then there ready to enjoy!
Oh wait you can also drizzle some fresh lemon juice overtop of them right before serving, this makes them taste extra delicious!


Baked to a tender crisp, these brussels are something special. I’m confident you are going to love it too!
More Christmas & Thanksgiving recipes you may like:
See below for more inspiration!
- Brussel Sprouts with bacon
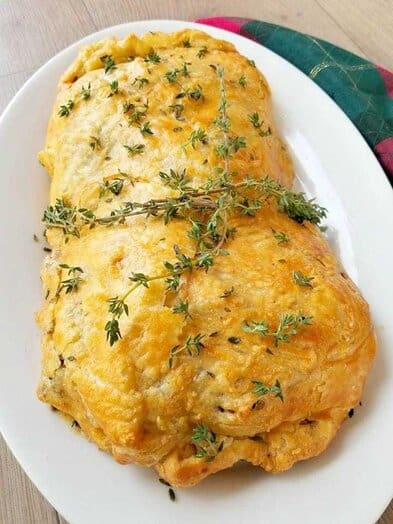
- Butter Herb & Parmesan Mushrooms
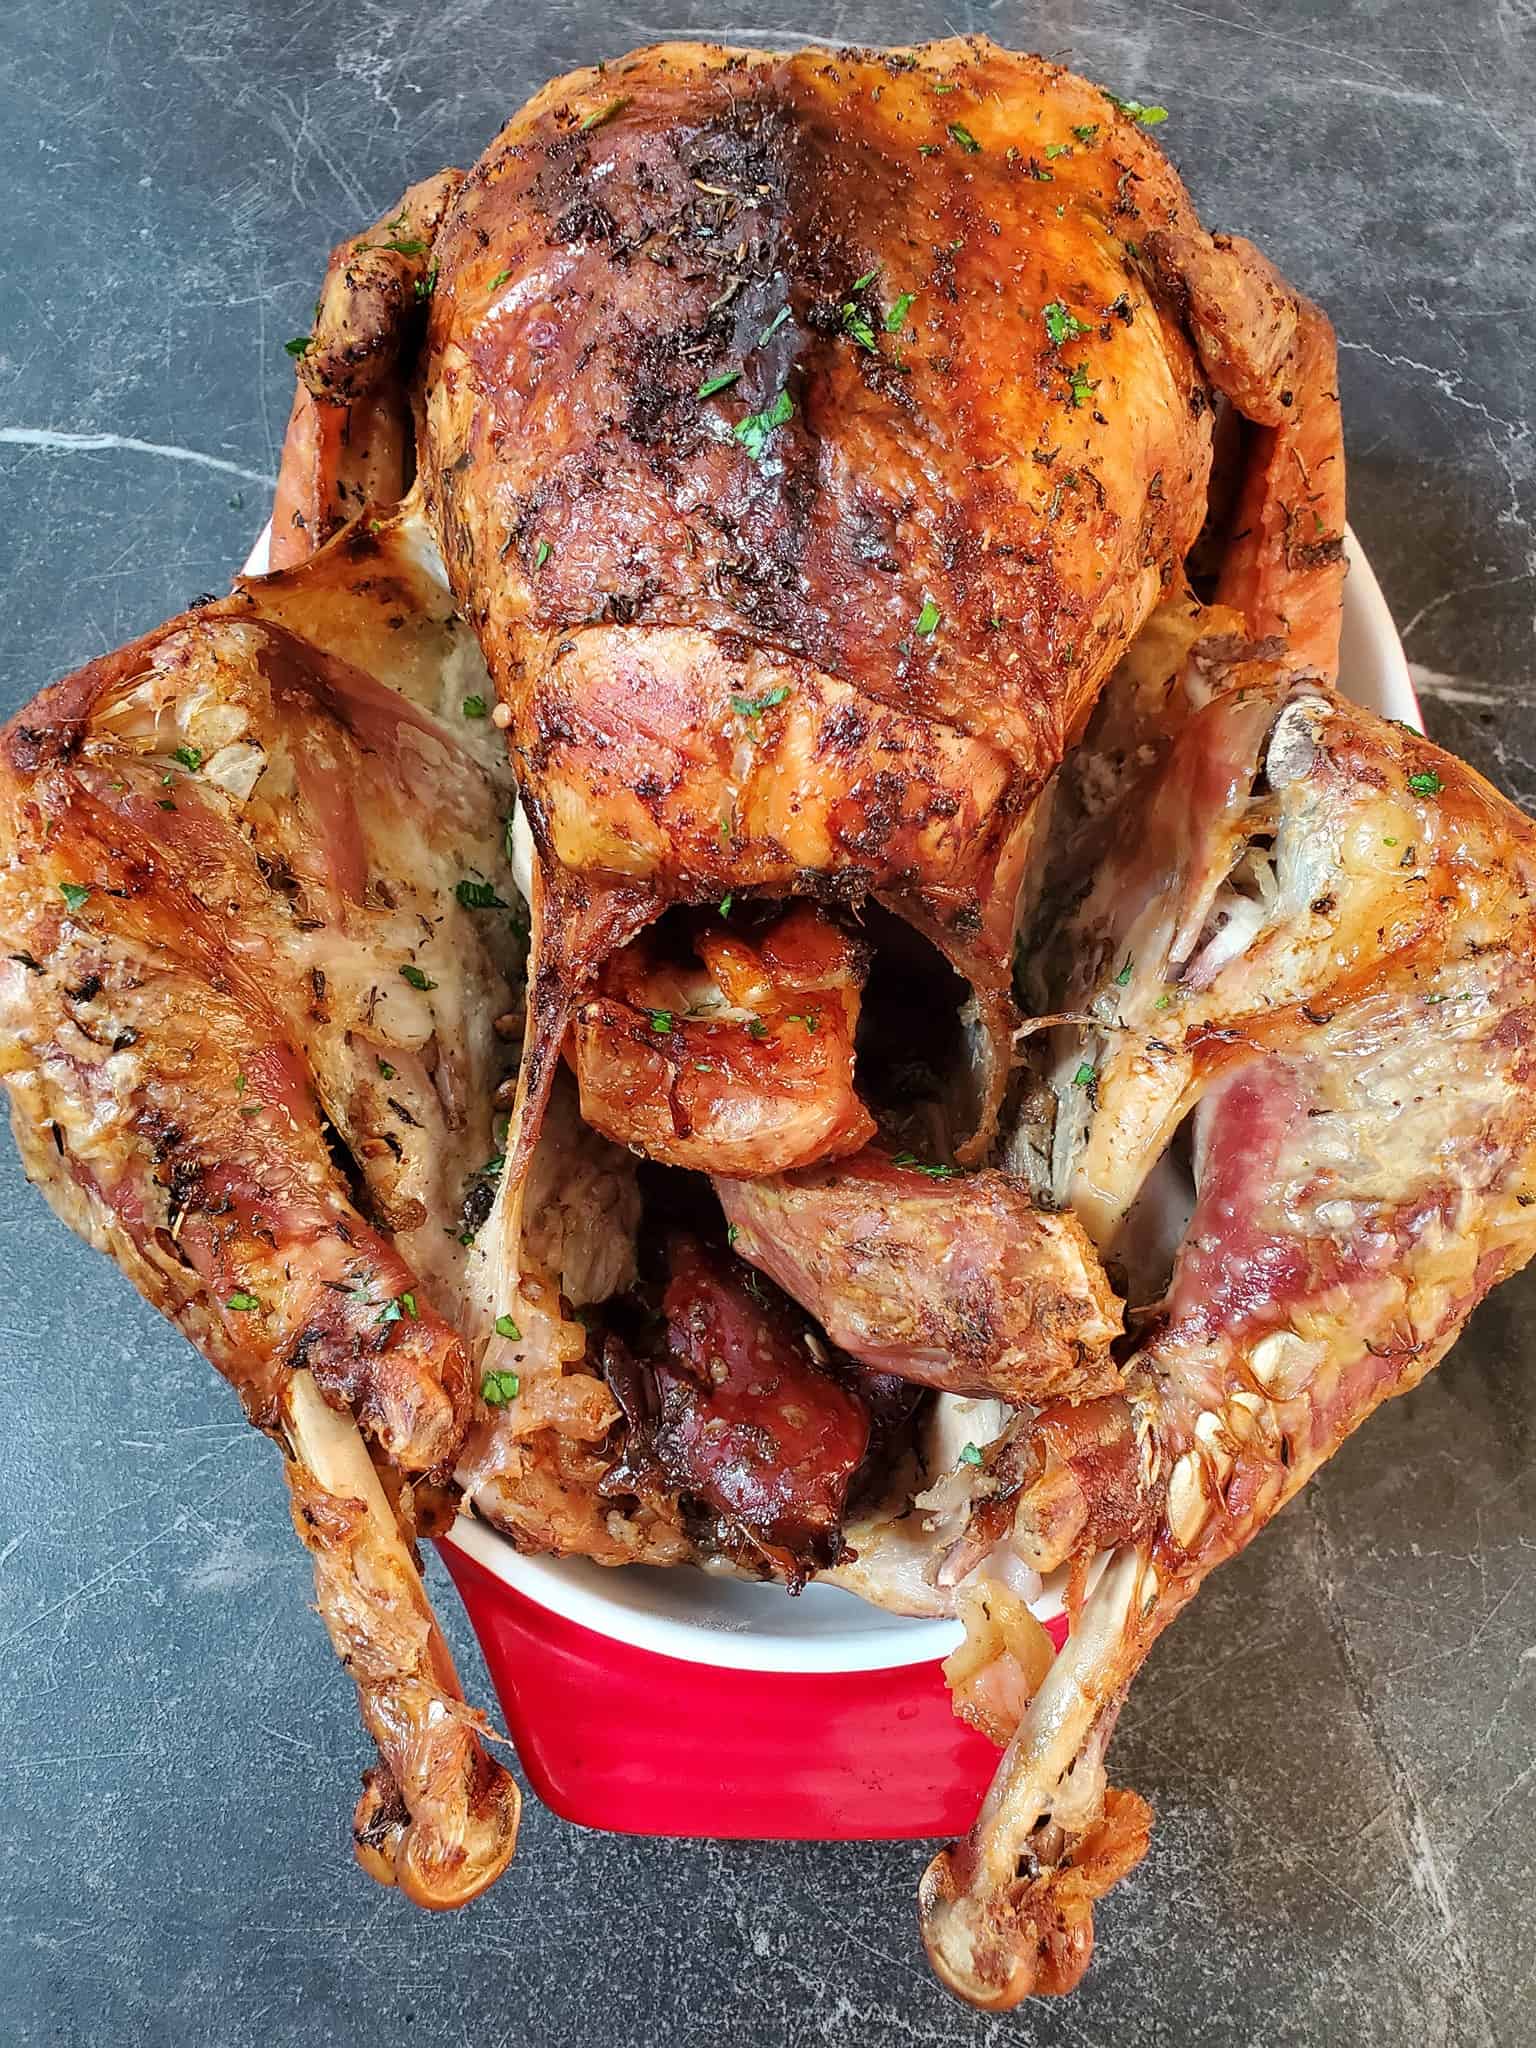
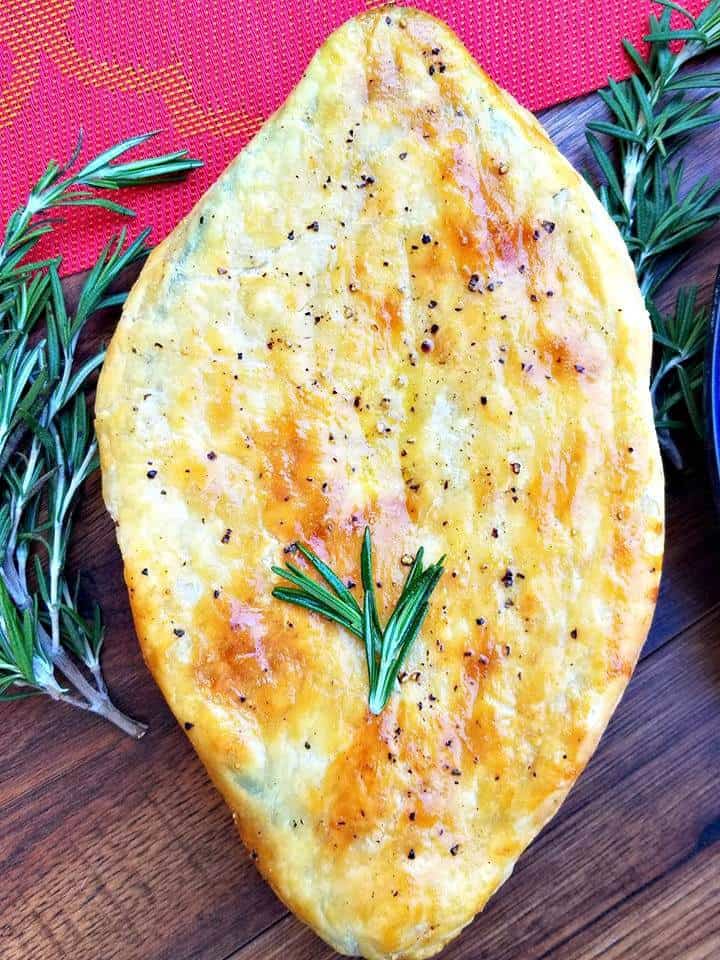
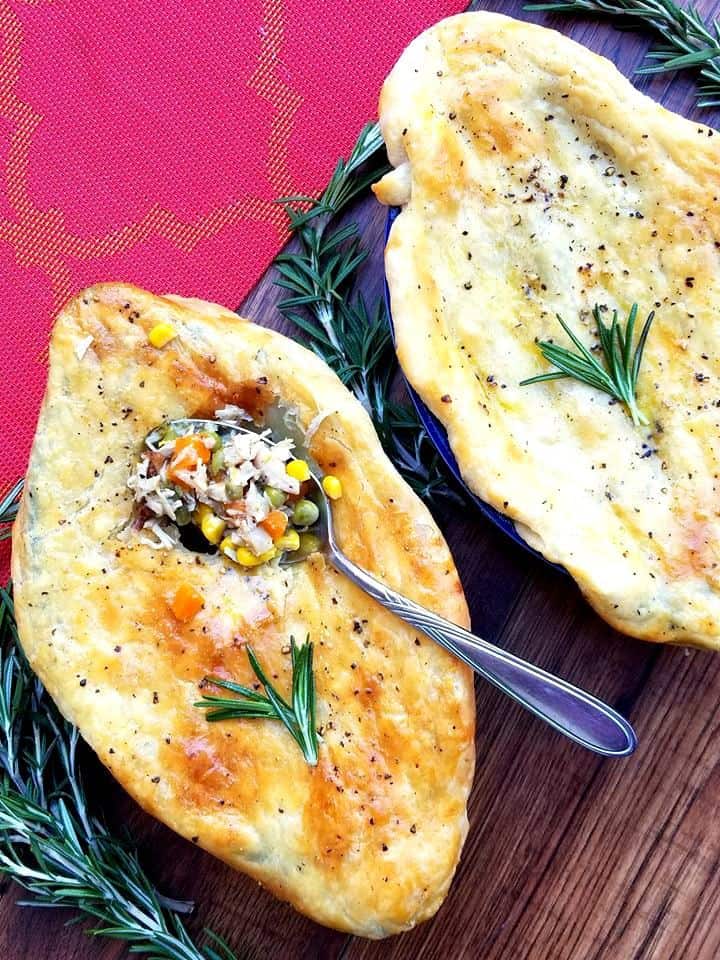
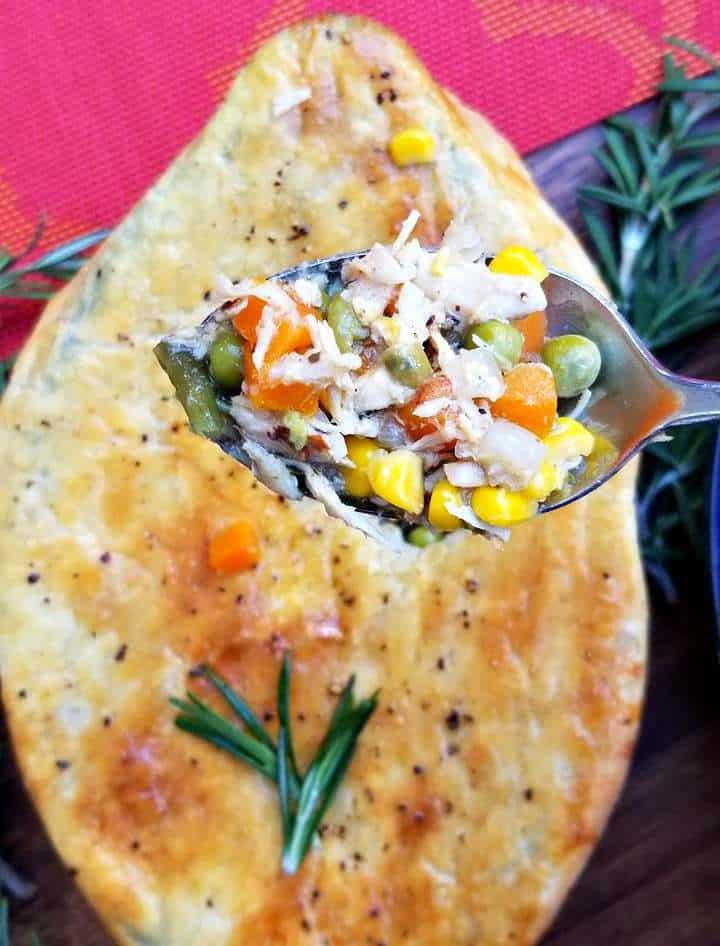
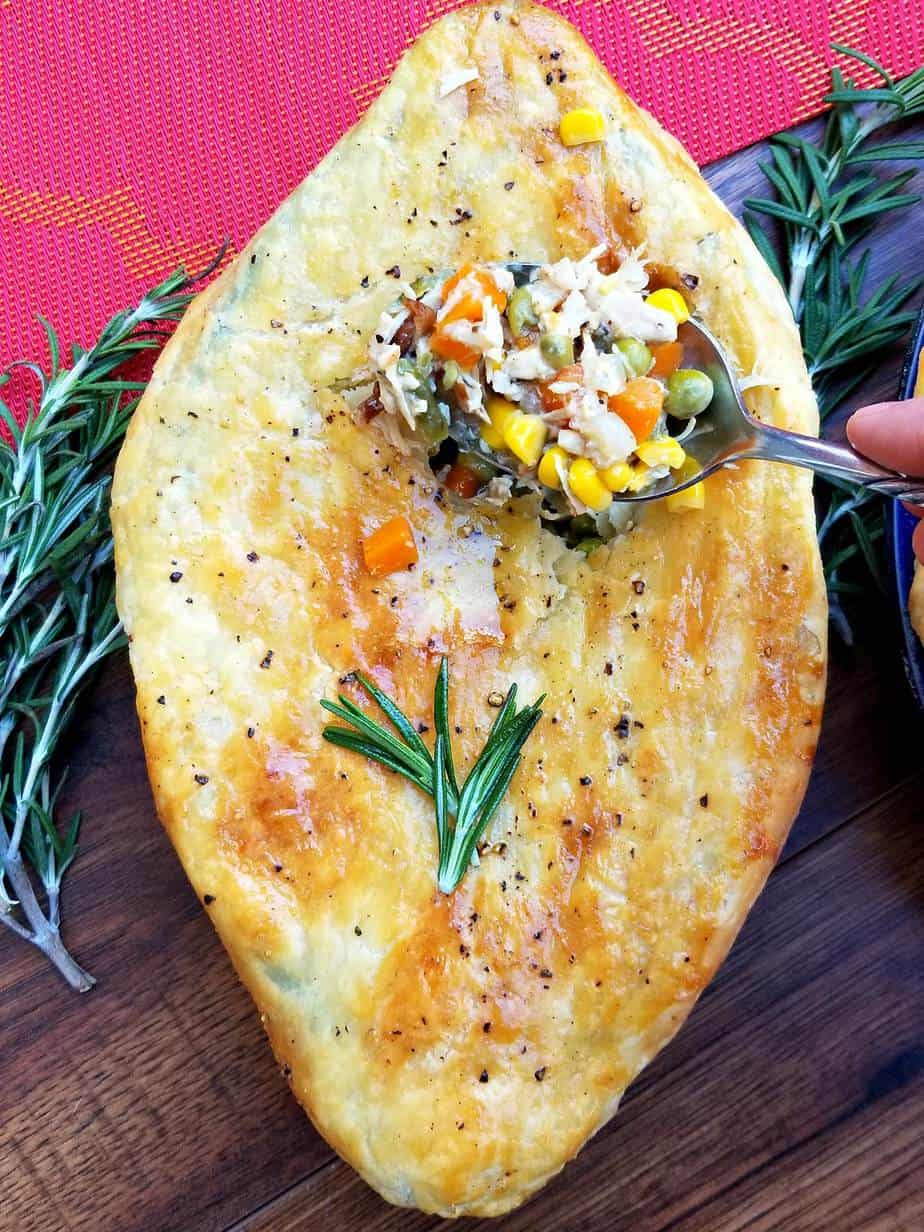
- Turkey Pot Pies
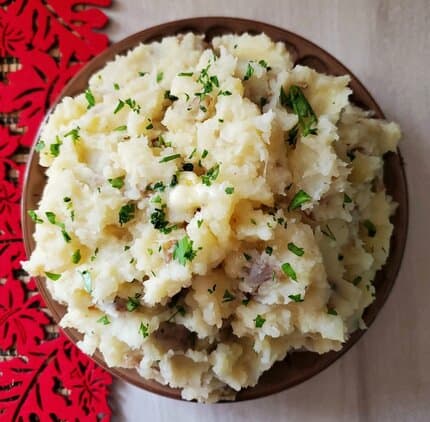
- Creamy Cheese Mashed Potatoes
- Honey Mustard Brussel Sprouts
- Shredded Brussel Sprouts with Bacon and Balsamic
Also check out my roundup of Thanksgiving & Christmas Recipes from around the World or my 10 delicious stuffing recipes! for more inspiration!
I am so thrilled you are reading one of my recipes, if you made this recipe i’d love to hear about it!Thank you very much for reading and until next time see ya in the kitchen. Don’t want to miss a recipe? Sign up for our NEWSLETTER delivered right to your inbox!