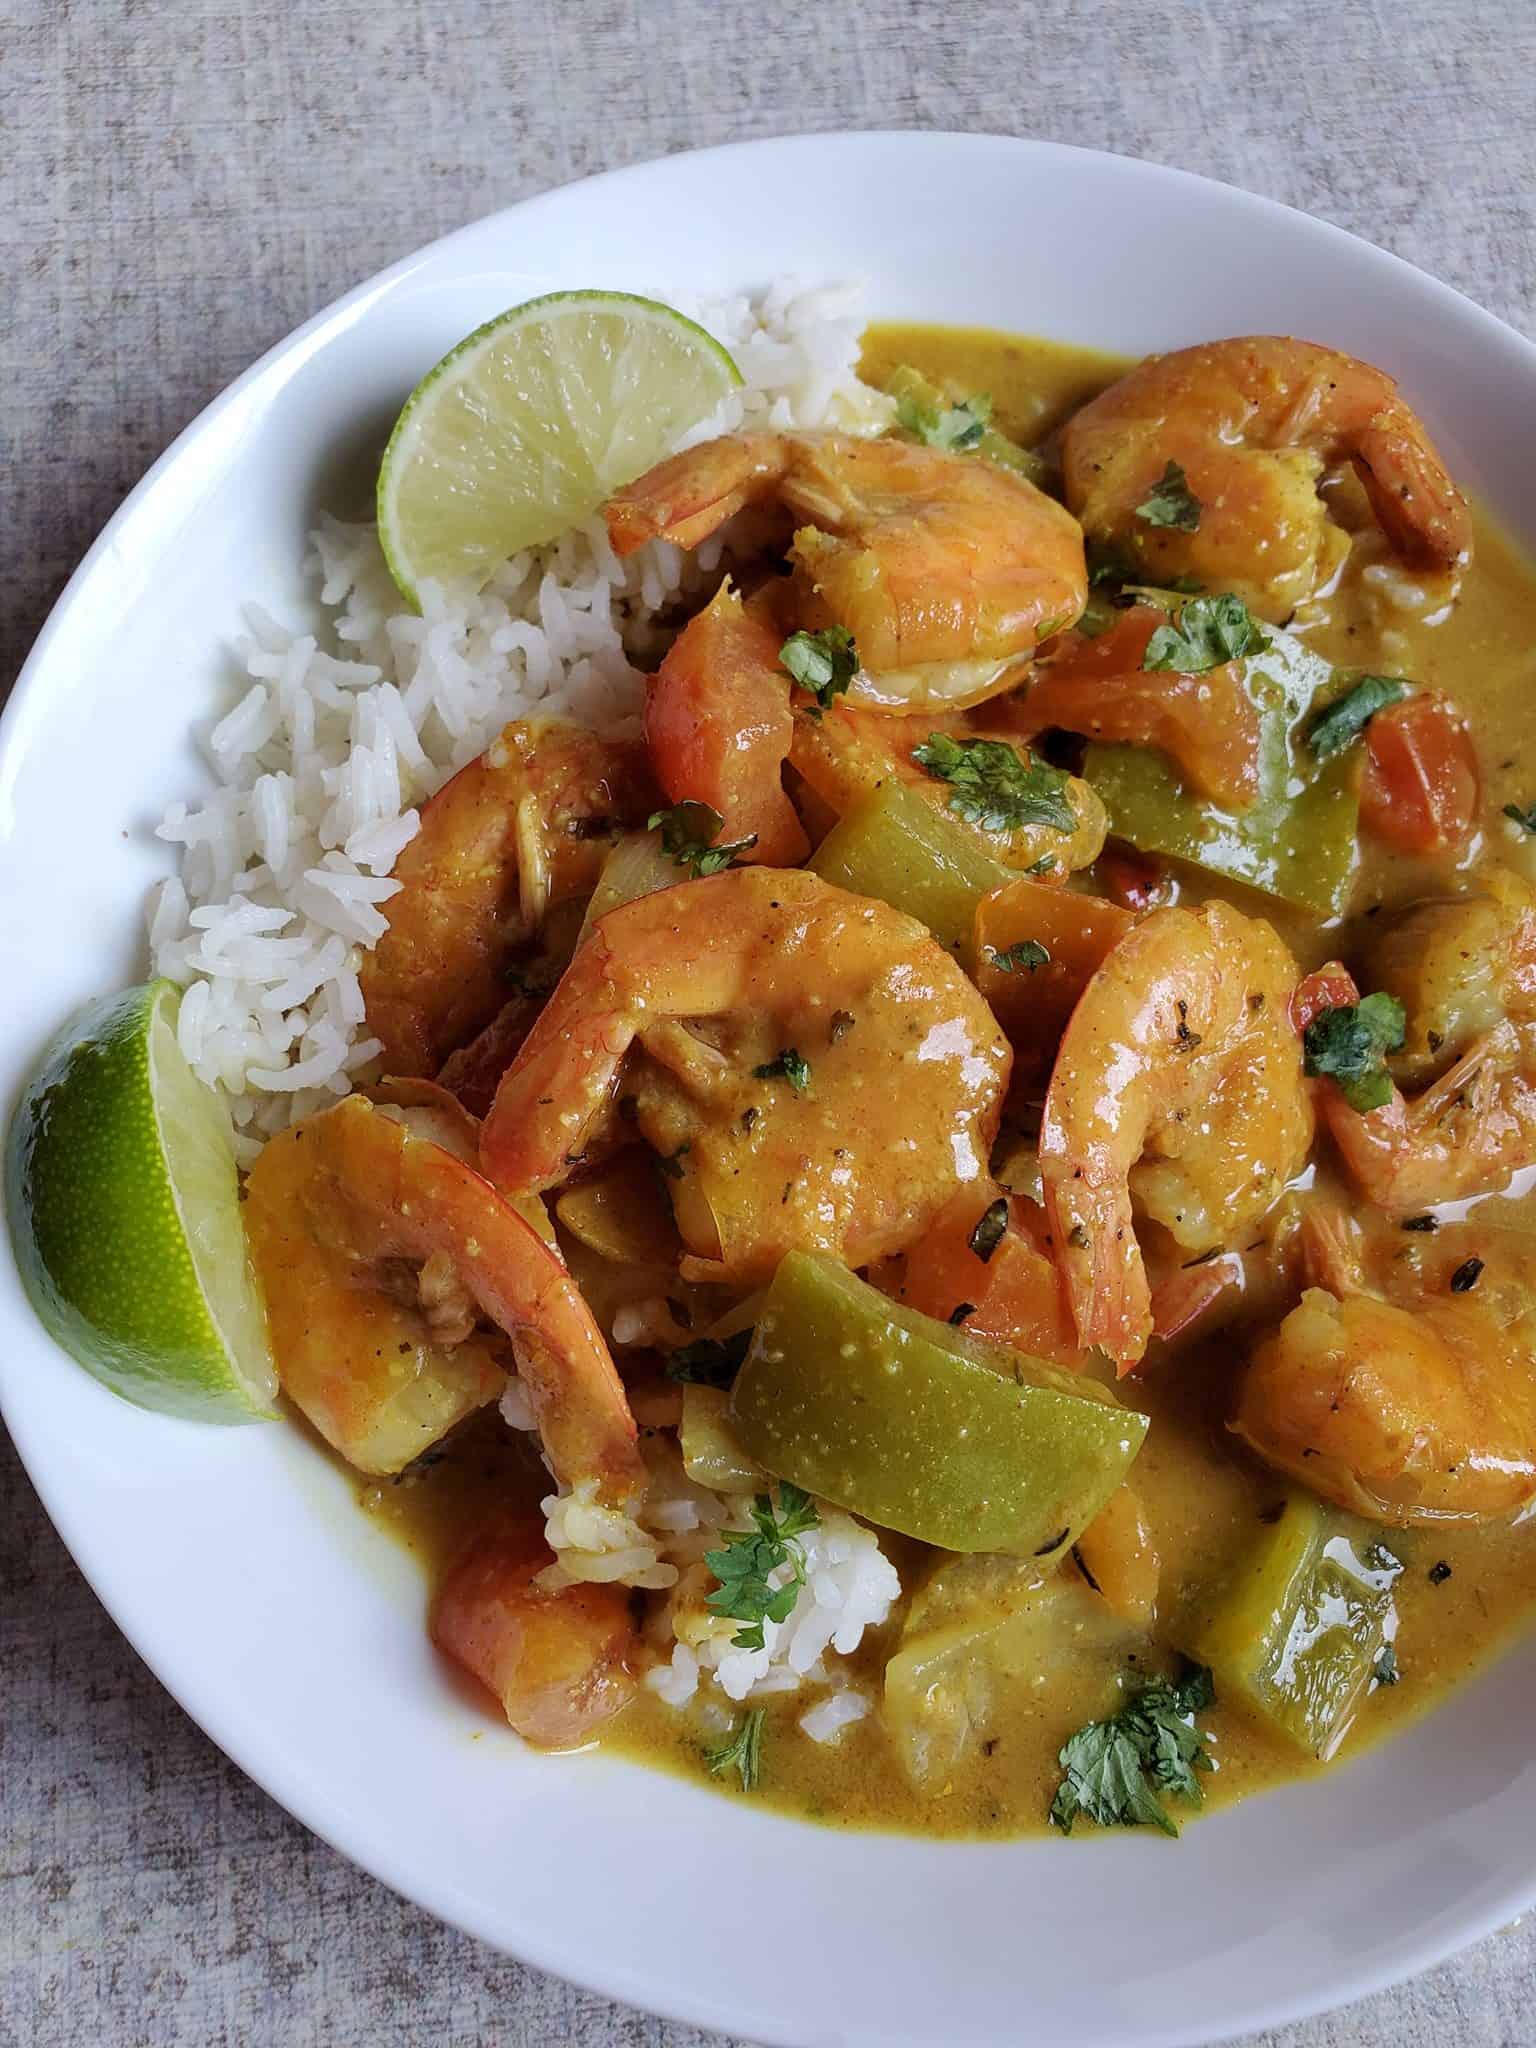
Satisfy your curry craving tonight with this mouthwatering Coconut Curry Shrimp that contains a fusion of flavor.


This Coconut Curry Shrimp is bursting with flavors from around the World.
As it contains two different types of curry flavors in it.
Think Thailand meets Jamaica!
And trust me it is super simple to make.
If you have never tried Red Thai Curry before, I encourage you to give it a try.
Some of the ingredients of RED THAI CURRY paste includes “Lemongrass”; “Galangal” , “Kaffir lime leaves” and Bird’s Eye Thai chilies.


HOW TO MAKE COCONUT CURRY SHRIMP
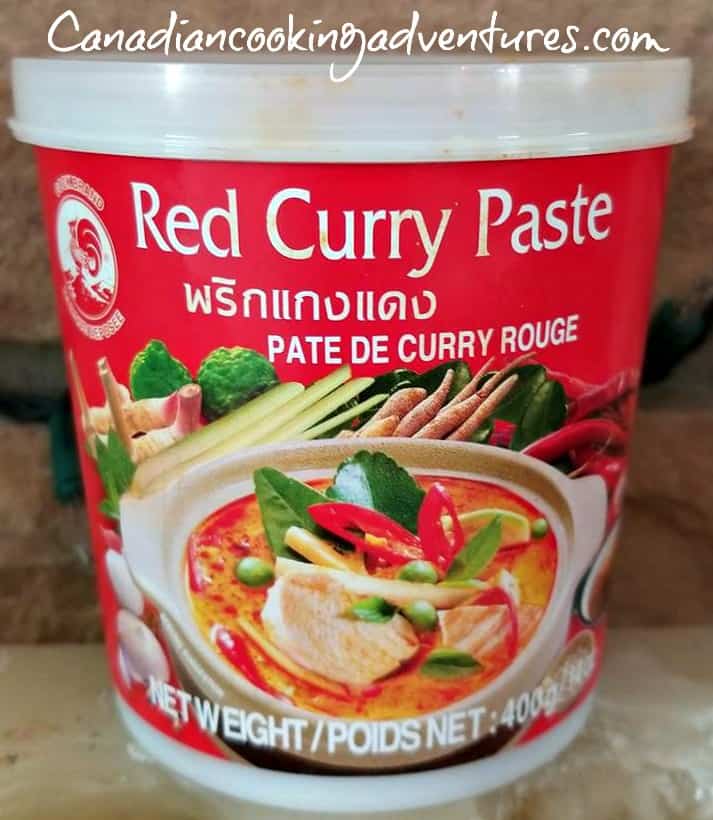
- Red Thai Curry Paste * see the picture below for my favorite brand
- Jamaican Curry Powder
- Thick Coconut milk * skip the watered down varieties
- Shrimp
- Cilantro
- Green peppers
- Onion
- Limes
- Rice
Our favorite “RED THAI CURRY PASTE”

The shrimp is curried to perfection and has become one of our new households favorites.
It is very similar to my Jamaican Curry Shrimp and if your interested in that recipe.
It is also a favorite in our household.
The difference between that recipe and this recipe is that here we are adding tomatoes and omitting the scotch bonnet peppers and replacing that with a bit of “Red Thai Curry” paste.
Both recipes are amazing and I encourage you to try this one and that one separately.


So if you like curry as much as me, then you are sure to love this recipe. We are infusing it also with salt and pepper, tomatoes and coconut milk that help to bring all those curry flavors alive.
Keep in mind you will want to use a good quality coconut milk, one that is not to watery. When it comes to the tomatoes you can choose fresh or canned.
COCONUT CURRY SHRIMP AND RICE
- Start by making your rice
- Bring a medium pot of water to a boil
- Turn the heat down to medium and add in 2 cups of rice
- Simmer on medium heat till the water is almost evaporated
- Turn down to low and simmer till tender, keep an eye on the liquid you may need to add a bit more or remove some.


HOW TO MAKE COCONUT CURRY SHRIMP
This recipe is super easy to make. Trust me it is as easy as 1, 2, 3
First you want to cook some rice. I like to use Basmati rice for this dish, however any type works.
- First you want to cook some rice. I like to use Basmati rice for this dish, however any type works.
- Then in a large skillet you will want to add some coconut oil then the garlic and ginger powder along with the Jamaican curry powder and saute on medium heat till fragrant.
- Next add in your Red Thai Curry paste and saute 1 minute till fragrant.
- Add in remaining spices then the can of coconut milk.
- Simmer on medium heat and add in your chopped onion and green pepper. Simmer on medium – low till the veggies have become tender.
- Lastly add in the shrimp and cook till no longer pink.
- Serve over rice with fresh limes.
Keep in mind you can use fresh ginger and garlic if you so desire.


Notes: “Lemongrass”, “Galangal” and “Kaffir lime leaves” can be found in most Asian stores. “Thai Red Curry Paste” can be found in most Supermarkets, Thai Red Curry paste has all the above ingredients in it needed to make this dish.
HOW TO COOK COCONUT CURRY SHRIMP JAMAICAN STYLE
Find that recipe here on my website: Jamaican Coconut Shrimp Curry
I’m thrilled you are reading one of my recipes, if you made this recipe i’d love to hear about it! Thank you and until next time see ya in the kitchen. Don’t want to miss a recipe? Sign up for our NEWSLETTER delivered right to your inbox!
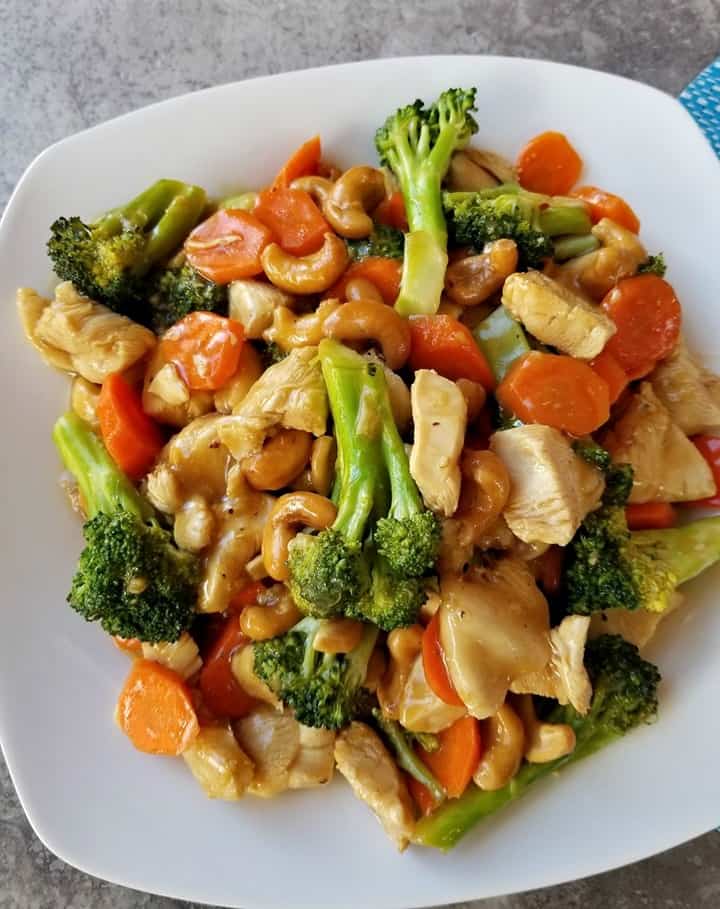
LOOKING FOR MORE CURRY RECIPES
- Chicken & Spinach Curry
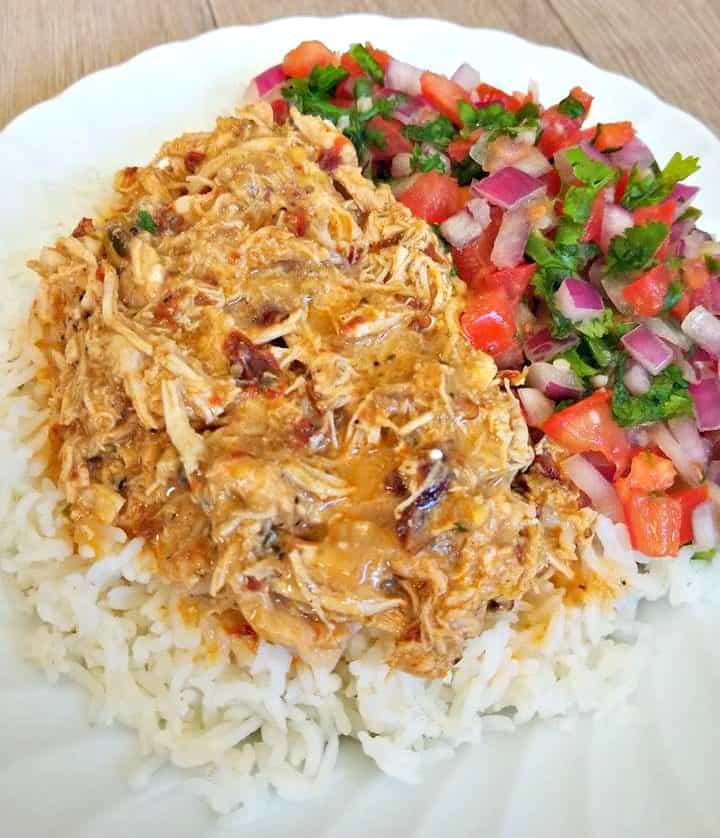
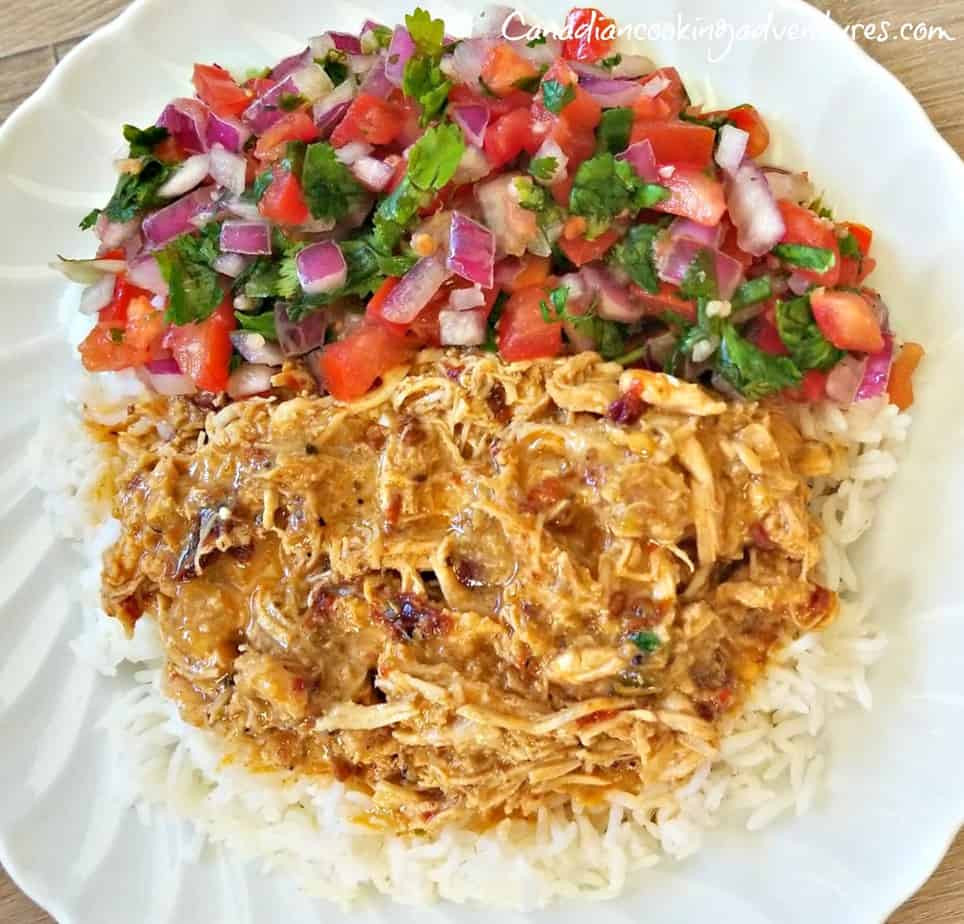
- Peanut Butter Chicken Curry
- Butter Chicken
- Red Kidney Bean Curry
- Rice & Peas
- Jamaican Curry Chicken
- Jamaican Curry Goat
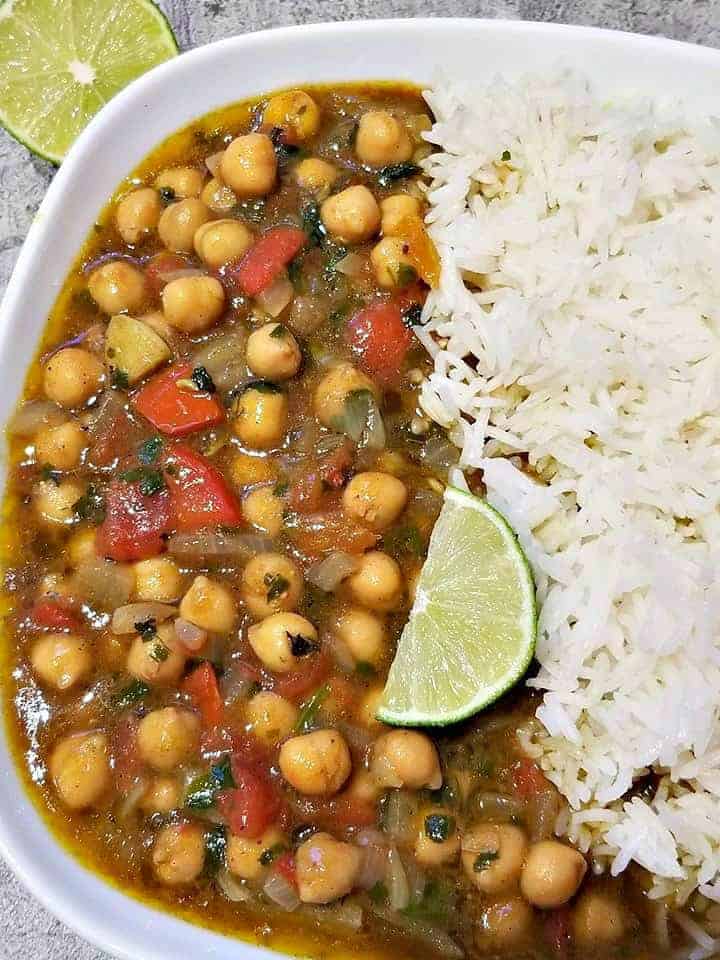
- Chickpea Curry
- Chicken & Spinach Curry
- Peanut Butter Chicken Curry
- Butter Chicken
- Red Kidney Bean Curry
- Super Tasty Chicken Karahi
- Vegan Thai Coconut Green Curry
- Best Thai Red Curry
- Chicken Chickpea Curry