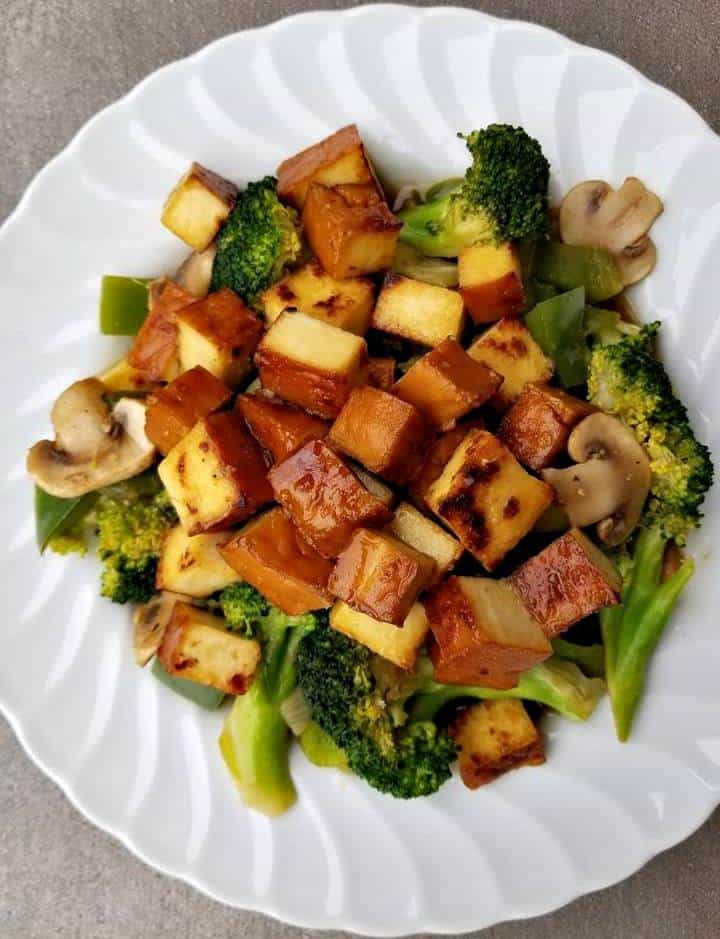
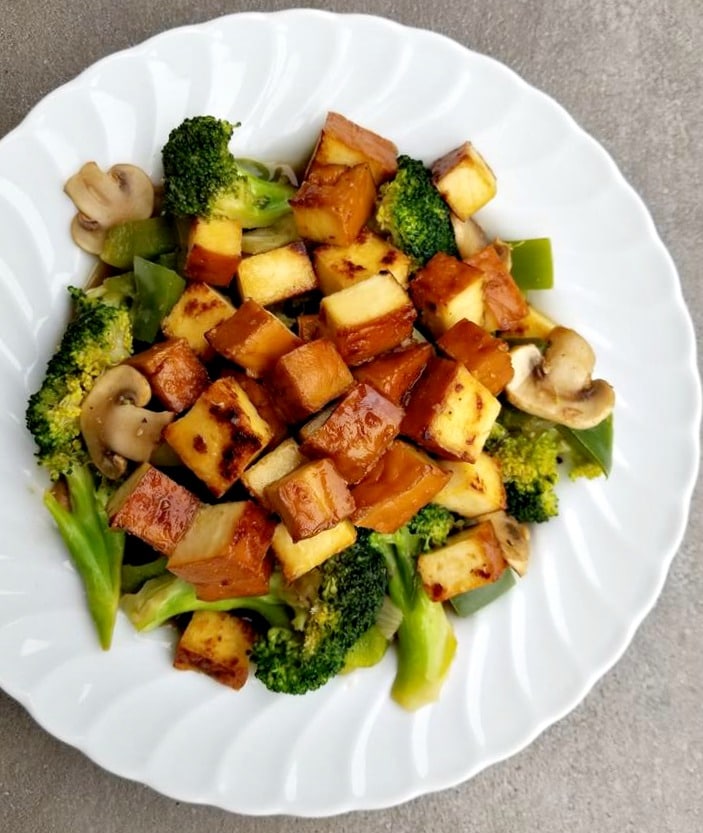
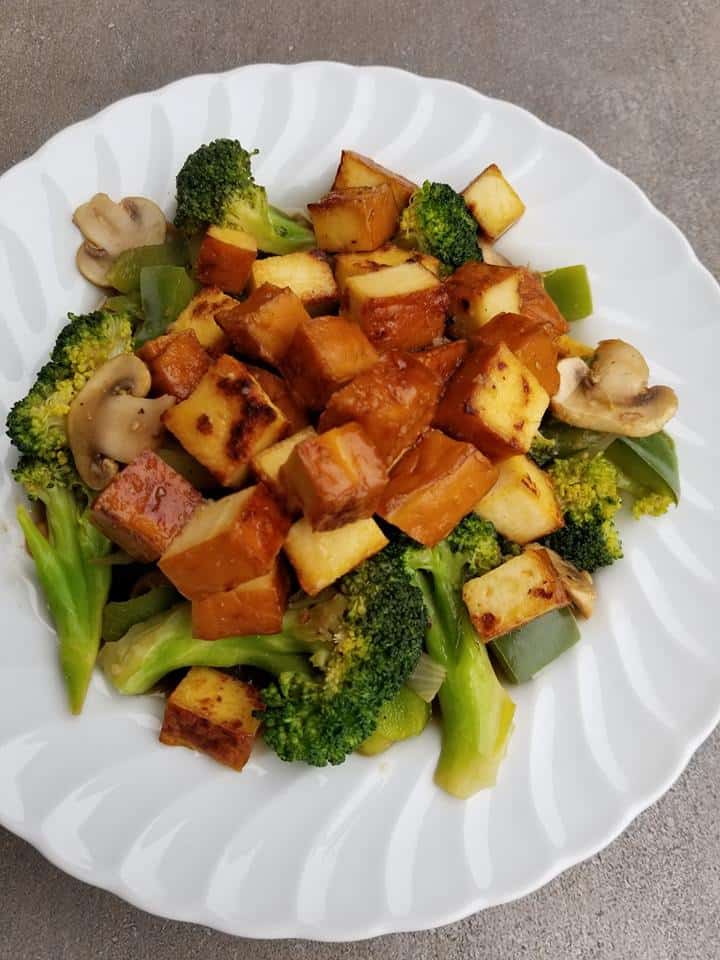
This Smoked Tofu Vegetable Stir Fry is 100% Vegan and makes for an excellent meal prep and dinner option.
Have you ever tried smoked tofu before? If not then you should try it! I have always liked tofu however my partner hates it. I coaxed him into trying this recipe and he said it wasn’t bad, then I saw him in the kitchen sneaking another bite of this. It’s that good 🙂
If your not much of a tofu fan, then I encourage you to give it a try this recipe. It really is something special and has made me a fan of tofu even more!
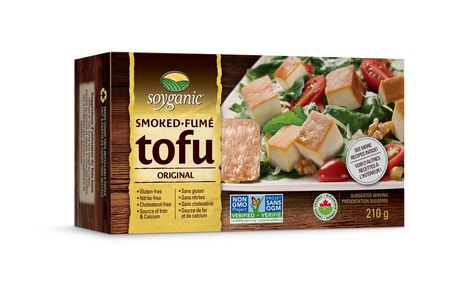
This is the kind I like to use it’s tasty!
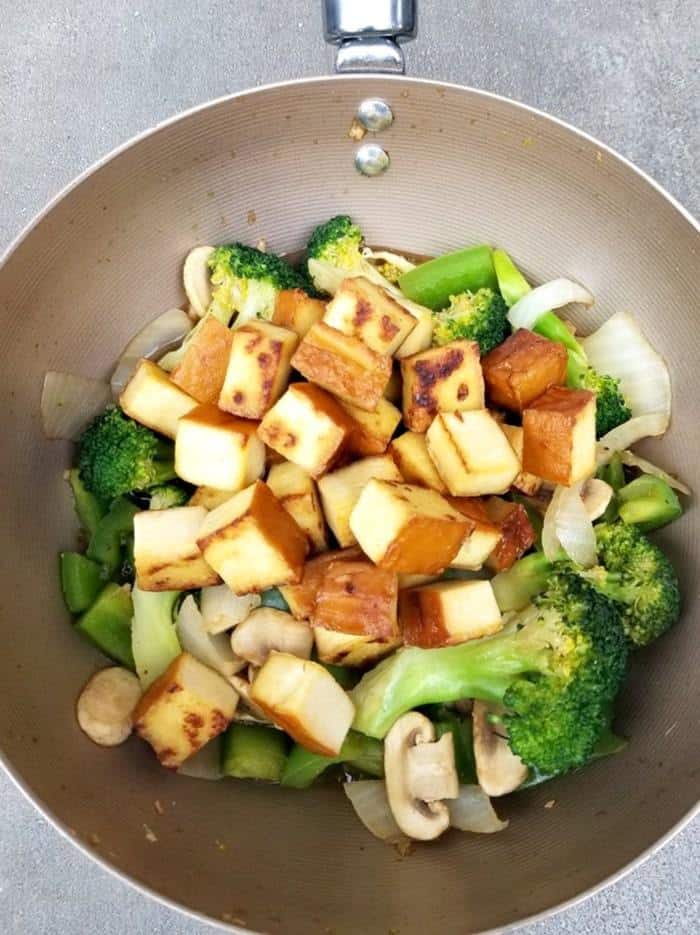
Tofu has tons of protein in it and is often used as a replacement to meat. So if your looking to add more vegan and plant based meals to your menu, this recipe is sure to help.
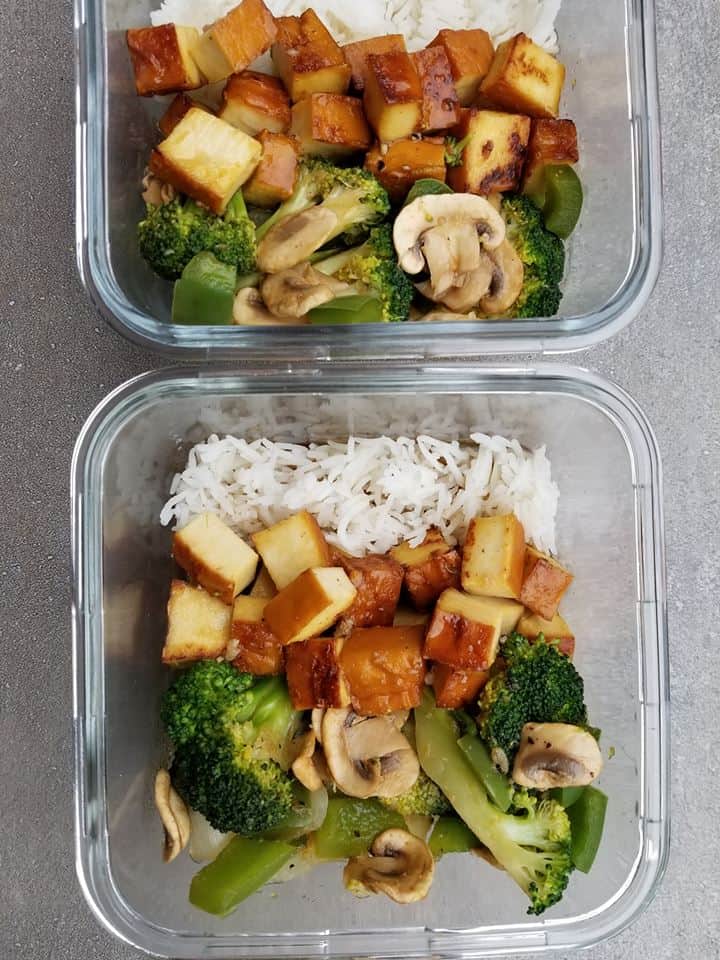
Serve with some basmati rice and you will have yourself a healthy vegan meal in no time.
Notes: You can always use regular tofu in replace of the smoked.
Meal Prep Inspiration: Make two meal preps with this recipe or double it up and make four.
I am so thrilled you are reading one of my recipes, if you made this recipe i’d love to hear about it! You can post a review, picture below or via Instagram and let me know how it turned out. And by doing so you will be automatically entered into our seasonal CONTEST to win one of our great prizes. Winner will be notified via email within a week after the contest closes. Thank you very much for reading and until next time see ya in the kitchen. Don’t want to miss a recipe? Sign up for our NEWSLETTER delivered right to your inbox every Month!
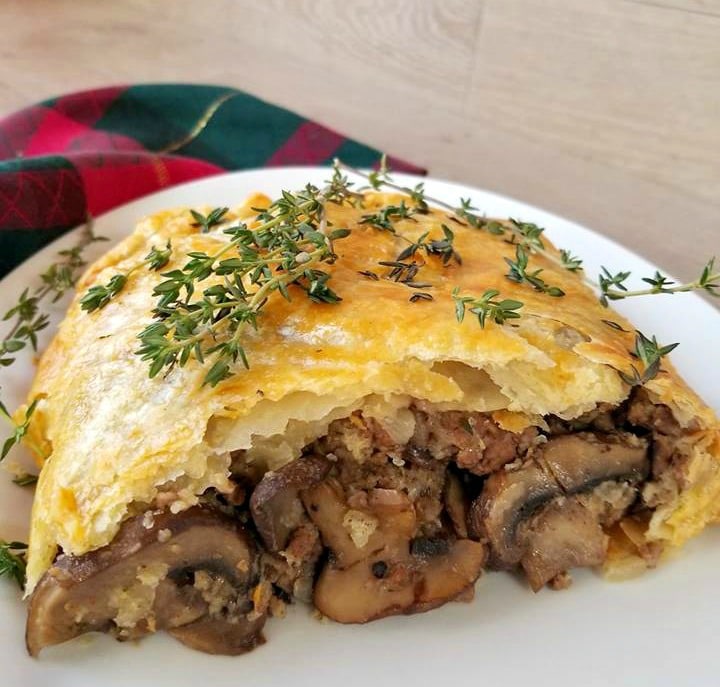
This Easy Ground Beef Wellington recipe is spiced just right and is family favorite in our house. With the additions of mushrooms and is something that can be whipped up in less than an hour since we are using some pre made puff pastry.
Your family can enjoy this homemade recipe any time of the year.
But really makes the perfect addition to any Holiday meal.
FUN FACT: Beef Wellington get’s it’s name from a man named Arthur Wellesley who was the first Duke of Wellington. He had a victorious Battle on June 18 1815.
The Duke was given his title after defeating Napoleon Bonaparte the year before, and not long after he became Prime Minister.
Traditional Beef Wellington was made with fillet steak inside. I have had that at a restaurant once and it was delicious.
However, I wanted to create something different. And mix the best of both worlds, beef and mushrooms. This recipe has now become popular on this blog, I hope you give it a try and let me know what you think.
HOW TO MAKE HAMBURGER BEEF WELLINGTON
This recipe is made with lean ground beef, onions, mushrooms, eggs, panko bread crumbs, flour, red wine vinegar, worcestershire sauce and seasoned with fresh thyme and rosemary.
Be sure to use fresh thyme and rosemary in this recipe, it makes all the difference.
Also do not skip on the worcestershire and red wine vinegar it helps to merge all the flavors together.
HOW TO MAKE PUFF PASTRY
I used a pre – made puff pastry to save time, (see below) The pre – made puff pastry I recommend is from Tenderflake. The box has 397 grams of puff pasty in it!
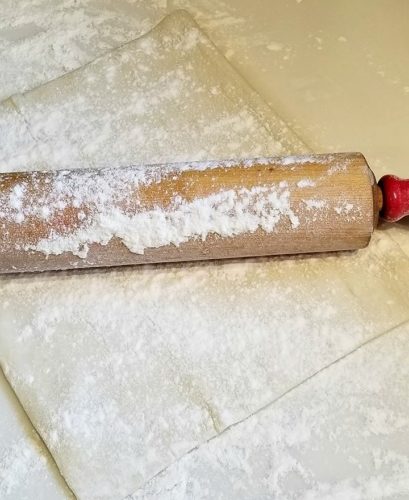
Simply remove it from the package, allow it to defrost for 1 hour and sprinkle with flour before rolling it out.
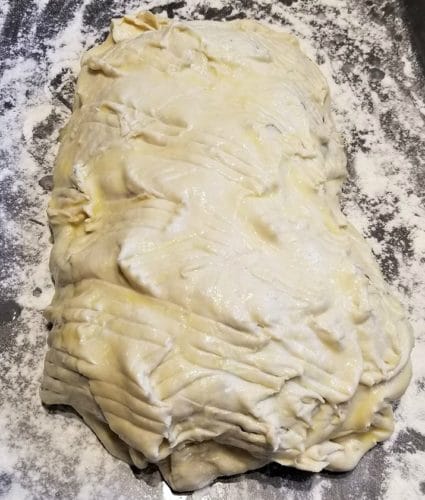
Fill the pastry with the Beef and Mushroom mixture.
Brush with the egg wash.
And make impressions to the dough as so with a fork.
Looking for a FANTASTIC homemade puff pastry recipe?
I have one here in my in my “Turkey Pot Pie” recipe instructions.
You may be more familiar the more traditional “Beef Wellington” type recipes. Which have you using Beef tenderloin or fillet instead of hamburger.
However, this recipe is just as good and if you use brown mushrooms alongside the hamburger it becomes absolutely amazing.
You will be able to serve 3 peoples for dinner easily with this. And if your wanting to serve more, I would recommending make 2 of them. Which is not hard to do at all!
Wishing you and yours a Merry Christmas and Happy New Year!
I am so thrilled you are reading one of my recipes, if you made this, I want to see! Follow Canadian Cooking Adventures Instagram, snap a photo, and tag and hashtag it with @canadiancookingadventures and #canadiancookingadventures.
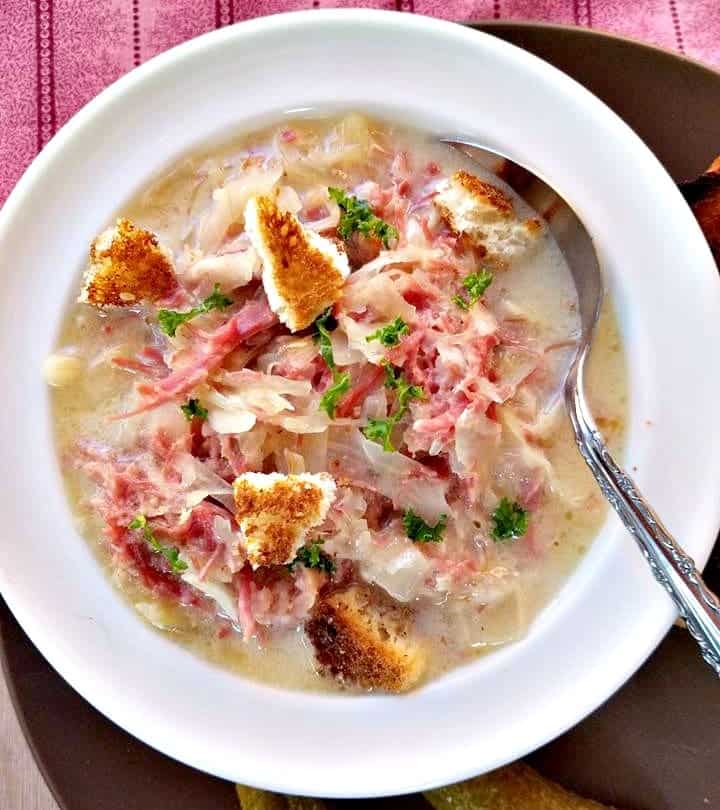
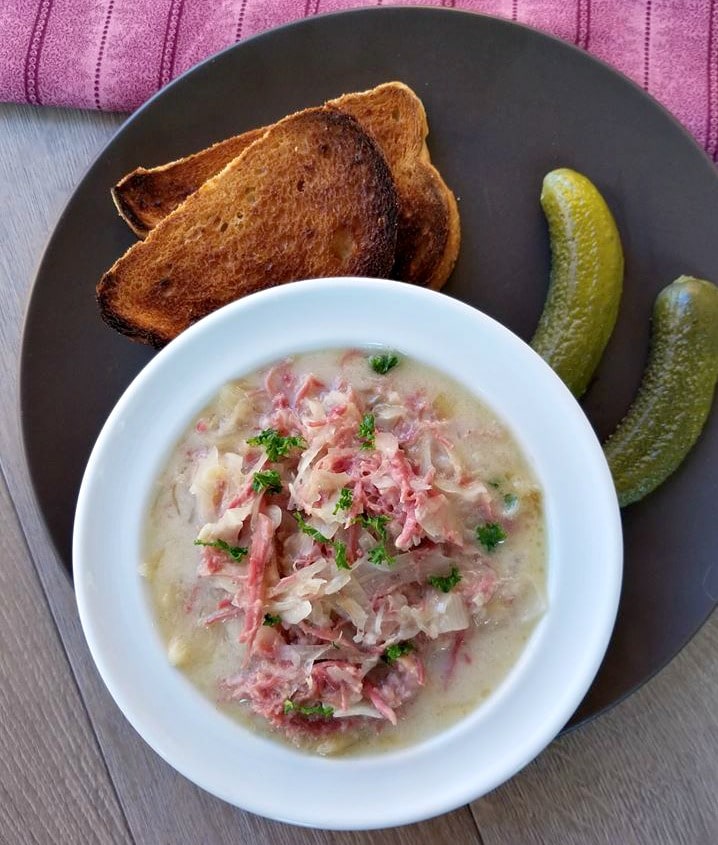
This Creamy Reuben Soup is low carb and absolutely delicious. If YOU like Reuben sandwiches, then your going to love this soup!
I grew up eating the old classic “Reuben Sandwiches” in my home. My mom used to make then from scratch for me. With spicy mustard, which was my favorite way to eat them.
This soup reminds me so much of my childhood, but only in a soup.
Image a creamy Reuben sandwich? That is this soup, and it is Amazing!
I bought 1 pound of a “pickled corn beef” a few days ago. And was looking to make something unique with it, since I wasn’t really feeling like making the typical beef brisket that you can find just about everywhere.
So I got to thinking and was like “Oh” I can make a Reuben Sandwich.
Wait better yet a Reuben Soup, now doesn’t that sound amazing?
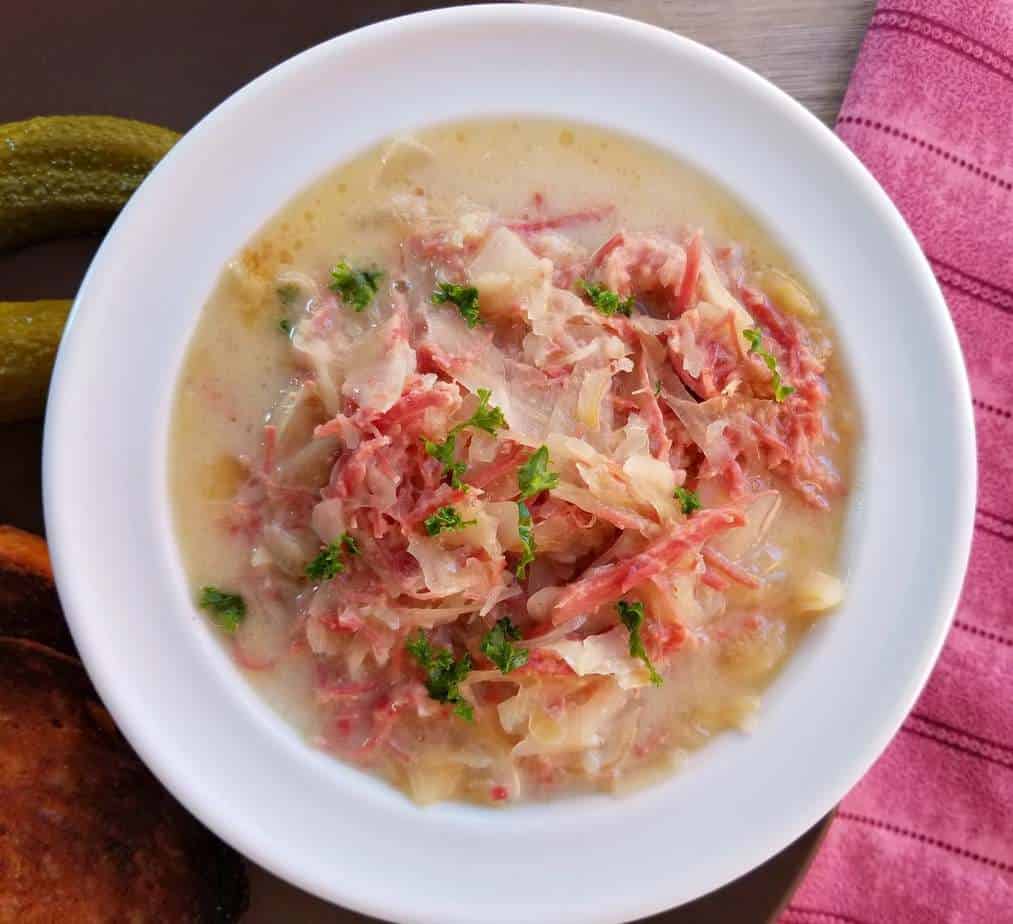
This soup tastes just like the sandwich but it’s warm and satisfying and makes an excellent meal.
Now if you can’t find any pickled corn beef then you can pickle it yourself.
Now of course you don’t have to use a pickled corn beef to enjoy this recipe, however if you decided not to pickle it then I do suggest adding in 1 tsp of cayenne seeds to this soup.
It is mid November here in Canada and this recipe could not come at a better time for me and my partner. Actually it turned out way better than we would have ever imagined.
Now I don’t know about you, but I do not have all night to be slaving over a stove, so instead I made this whole soup in my pressure cooker.
First I simmered the chopped onion in some butter on the browning setting, then the minced garlic.
Then simply added some flour, beef stock and the remaining ingredients into the pot. Minus the sour cream and swiss cheese and set it to cook for a good while in the pressure cooker.
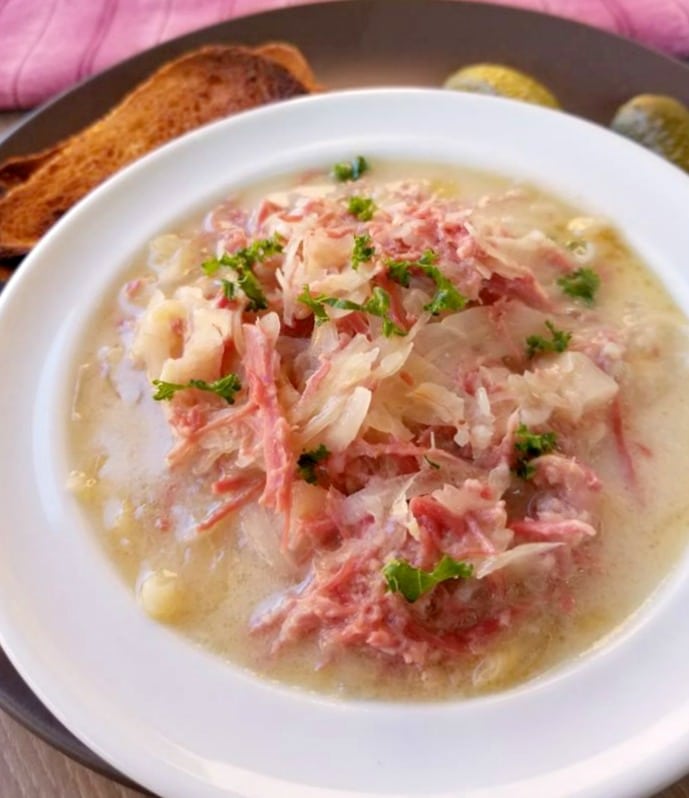
Once it was cooked, I shredded the brisket in my “food processor to get the meat to be very thin as you see above.
I definitely would not skip that step as it really helps to make this soup come together.
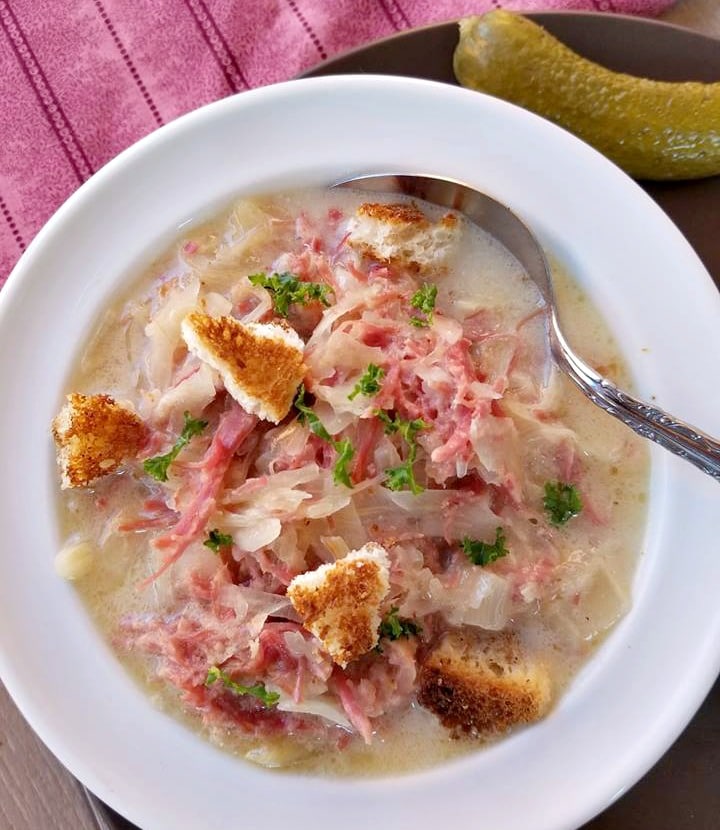
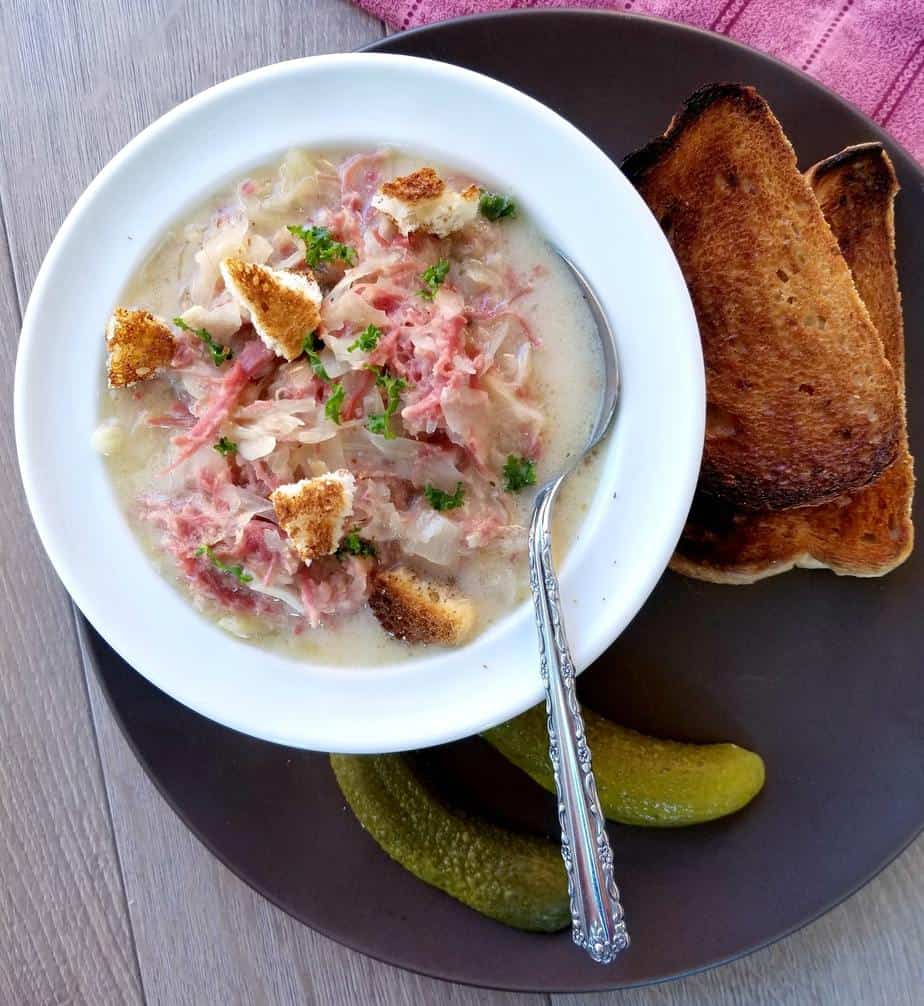
Once the brisket has been shredded you will simply add it back to the pot along with the swiss cheese and sour cream to simmer for another 5 minutes before serving. Serve alongside some toasted “Rye Bread” enjoy!
We love this soup so much so, that we have made it a couple more times in the past month!
Notes: Feel free to freeze this soup it works great as leftovers too.
I am so thrilled you are reading one of my recipes, I appreciate every single one of you! Thank you very much for reading and until next time see ya in the kitchen. Don’t want to miss a recipe? Sign up for our NEWSLETTER delivered right to your inbox!
This Broiled Lasagna Soup is absolutely delicious and is one of our new favorite soup recipes! I created this recipe one day while I was making “onion soup” that recipe can be found on this blog as well.
I love soup so I’m always thinking of new ways to recreate the classics. This lasagna soup is similar to many other lasagna soups recipe you will find, however mine has a few other special ingredients such as passata sauce and Worcestershire sauce.
Not to mention it’s broiled at the end which makes it taste allot like real Lasagna.
So if you LOVE lasagna as much as we do then you are going to love this soup!
Oh btw if your ever looking for an amazing Lasagna recipe, I will link that recipe below for you.
What I like about this soup is that there really is no effort to making it, well that is compared to actual lasagna.
Where you are to pre -cook the noodles and other ingredients before merging it all together in layers and placing it all into a large baking dish.
With this soup we are simply adding everything into a large pot and cooking it all together, it’s like a lazy lasagna.
And the last step will have you placing the soup into oven safe bowls, the same kind of bowls you would use to make “onion soup” and broiling it with extra cheese on top.
Then it’s like your eating a big bowl of lasagna expect there is some beef broth inside. AMAZING!
Also the time to cook it is cut in half compared to traditional lasagna. So it’s a win win! I really encourage you to get your hands on passata sauce, it’s fresh pureed tomatoes that have been uncooked and it really makes this soup creamy and so delicious!
Passata sauce can be found in almost any mediterranean market or in your local grocery in the canned tomato section.
Now the trick to making the best “Lasagna soup” is also using the right cheeses. This soup calls for white cheddar cheese, and marble cheese along with a bit of ricotta for serving.
This soup is out of this world delicious! I hope you give it a try and if you do I would love to know what you think, just let me know in the comments below.
Notes: Feel free to freeze this soup it works great as leftovers, however keep in mind that broiling it from frozen doesn’t so much. Also make sure to break up those whole tomatoes with a wooden spoon while cooking, you do not want bites of whole tomatoes.
I am so thrilled you are reading one of my recipes, I appreciate every single one of you! Thank you very much for reading and until next time see ya in the kitchen. Don’t want to miss a recipe? Sign up for our NEWSLETTER delivered right to your inbox!
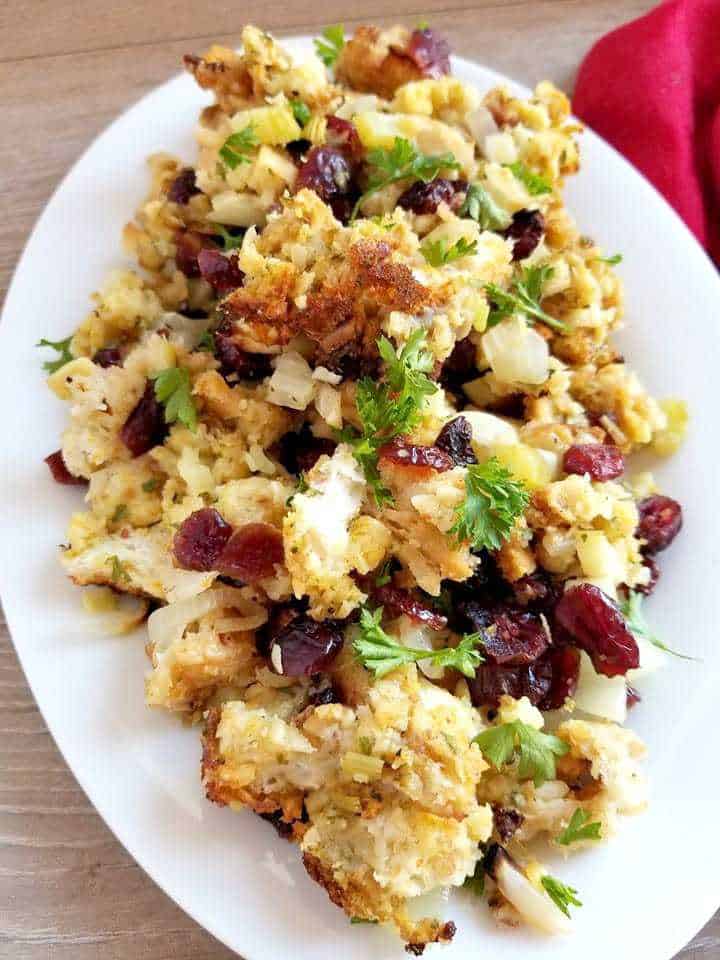
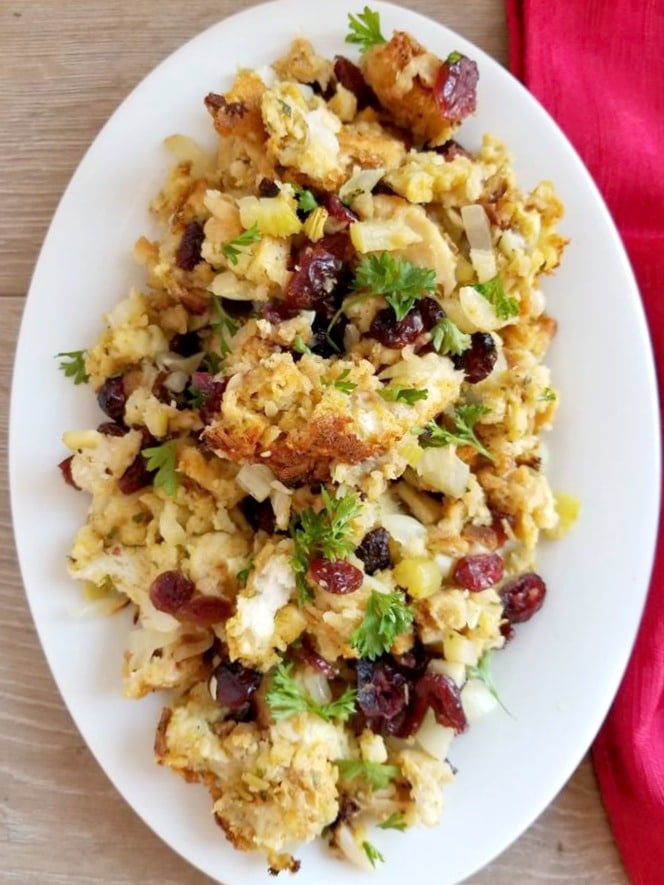
This Sweet and Savory Stuffing is one of my favorites, it can be made outside the bird or inside. Made with rye bread, onions, celery, dried cranberries and a ton of savory spices. You are sure to love it just as much as we do.
This recipe can go hand in hand with making a turkey. So if your making on today, then this recipe can be made alongside very easily.
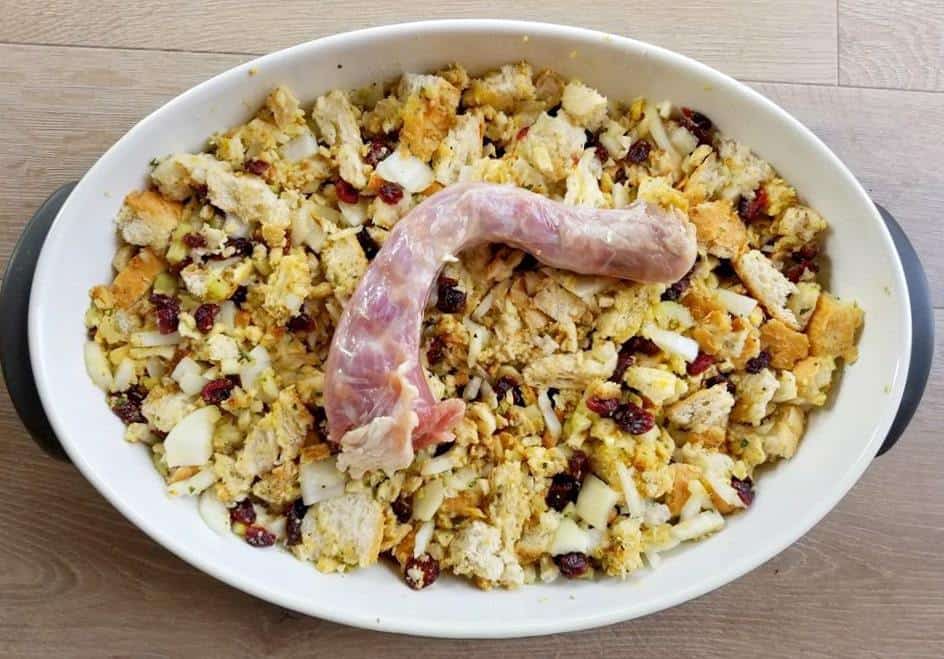
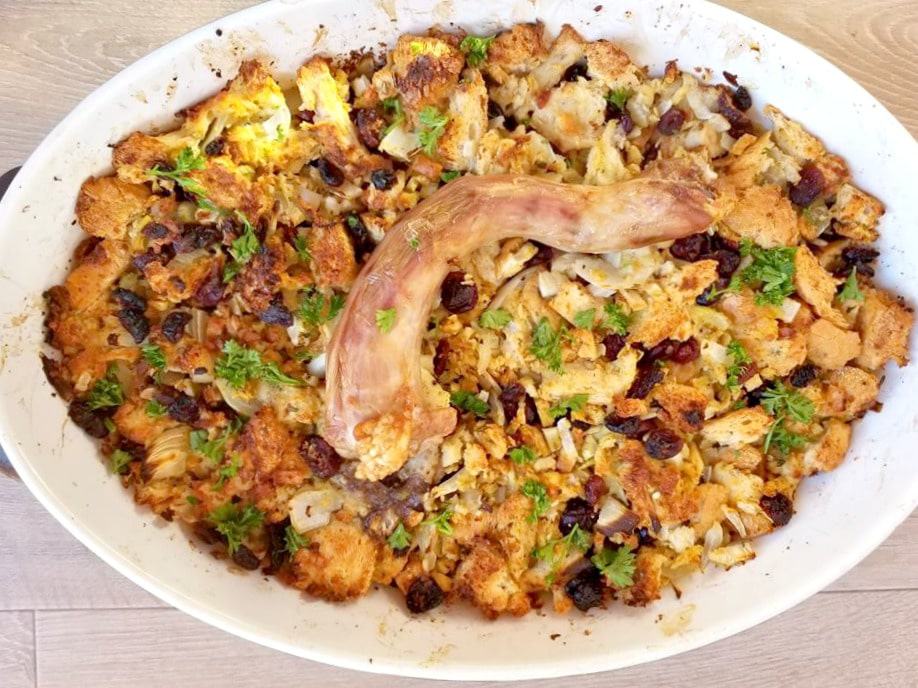
I like to add a Turkey neck on top of my stuffing, I find it gives it a little extra flavor. Then you can serve it to whoever likes that part of the bird, or you an add it to your homemade turkey stock.
Might as well untalize the whole bird right?
However depending on how you prefer to prepare your stuffing it it will turn out amazing! As you may know, I like to make my “Stuffings” which are really “Dressings” outside the bird.
This let’s the turkey cook better and I find much better.
Now you can let the bread dry out on the counter for a minimum of 24 hours prior to using it.
Otherwise you can pull it apart and place it onto a large cooking pan and bake it at 200 f for 35 minutes till it dries out.
More Christmas & Thanksgiving recipes you may like:
Warm up to a BIG Bowl of “Chicken Pho Soup” it’s super simple to make guys. And is great for kicking or preventing the common cold? give it a try!
This Chicken Pho Soup is allot like basic chicken noodle soup, in the sense that it has chicken broth and chicken along with noodles in it. However it has a Vietnamese twist that your sure to love.
Anyone can make Vietnamese food and this soup is no different. The difference between this soup and those that come from the street vendors in Vietnam is the stock. In Vietnam they make the stock from scratch which I am not going to lie is delicious, but time consuming.
Making any kind of Pho Soup from scratch can take hours.
My recipe will have this soup on the table for you in under 30 minutes, so I encourage you to use your favorite chicken stock for this recipe. The better the stock the better the soup of course.
I like to spice my soup up by adding chili paste! If you don’t like spice just omit the chili paste.
I am so thrilled you are reading one of my recipes, if you made this recipe i’d love to hear how it turned out! Thank you very much for reading and until next time see ya in the kitchen. Don’t want to miss a recipe? Sign up for our NEWSLETTER delivered right to your inbox!
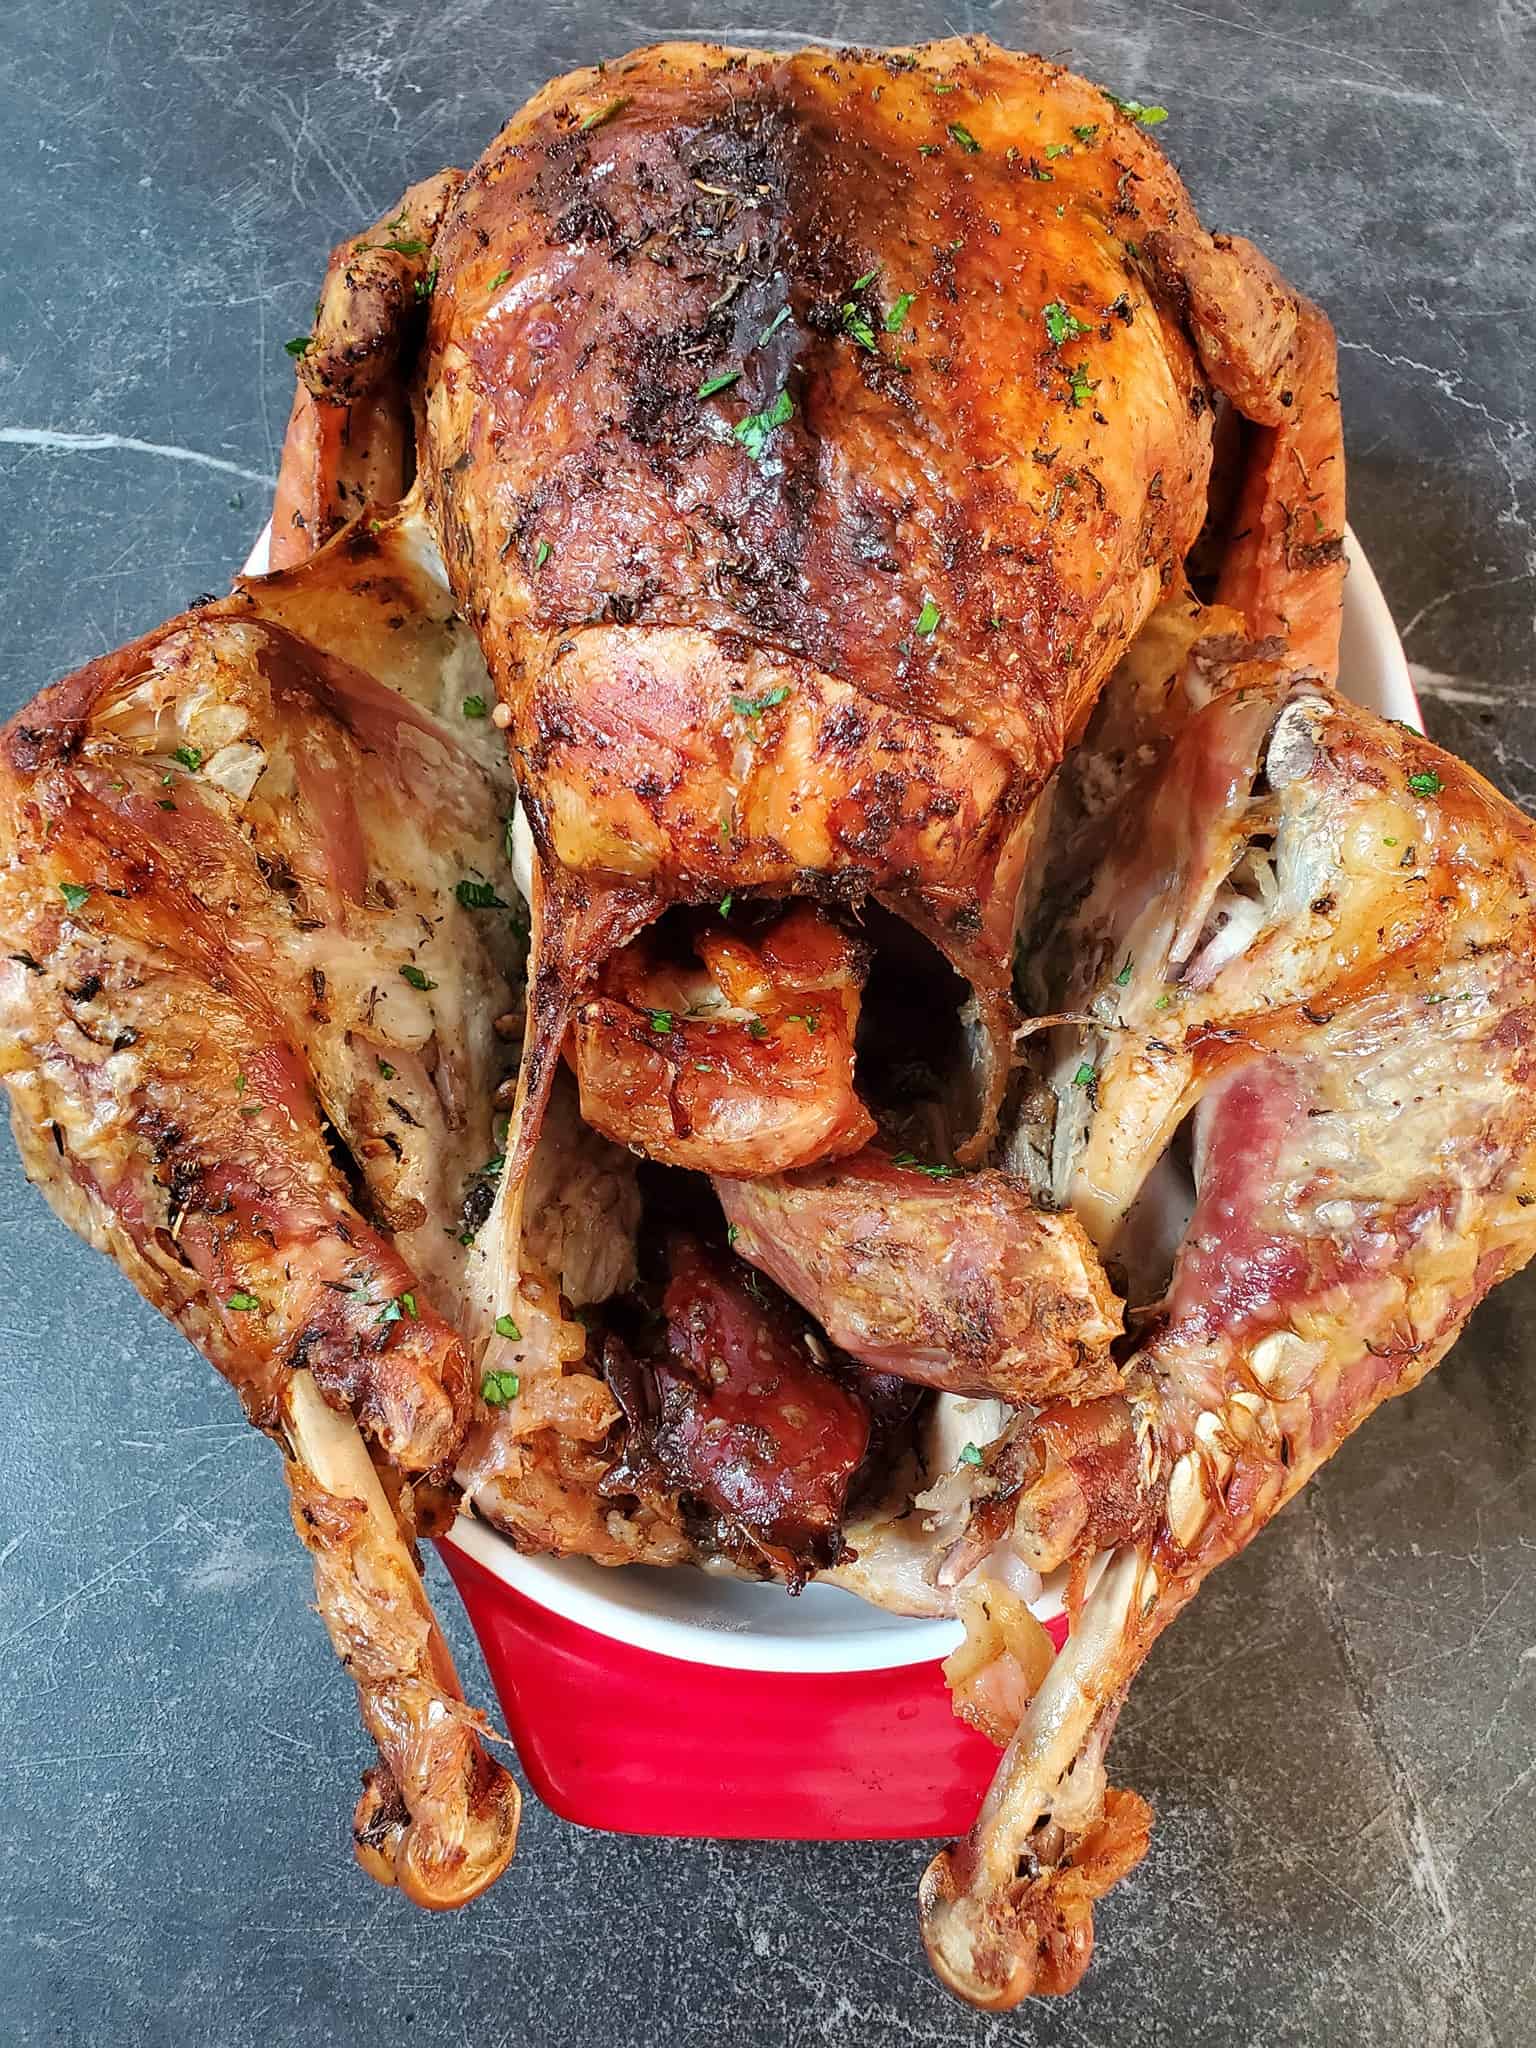
This is my Best Turkey recipe that produces a savory bird that is seasoned with all the right spices and comes out moist on the inside and crispy on the outside.
A Turkey like this is always a hit during the holidays!
Serve this main course along with myBest Bread Stuffing and you will be in business.
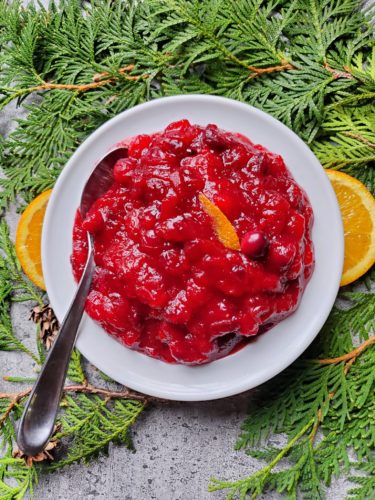
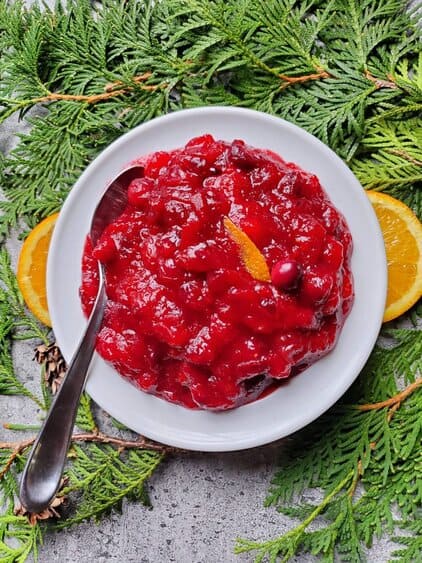
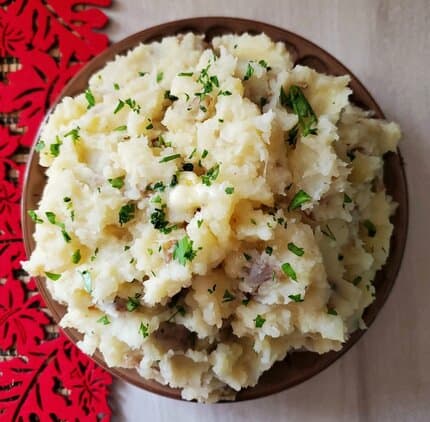
This recipe makes for a family favorite recipe every year. And also serves well alongside my Instant Pot Mashed Potatoes, Stuffing and Homemade Cranberry Sauce and dinner will be divine!
Also, I have included an easy homemade gravy recipesas well that utilizes the drippings from the bird.
You do not want to skip on this either!
HOW LONG TO DEFROST TURKEY
If your like me and buy your Turkey frozen, you will want to keep in mind the size of your Turkey when looking for defrosting times.
Allow approximately 24 hours for every 5 pounds of turkey.
Here in Canada we have our Thanksgiving and Christmas holidays pretty far apart.
So we tend to have Turkey twice per year. Personally I’ve made just a few Turkey dinners for a crowd myself.
One being for my family one year and another for a boyfriend’s family. Y
Yes, this was before I was a blogger and I was nervous as hell to do it.
But being that I have watched family and friends prepare it often, I got some tips prior and it came out just as good as this recipe here.
So you can rest assured that this recipe is a Winner!
Once you learn the basics to preparing and cooking a turkey you too will become well versed in the right techniques to cooking a whole turkey.
Turkey Roasting Pan
You will want to use a pan large enough to roast.
You can either use a throw away type metal pan that can be found at any dollar store or purchase a good quality one that will last you through the years.
What herbs and spices go with Turkey
The most popular used spices for a Turkey is; thyme, rosemary and sage.
Some people use nutmeg, personally I do not like.
Best Store-Bought Poultry Seasoning
When I want to make a turkey that’s sure to impress, I will use my favorite store bough poultry seasoning ” McCormick Poultry Seasoning”. You can also make yours from scratch at home instead. By replacing the 2 tbsp of poultry seasoning with 1 tbsp of kosher salt, 1 tbsp of pepper, 1 tbsp thyme, 1 tbsp rosemary, 1 tsp sage.
Best Turkey Seasoning
This is what I use for my Best Turkey Recipe!
2 tbsp of poultry seasoning, I like”McCormick Poultry Seasoning”.
1 tsp chili powder
1 tsp paprika
1/2 tsp onion powder
1 tbsp salt
Pour the gravy all over the sliced breast for an incredible meal and even save as leftovers to make some other meals.
HOW COOK TURKEY IN THE OVEN
You will want a Turkey Roasting pan
Meat thermometer
Basting tool
Tinfoil
IS IT BETTER TO COOKA TURKEY BREAST SIDE UP OR DOWN
Cook the turkey breast side down as this allows the juices to fall down towards the breast producing a juicer turkey!
HOW COOK TURKEY IN OVEN
Start by thawing your turkey in advance to preparing it, best to do this in the fridge 48 hours prior. Once thawed place on the shelf one hour prior to preparing.
Rinse your Turkey under cold water for a few minutes and then remove the neck and other things in the cavity and cook on the side of the turkey.
Mix your seasonings well and rub the bird all over.
Season inside the bird with all over and baste with melted butter.
Place bird “BREAST SIDE” down “produces a better cooked turkey) and bake at 400 for one hour.
One the hour is up, turn down the oven to 350 baste the bird in it’s own juice and cook for one more hour.
Before you remove the Turkey, probe it with a thermometer it should reach a temperature of 165-170 degrees. Be careful not to touch the bone, rather insert it right into the breast for an accurate reading.
If it has reached the desired temperature, remove from the oven and allow it to sit for 30 minutes before carving otherwise you will have a dry Turkey.
WHERE TO COOK TURKEY IN OVEN
Middle rack is always the best practice!
My top tips to cooking the best Turkeys are as follows:
Allow the bird to fully defrost and then sit on the counter at least one hour prior to baking, this ensure that the skin doesn’t break and that the bird cooks properly thought out.
Butter the turkey all over with solid butter as well as liquid.
Use a food thermometer and remove the Turkey once it reaches it’s ideal temperature.
Place 1 cup of water into the bottom of the pan to prevent burning and aid in creating the gravy. Nothing more you don’t want to boil the turkey.
Baste the turkey every hour to ensure it stays moist.
Cover the legs, breast and wings of the turkey with tinfoil and place the birds legs towards the back of the oven where it’s the hottest and where the bird needs most the cooking. “The breasts always cook the fastest.
Do not stuff the bird with stuffing, rather make the dressing on the side.
Now what is turkey without the stuffing?
It’s really not a complete holiday meal now is it, so that part is definitely something you do not want to forget!
You can stuff the turkey with the stuffing prior to cooking if desired.
However keep in mind that they turkey will then take another hour to cook fully. Or you can cook the stuffing on it’s own for one hour also. One of my favorite stuffing recipes is :
Otherwise you can do the same thing and just stuff the bird, keeping in mind you may need to cook it longer.
TURKEY GRAVY WITH THE DRIPPINGS
Oh and do not forget the gravy, I’ll show you below how to make the best homemade gravy from the same bird you are cooking here.
Utilizing every part of this amazing bird is key to a great Turkey dinner.
I hope you give it a go, and have an enjoyable dinner with those who mean the most to you.
Tips: I always save the bones to make a turkey soup the next day, it’s simple. Also I like to make my own Gravy from the drippings see my recipe below for a simple Homemade Turkey Gravy
Wondering what to do with all those turkey leftovers? Try my “Turkey Pot Pies” I will even show you how to make the most delicious “HOMEMADE PUFF PASTRY” if you choose.
More Christmas & Thanksgiving recipes you may like:
I am so thrilled you are reading one of my recipes, if you made this recipe i’d love to hear about it! Thank you very much for reading and until next time see ya in the kitchen. Don’t want to miss a recipe? Sign up for our NEWSLETTER delivered right to your inbox
These Turkey pot pies made with puff pastry and are my go to recipe whenever I have leftover turkey.
These pot pies are absolutely delicious and a bit different then the average pot pie recipe you will find.
So read along if you want to learn how to make them! And trust me it is easy as pie 🙂
WHAT’S IN TURKEY POT PIES
DICED CARROTS
CORN
PEAS
GREEN BEANS
LEFTOVER CURRY
SPICES
ARE TURKEY POT PIES GOOD FOR YOU
Yes, they are packed with vegetables and lean protein (leftover turkey meat)
TURKEY POT PIES WITH PUFF PASTRY
You will want to start by making the pie crust. You can pre purchase the “puff pastry” which is that crust you see on the top of these pies” or you can make it from scratch yourself. I really encourage you to try making it from scratch as it tastes best.
The crust recipe I have provided is also foolproof. I have tried many pastry puff recipes in the past and this one is the winner folks.
Then ONCE the pie crust has been made. Simply defrosted some frozen vegetables and add to the turkey mixture to make the filling.
These pot pies can be ready in under 45 minutes. As long as you pre-make the puff pastry one hour in advance you can have this on the table in under one hour. If you would prefer to make one big large pie, you can do that with this recipe as well.
HOW TO MAKE TURKEY POT PIES
The main difference with my recipe and all the others is that I like to use my leftover “Turkey Gravy” instead of heavy cream in my pies.
It does the same thing, keeps the pies moist yet adds that extra level of flavor.
You will want to start by making the pie crust recipe. Once the pie crust has been made you will roll it out on a clear kitchen counter that has been sprinkled with flour.
Place your bakeware over top and with a knife cut around the bakeware to create the pie crust as seen below.
Then you will prepare the filling and place that in the bakware before folding over the pie crust.
Brush the crust with butter and bake.
Also, I like to use a frozen vegetable mix, that contains green beans, peas and carrots to fill the pies.
The more veggies the healthier right?
Plus all three go so well together and make these pies AMAZING!
So if you too are wondering what to do with all that leftover turkey, then look no further because this recipe is not only simple to make it’s absolutely delicious!
CAN TURKEY POT PIES BE FROZEN
Yes, as long as the turkey was not frozen to begin with.
Don’t want to make individual pies?
No problem, simple place the pie filling inside a large pie baking dish and make a large one with the same recipe.
Totally up to you 🙂
So instead of placing the ingredients into four smaller dishes place it into one large and cover with one crust. I hope you enjoy!
Notes: If you don’t have any leftover turkey gravy, feel free to use canned or cream in replace of.
I am so thrilled you are reading one of my recipes, if you made this, I want to see! Follow Canadian Cooking Adventures Instagram, snap a photo, and tag and hashtag it with @canadiancookingadventures and #canadiancookingadventures.