Avocado Chicken Salad Keto

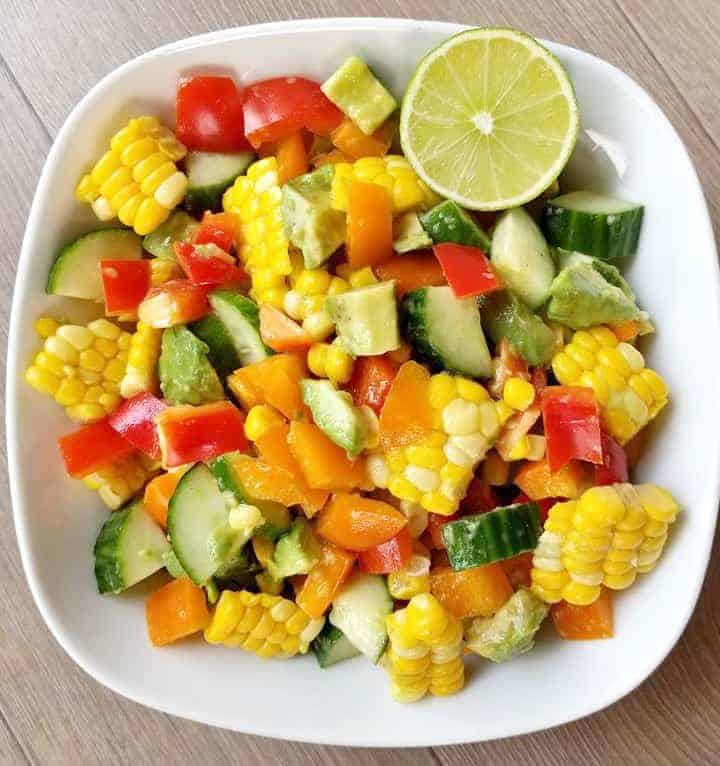
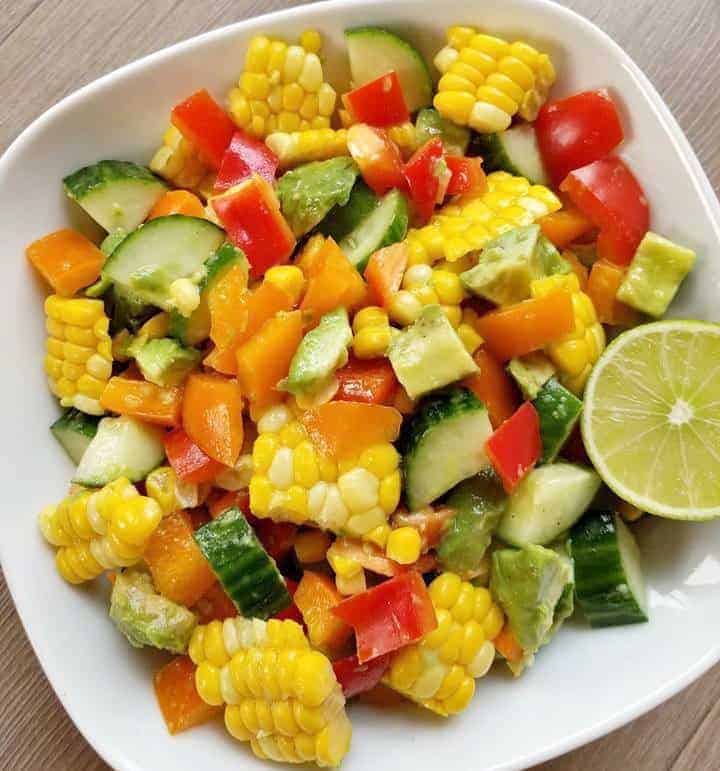
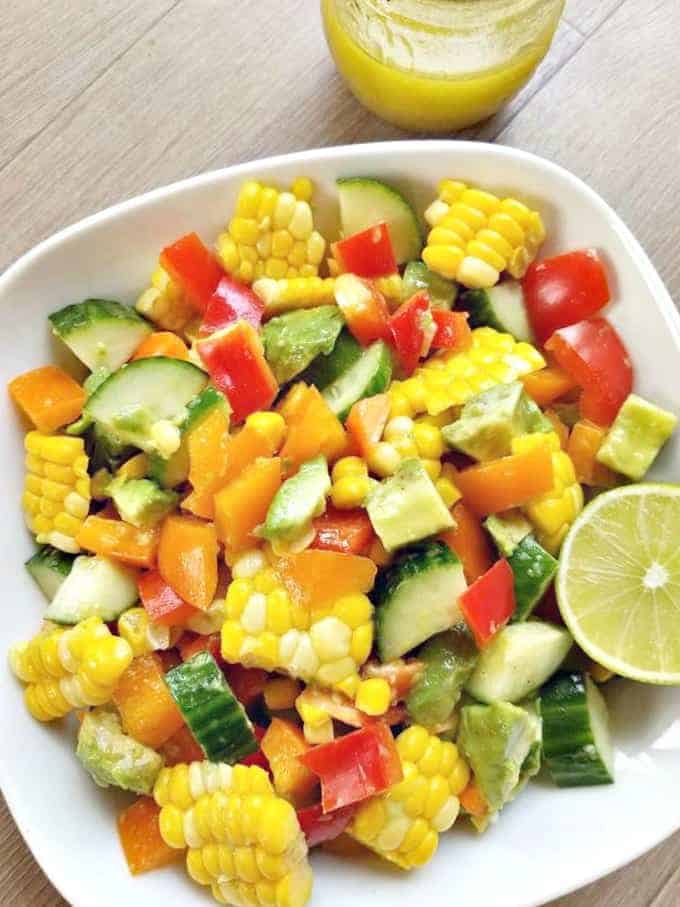
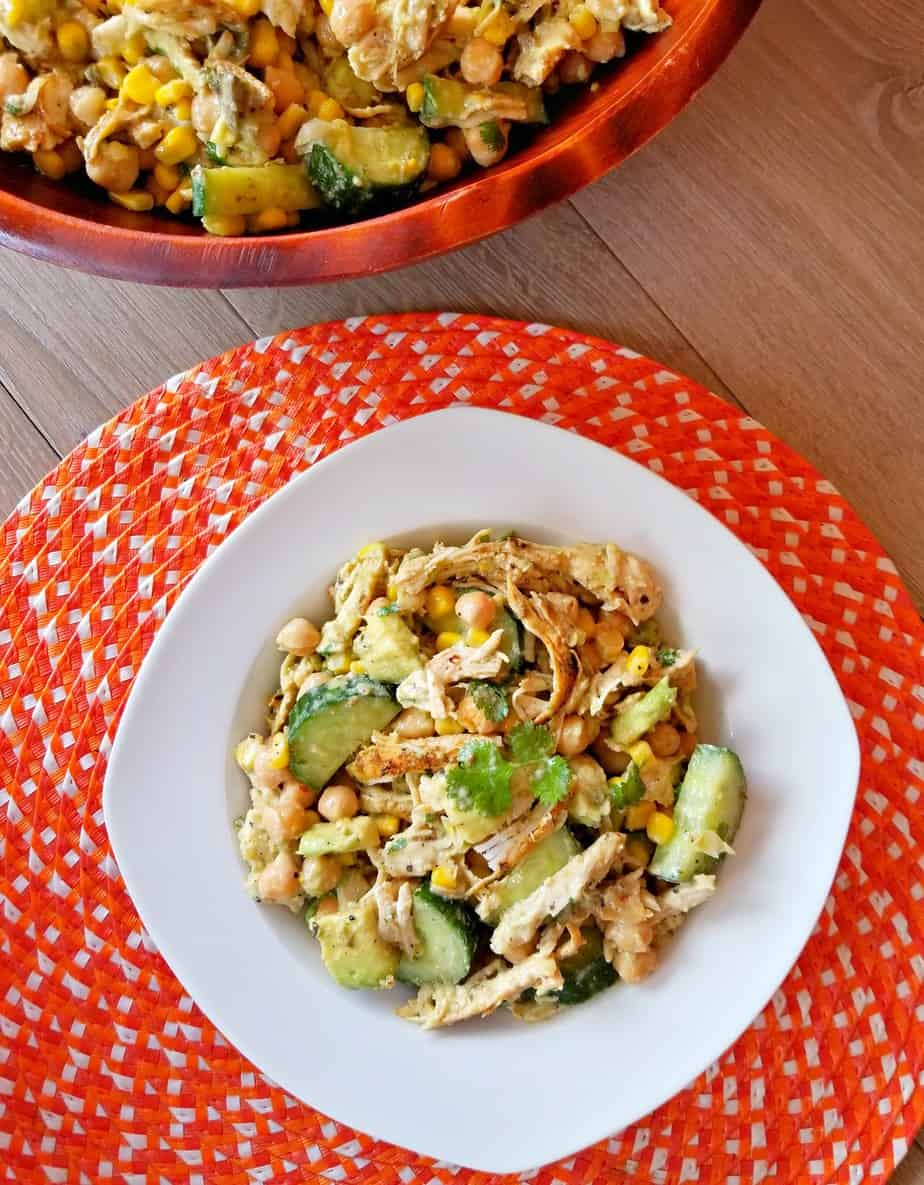
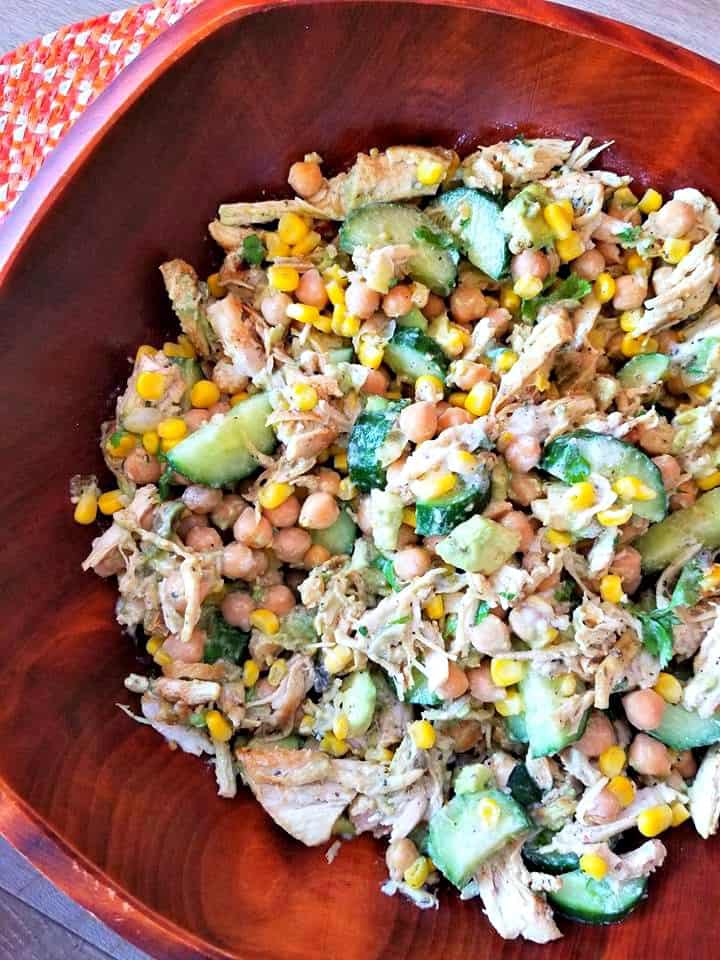
This Avocado Chicken Salad Keto is made with perfectly seasoned.

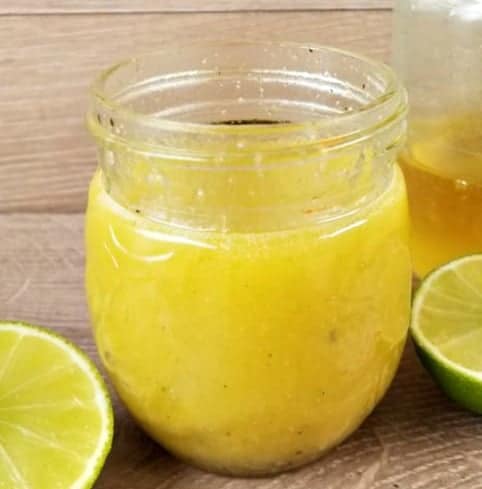
The secret is in the dressing so follow along for the best summer salad eva!

Simple satisfying, healthy and delicious.  You’re sure to feel great after eating this low carb protein packed salad.

Now don’t get me wrong I love carbs, but I also believe that in order to enjoy them.

I have to also enjoy not having them sometimes. And when summer rolls around, I try to limit them more for the sake of my figure.

I’ve been trying to cut out as many carbs as possible these past few weeks, because swimsuit season is right around the corner and I have to keep up with my buff partner.

He’s been hitting the gym a lot these past few month and since I pretty much just walk the dogs to stay in shape.

I knew I had to do a bit more now that I’m no longer in my 20’s anymore and the weight just seems to keep creeping up onto me now much faster.

So I created this salad and have been eating it every other day for lunch and even making a few meal preps.

It’s one of those guilt free yet so oh so satisfying salads that is sure to help anyone stay on track towards obtaining or maintaining those summer fitness goals.

Also I’m sure that if you brought this over to some kind of summer gathering this year, it would be gone in no time. And of course it’s up to you if you want to share the recipe 🙂 

So if your looking to slim down a bit as well this summer then you are going to want to eat this salad as often as possible too.

Plus it’s super healthy for you so go ahead and make a few meal preps while your at it. 

Packed with just enough protein and healthy fats to make it a meal or great as a side dish too. I hope you enjoy!

If you loved this recipe? Chances are you will also love some of my other pasta salad recipes.

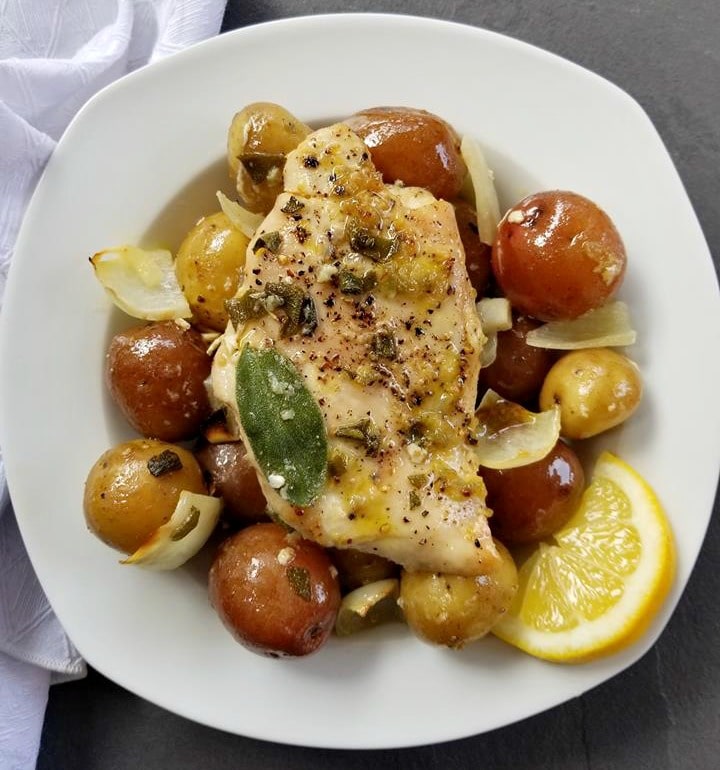
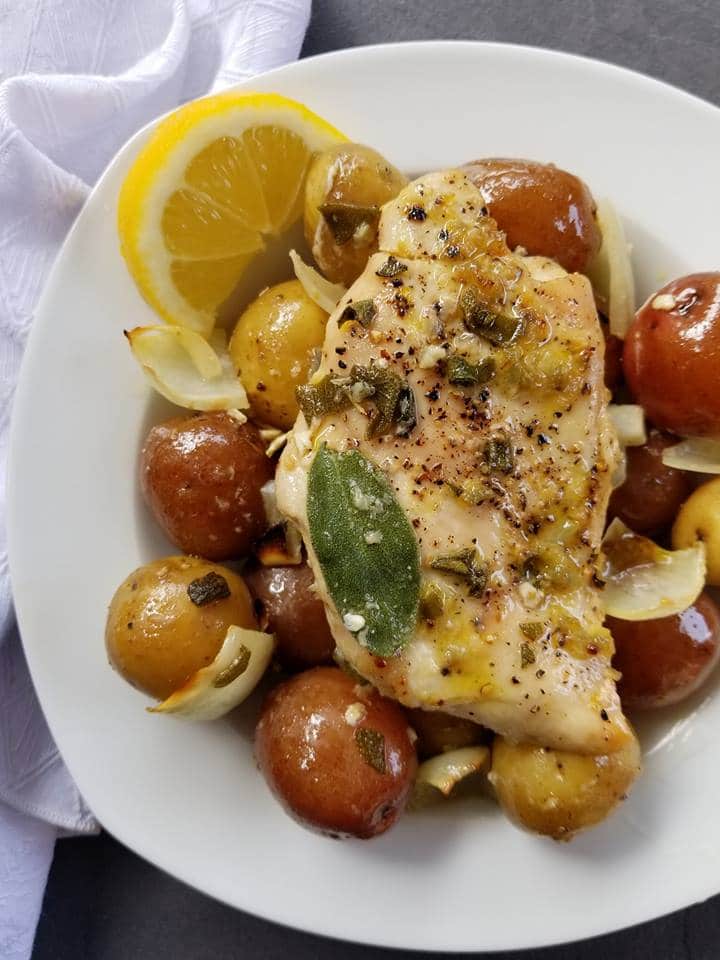
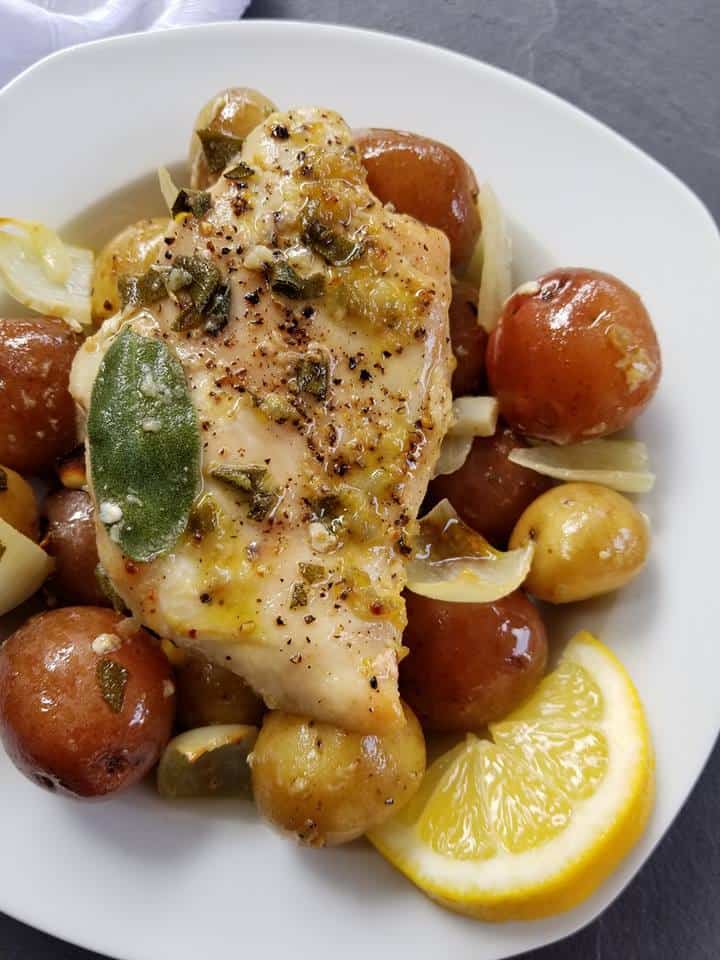
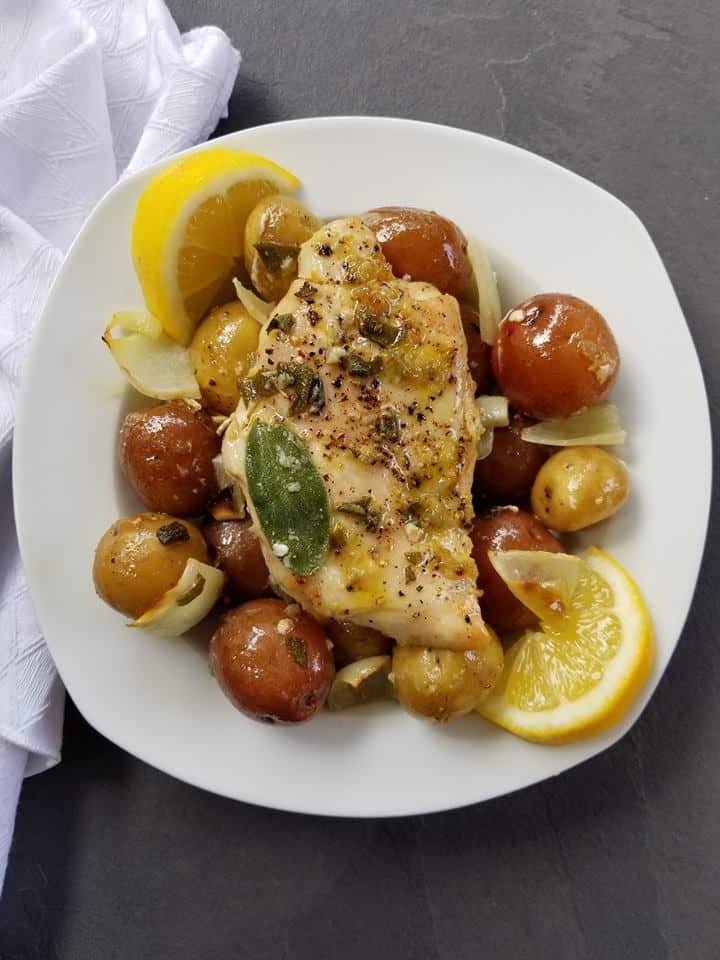
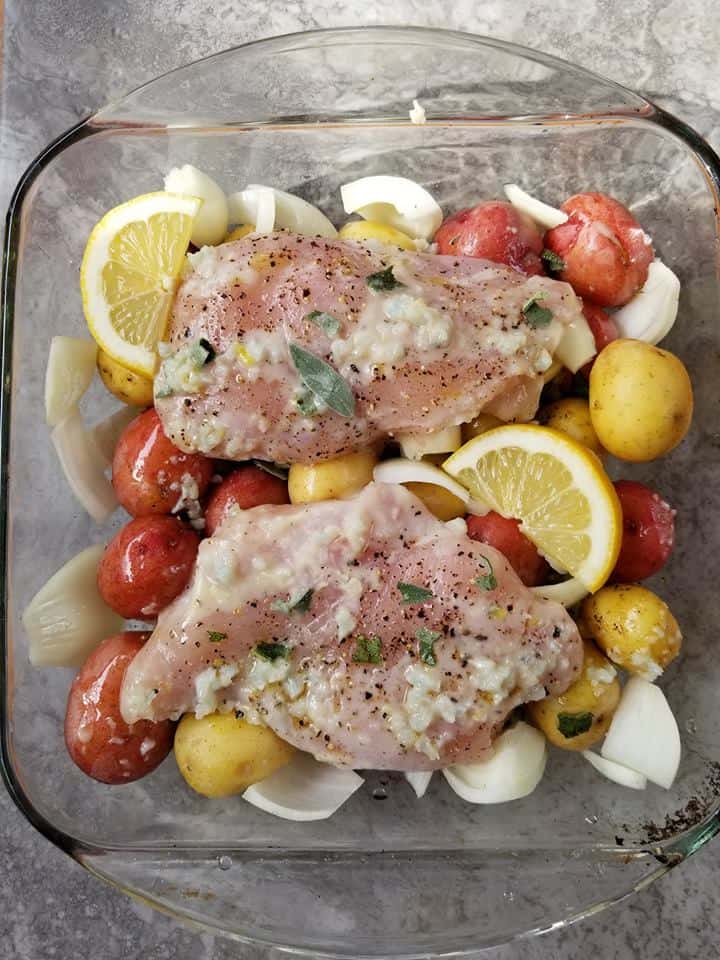
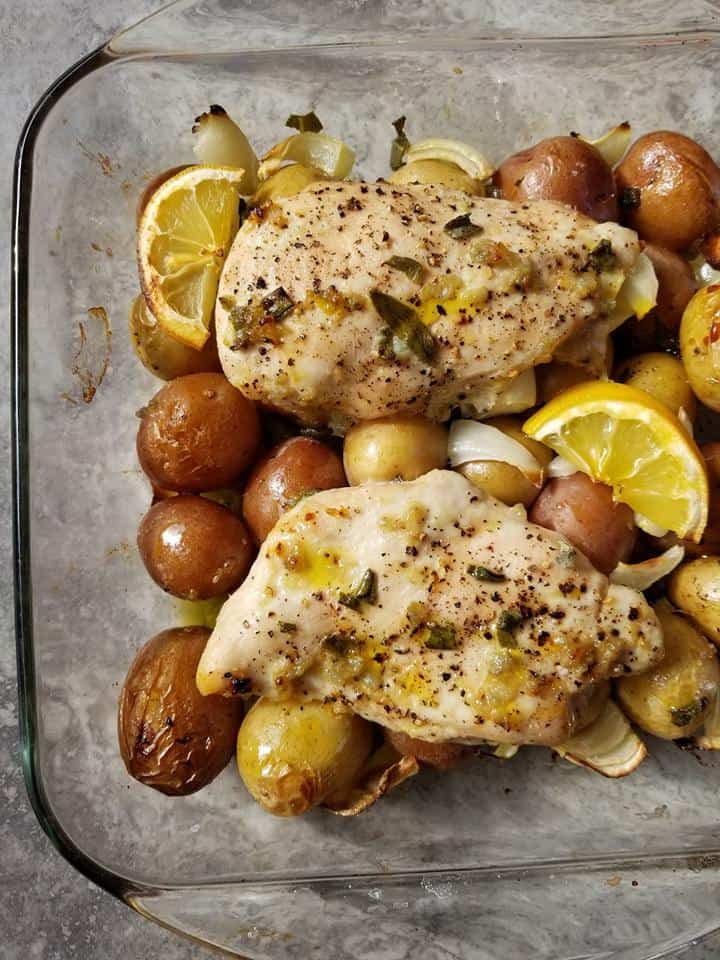
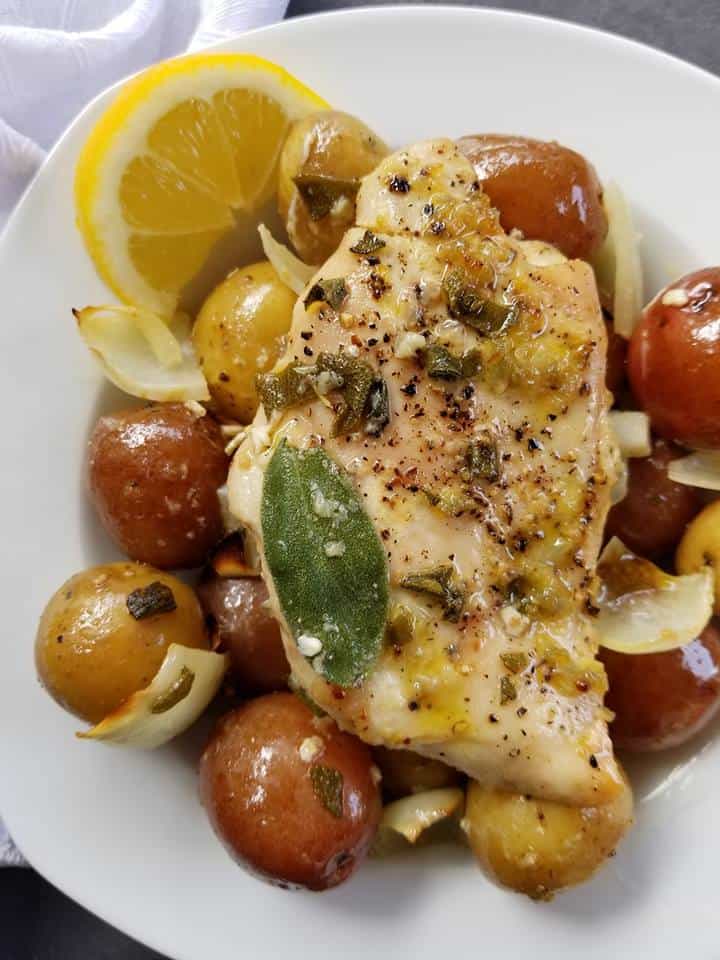
Note: If you can’t get your hands on “Szeged chicken rub” you can replace it with Garlic Powder, Basil, Paprika, Oregano and some salt.

I’m thrilled you are reading one of my recipes, if you made this recipe i’d love to hear about it!  Thank you and until next time see ya in the kitchen. Don’t want to miss a recipe? Sign up for our NEWSLETTER delivered right to your inbox!


Easy Baked Lemon Chicken and Potatoes

These Easy Baked Lemon Chicken and Potatoes are cooked to perfection and smothered in a lemon, garlic sauce that is sure to impress.

I really like to use mini potatoes when I can for this recipe.

I find they really go well with this type of dish and make it look kind of fancy, don’t you?

Plus they are baked so soft that you can simply mash them with a fork which allows those mini potatoes to soak up all those delicious flavors. 

Looking for another awesome way to bake some Chicken Breasts? You may want to try this recipe for a Moist Baked Chicken Breast

Can I make this in my Instant Pot or Slow Cooker?

Absolutely!

And if you like your chicken moist and juicy then you will love this recipe.

In order to make the best baked lemon chicken you will want to start by adding the right ingredients though. 

How to make the best baked chicken and potatoes

  1. Marinate– You want to use the right amount of stock.
  2. Time – You do not want to bake them for more than 50 minutes.

This dish consist of fresh chicken breasts, fresh sage, lemon juice, onions, garlic and mini potatoes.

Oh and 1/2 cup of chicken stock which helps to create the most delicious potatoes.

If you follow those two tips alone you are sure to prepare the best grilled chicken breasts.

Also feel free to use bone in breasts as well, those work for this recipe well also. 

You can serve these baked lemon chicken breasts and potatoes alongside a bed of grilled asparagus, salad or some other vegetable of your if desired. 

Looking for another popular chicken breast recipe? 

DID YOU MAKE THIS RECIPE?

If you make this recipe, I would love to hear about it! You can leave a 5 star review in the comments below! Thank you very much for reading and until next time see ya in the kitchen. Don’t want to miss a recipe? Sign up for our NEWSLETTER delivered right to your inbox!

Best Chicken Tortellini Soup

This Best Chicken Tortellini Soup has fresh asparagus along with kale it it. It is one of those soups that you will want to make a big old pot of and enjoy over a few days

If your craving a soup to warm you up, but also want a hearty meal. Then this Soup is sure to hit the spot! Not only does it tastes good it is also very healthy for you.

WHAT IS CHICKEN TORTELLINI SOUP

The reason I call this tortellini soup the best, is because it is! Yes, I know it’s not traditional to put asparagus and kale in this type of soup. And i’m aware that most of these types of recipes call for carrots.

But for me I much prefer these veggies!! Don’t you?

You can also replace the kale with spinach if desired. What I like most about making this soup is that it can be enjoyed over a few days. Because it keeps very well in the fridge and even tastes better the second day!

CAN YOU FREEZE CHICKEN TORTELLINI SOUP

Yes, up to three months!

Absolutely delicious! 

I have always loved chicken noodle soup, however it is nice to try different versions of it now and again, right? 

This soup is allot like Chicken Noodle soup, but we are omitting the noodles and carrots and uses tortellini along with kale and asparagus instead. 

It’s pretty similar to allot of those other Chicken Tortellini soup recipes, however mine uses more vegetables and is more on the healthy side. 

What makes the soup creamy is the mixture of the chicken stock, cream and parmesan cheese. Some recipes will have you using all cream and of course that will make it ultra creamy. However for this soup I wanted it to be lower in fat and also stay true to a chicken noodle type soup base. 

Such a fantastic soup to have simmering on the stovetop when your not feeling so great or heck even when you are. 

I like to use better than bouillon chicken stock when making most of my soups. So I will mix just the right amount of that with water for the stock.

Plus using mostly stock vs cream really helps to make this soup super creamy without all the extra fat. Of course you can use whatever chicken stock you have on hand, just be sure it is not laddled with to much salt. 

Also, you will want to allow the asparagus to simmer for a least 15 minutes along with the chicken to ensure both are super tender prior to adding the tortellini and kale. 

If you are planning to enjoy this soup over a couple of days, then you will want to add one more cup of chicken stock as well, since the tortellini tends to soak it up overnight. 

I really like to use “Herb Chicken Tortellini” for this recipe. However you can use whatever brand you like most. Also if you want a little heat to this soup then I would recommend adding in a pinch of red pepper flakes.

Also keep in mind, as with all my recipes.

If you want to make more or less of this soup, simple adjust the serving size in the ingredients section above and the servings will automatically adjust for you. This soup can store in the fridge for up to 3 days and or freeze for up to 3 months.

I am so thrilled you are reading one of my recipes, if you made this recipe id love to hear about it! Thank you very much for reading and until next time see ya in the kitchen. Don’t want to miss a recipe? Sign up for our NEWSLETTER delivered right to your inbox every Month!

Simple Swedish Meatballs

These Simple Swedish Meatballs are served over a bed of egg noodles in a creamy low fat sauce. A recipe that you and your family are sure to love. 

WHO SELLS SWEDISH MEATBALLS

Costco does but so does President’s Choice. 

So what does that mean? It means you can have creamy Swedish Meatballs on the table in less than 20 minutes! 

That is the reason I call these Simple Swedish Meatballs because really there is no fuss when it comes to making this popular recipe.

You can literally have this whole dinner on the table in less than 30 minutes! 

Making swedish meatballs this way becomes a weeknight meal savor if you ask me. Because instead of making these meatballs from scratch which take a fair bit of time and technique.

Your simply using some pre made meatballs that are fail proof and do not need to be baked. 

Your going to love this really inexpensive dinner option, trust me

This recipe serves a family of four or you can use my easy to use recipe adjuster and make it for more people if you like.

Your family will think you where slaving in the kitchen all day making meatballs when really you were doing other important things 😉

Keep in mind those pre made meatballs come in a package that has 907 grams. I only used 650 grams of those meatballs and that alone feeds four people. So taking that into consideration this recipe is also frugal!

The brand that I like to use is President’s Choice Swedish Meatballs. You can use your favorite pre made meatballs of course and even opt for a chicken or a vegan variety, totally up to you.

Swedish Meatballs are the ultimate comfort food and typically are served overtop a bed of large egg noodles, however you can serve them over mash potatoes as well if  desired. 

I like to saute the meatballs in butter and oil first which helps bring out the flavor more.

Then I will use that same butter and oil to make a roux for the sauce that turns into the most delicious gravy ever.

Also since I typically just cook for me and my partner, I often tend to make dinner for two, three or four people. This recipe will feed four people easily and get this.

Are you cooking for a larger crowd? or perhaps having to provide something for an upcoming potluck?

Then this recipe is sure to be a hit and everyone would be think that you spent a lot of time at it.

If you have a little more time and want to make your meatballs from scratch, I recommend following this recipe for making Classic Baked Swedish Meatballs.

Just be aware that it does take some time and technique, as sometimes they do fall apart while searing them. So cooking them in the oven is best if you are to make them from scratch.

Go ahead and indulge you deserve it!

Note: You can add 1/2 cup of cream to this dish around the time you add in the beef stock if desired. 

Adapted: Jo Cooks

I’m thrilled you are reading one of my recipes, if you made this recipe i’d love to hear about it! Thank you and until next time see ya in the kitchen. Don’t want to miss a recipe? Sign up for our NEWSLETTER delivered right to your inbox!


Sweet Potato Hash with Eggs

This Sweet Potato Ham Hash with eggs are one of my go weekend breakfasts. Made with sweet potatoes, black forest ham and seasoned to perfection. 

Your sure to love this breakfast and probably will make it time and time again. 

It is not only easy to make it’s also will give you the right amount of fuel to tackle the day. To prepare this dish you will simply want to start by dicing your sweet potato. Once that is done you will simply fry the sweet potato in a little butter until it becomes soft. 

Next you will add in some shredded “Black Forest Ham” and saute along with the seasonings. Once that has been cooked to your liking you will simply plate the hash onto two plates.

Serve in a bowl or on a plate, one egg is usually enough.

Then you will add a the eggs to the hot pan and cook each egg at a medium heat till the white starts to firm up.

Adding in 1 tbsp of water at a time to ensure it all cooks evenly. 

You will also want to cover it for a few minutes to allow the yolk to cook, just keep an eye on it otherwise it will overcook.

Now your ready to place those perfectly  cooked eggs over the hash.

Also be certain to use a non stick pan to make this or you will want to use extra butter when cooking the eggs.

Also feel free to use potatoes in replace of the sweet ones, both varieties are excellent.

You can find the recipe that uses potatoes below, it is also one of my favorite breakfast recipes. 

Did you try this? I would love to hear about your favorite breakfast memories in the comments below. Till next time friends, see you in the kitchen 🙂

Looking for another GREAT Breakfast recipe? Check out my Black forest ham hash browns with eggs. Your gonna love this one too! 


I am so thrilled you are reading one of my recipes, I appreciate every single one of you! Thank you very much for reading and until next time see ya in the kitchen. Don’t want to miss a recipe? Sign up for our NEWSLETTER delivered right to your inbox


Unstuffed Cabbage Roll Soup

This Unstuffed Cabbage Roll Soup is a family favorite in my house. I like to prepare a big pot of this soup and will enjoy it over a few days. 

WHAT IS CABBAGE ROLL SOUP

It has all the same ingredients that cabbage rolls would have with stock to make it a soup.

It basically a cabbage roll done the lazy way, meaning we are not rolling the ingredients into a pre cooked cabbage leaf.

Instead we are throwing all those ingredients into a soup rather than rolling them up neat and tidy.

CAN CABBAGE ROLL SOUP BE FROZEN

Yes, it stores well as leftovers and freezes very well!

Cabbage roll soup is one of those staple soups that everyone should have in there recipe books.

It can be very healthy for you depending on the quality of ingredients you choose to use.

WHAT IS IN CABBAGE ROLL SOUP

I like to use:

  • Organic grass fed beef
  • Beef Stock
  • Whole canned tomatoes
  • Cabbage
  • 1 fresh tomato
  • Tomato Juice
  • Rice
  • Spices 

Did you know whole canned tomatoes are much better than the chopped ones?

Yes it’s true. You can read learn more about that topic on thekitchn.com

This recipe can stretch too and feed allot of people, so feel free to make a few pots and freeze them for easy enjoyment over the colder months.

IS CABBAGE ROLL SOUP KETO FRIENDLY

Yes, it is low in carbs. 

HOW TO MAKE CABBAGE ROLL SOUP

This soup can be done on the stove top as I did or if your pressed for time in your slow cooker. 

Whichever method you choose, I am sure this one will be something your family enjoys!

Also to save some times, feel free to use your food processor to chop the cabbage .

You can use the shred option which will give you more of  a shredded cabbage in the soup. 

Notes: Keep in mind, as with all my recipes. If you want to make more or less of this soup, simple adjust the serving size in the ingredients section above and the servings will automatically adjust for you. This soup can store in the fridge for up to 3 days and or freeze for up to 3 months.

I am so thrilled you are reading one of my recipes, if you made this, I want to see! Follow Canadian Cooking Adventures Instagram, snap a photo, and tag and hashtag it with @canadiancookingadventures and #canadiancookingadventures

Stay connected and follow along on FacebookPinterest, and Instagram for all of my latest recipes!

LOOKING FOR MORE CABBAGE RECIPES?

Vegan Corn On The Cob Salad

This Fresh Corn on the Cob salad is full of flavor and is a very healthy salad option for those who vegan diet or those who want to include more meatless meals into their lifestyle. 

Made with just a few simple ingredients of fresh sweet corn on the cob, avocados, cucumbers, orange and red peppers.

Then it’s topped with my homemade Honey Lime Vinaigrette which makes for a very tasty low carb yet filling salad. And you will be in business!

When making a cob salad, you want to be sure to use fresh corn on the cob.

Of course you can use canned corn or frozen but i’m telling you it just is not the same.

So really try to get your hands on the fresh stuff if possible.

The sweet corn and orange pepper give this salad a hint of sweetness! So when you add just a touch of the “Honey Lime Vinaigrette” you will really help to ampt up the sweet flavors even more.

If you’re looking for more of a “Tangy Vinaigrette” simply scroll to the bottom of this recipe for a list of other Vinaigrette dressings that also would go great with this salad.

Your going to want a light Vinaigrette to accompany this salad, so i’m sharing that recipe with you as well. 

It is not only perfect for this particular salad it also can be stored in the fridge for up to 3 weeks and used on plenty of other salads. 

Also be sure to only pour the vinaigrette overtop once your ready to eat it, otherwise you bare the chance of having mushy avocados.   


Honey Lime Vinaigrette 

Wanting to feed more people?

Simply double up this recipe up with my easy to use recipe adjuster above and then you can serve a larger group. 

Meal Prep Inspiration: Store in sealable containers for up to 3 days in the fridge, just make sure you are using firm avocados and not putting the dressing on top till your ready to eat.


I am so thrilled you are reading one of my recipes, if you made this recipe i’d love to hear about it! Thank you very much for reading and until next time see ya in the kitchen. Don’t want to miss a recipe? Sign up for our NEWSLETTER delivered right to your inbox every month!


Cherry Galette

If you have never made a galette which is a term used in French cuisine to designate various types of flat round or freeform crusty cakes, then you are in for a treat. 

Most people would agree and say this galette tastes just like cherry pie, however is a bit more light and flaky.

Served with a Chocolate Cherry Syrup that is sure appease those with a sweet tooth. Serve to your friends and family and watch them be in awe that you made it yourself from scratch.

I absolutely love cherries and come summer when they are in season and ripe, I like to eat them by them by the pounds. Packed full of antioxidants and fiber they are just too good to not enjoy fresh all summer long. 

I’m always finding new ways to cook with them too and so you can find a few cherry recipes on this site for sure.

If you are checking this recipe out and there not in season where you are, then you can definitely use the pre pitted frozen ones too that most of the grocers carry. 

For this recipe you are just filling and folding over to create the most delicious dessert, without all the hassle of a typical pie.


You will need about 3 cups of fresh cherries! One premade butter puff pastry, sugar and olive oil.

Place 2 1/2 cups of pitted cherries inside the Butter Puff Pastry like so

And then simply fold over all the sides

Sprinkle with white sugar or drizzle with maple syrup and bake at 375 for 35 minutes 

Just make sure the cherries are defrosted fully before making this recipe if you choose the frozen variety. 

While the galette is cooking in the oven, you will simply reduce a few pitted cherries on the stove top with some chocolate chips to create the perfect glaze. 

Serve the glaze warm alongside this gallette and you will be in Cherry Chocolate Heaven!

Flaky, sweet and a bit tart this is sure to cure your sweet tooth!

And by all means go ahead and serve with some whip cream… so good!


PIN IT FOR LATER