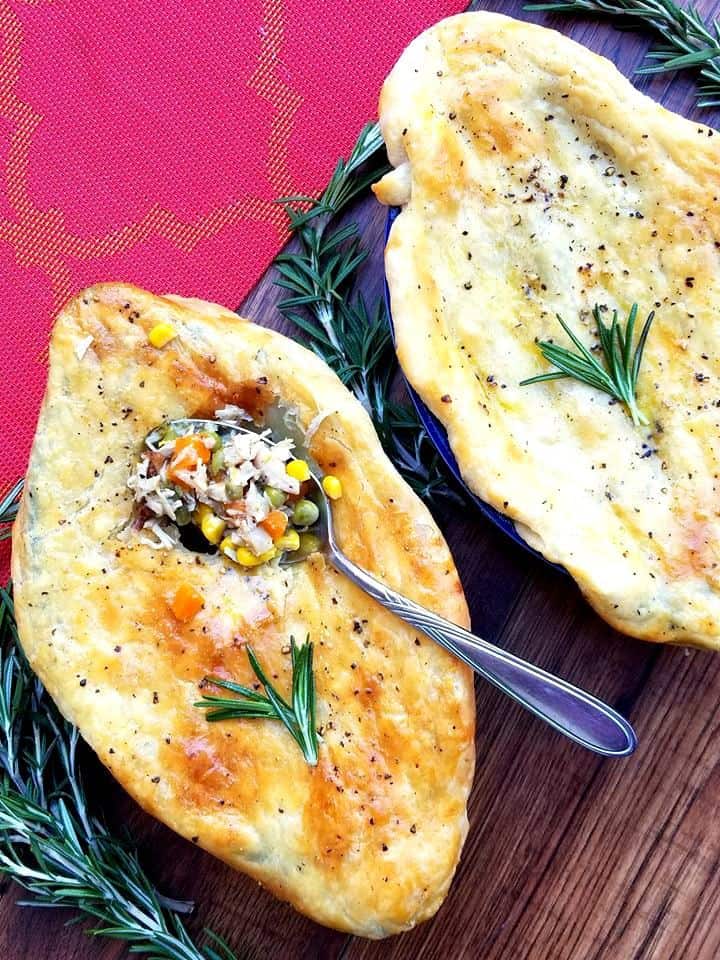
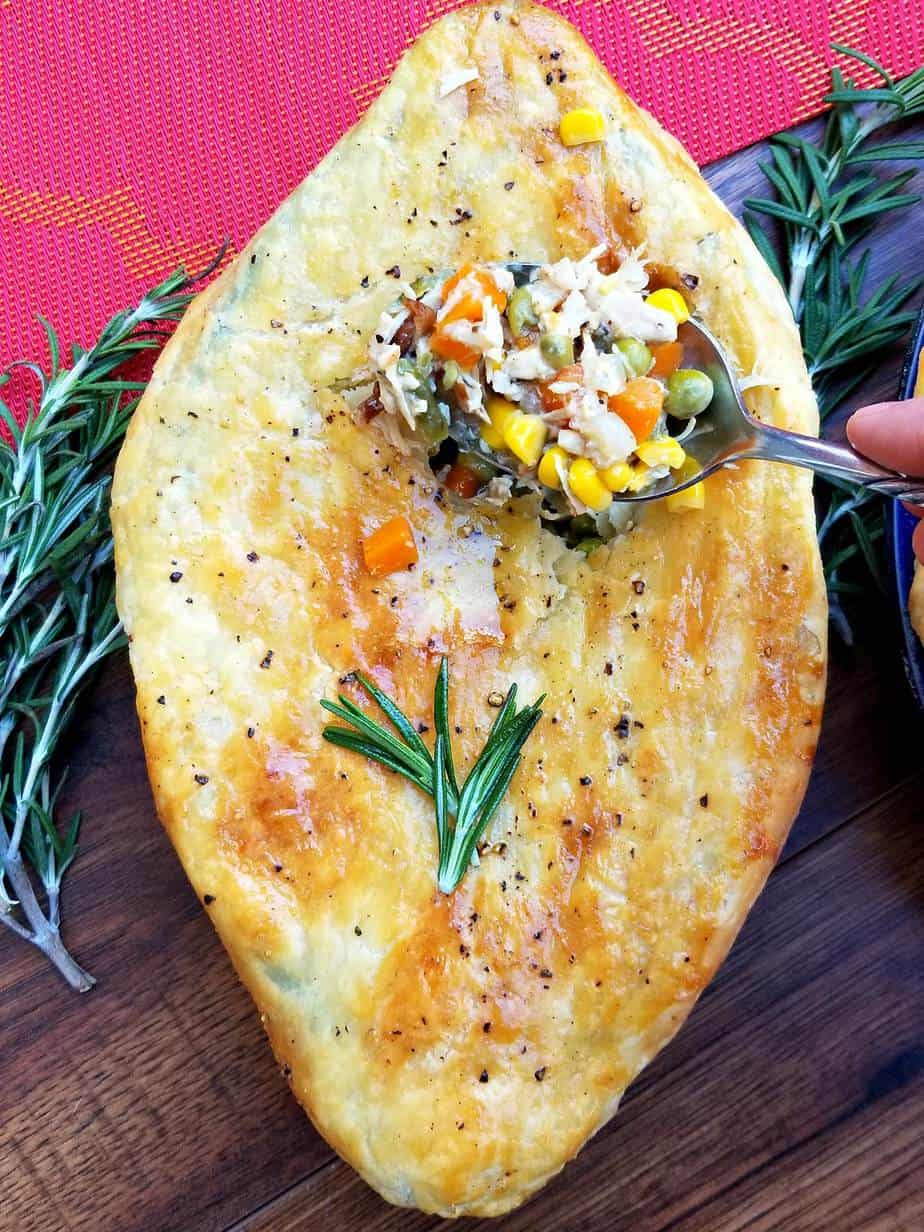
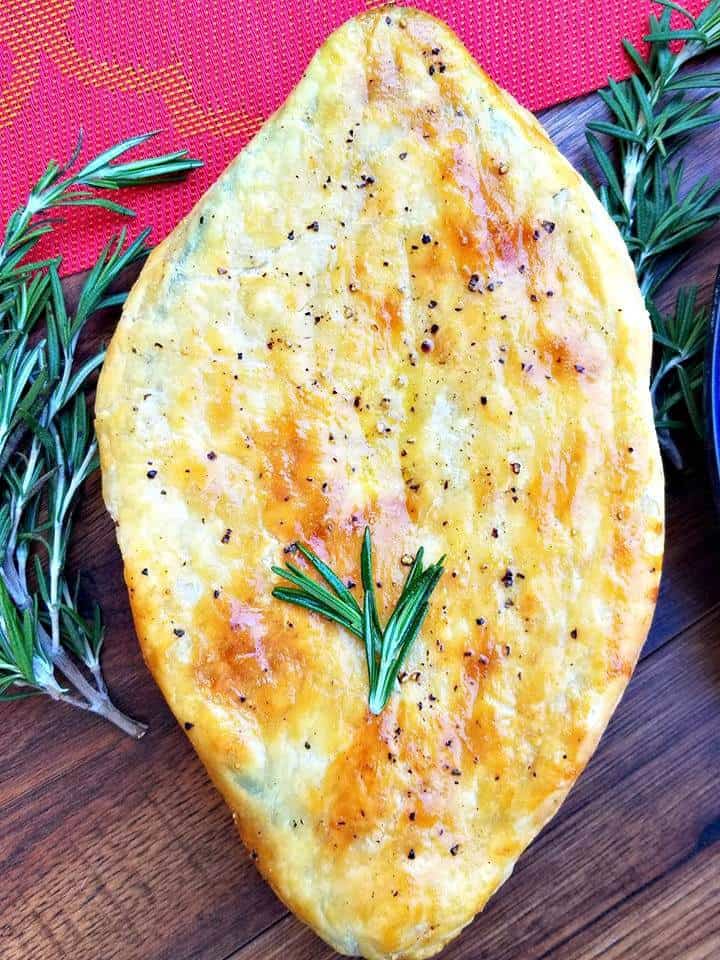
These Turkey pot pies made with puff pastry and are my go to recipe whenever I have leftover turkey.


These pot pies are absolutely delicious and a bit different then the average pot pie recipe you will find.
So read along if you want to learn how to make them! And trust me it is easy as pie 🙂
WHAT’S IN TURKEY POT PIES
- DICED CARROTS
- CORN
- PEAS
- GREEN BEANS
- LEFTOVER CURRY
- SPICES

ARE TURKEY POT PIES GOOD FOR YOU
Yes, they are packed with vegetables and lean protein (leftover turkey meat)
TURKEY POT PIES WITH PUFF PASTRY
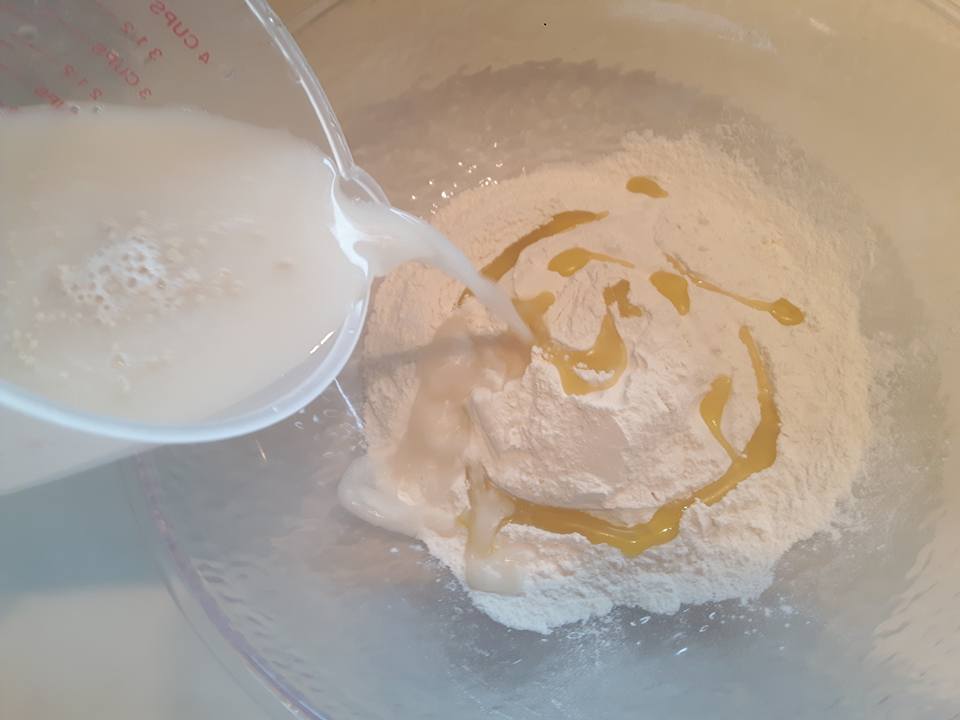
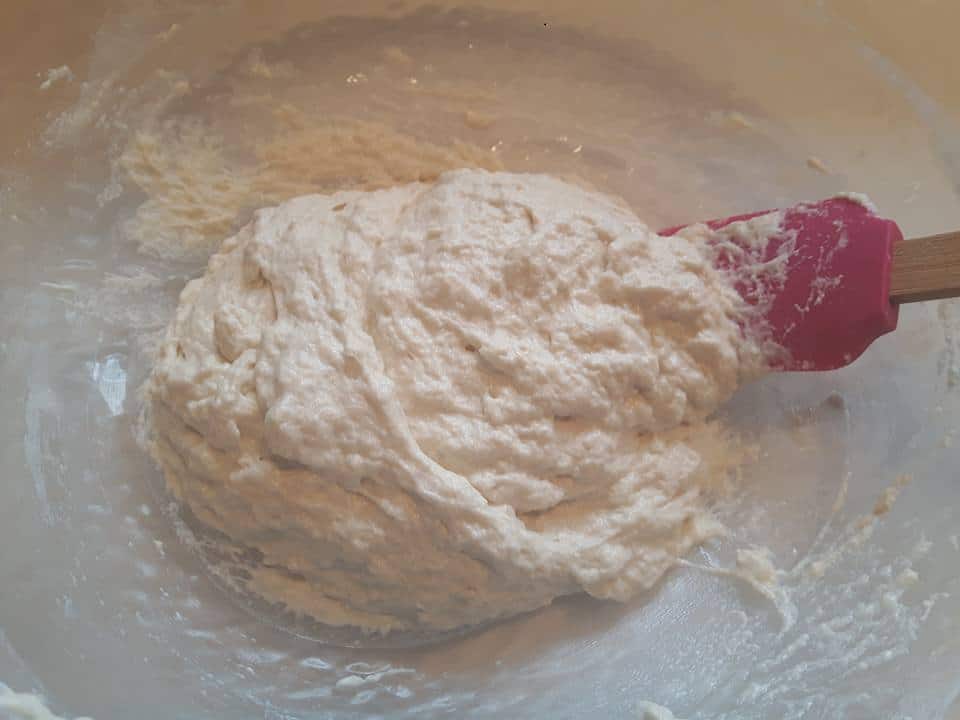
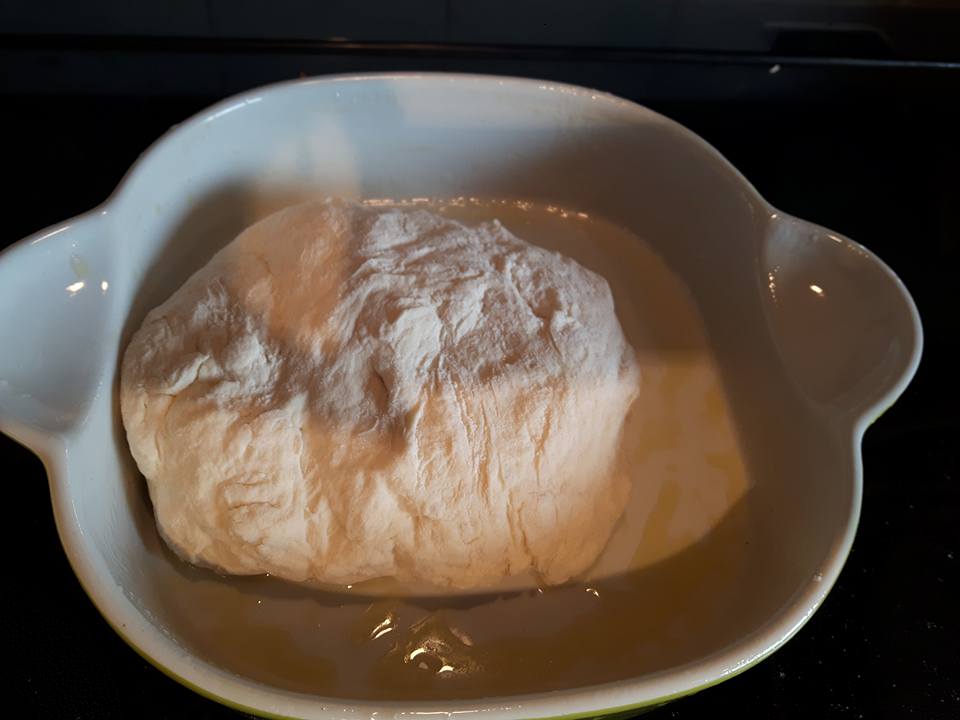
- You will want to start by making the pie crust. You can pre purchase the “puff pastry” which is that crust you see on the top of these pies” or you can make it from scratch yourself. I really encourage you to try making it from scratch as it tastes best.
- The crust recipe I have provided is also foolproof. I have tried many pastry puff recipes in the past and this one is the winner folks.
- Then ONCE the pie crust has been made. Simply defrosted some frozen vegetables and add to the turkey mixture to make the filling.
- These pot pies can be ready in under 45 minutes. As long as you pre-make the puff pastry one hour in advance you can have this on the table in under one hour. If you would prefer to make one big large pie, you can do that with this recipe as well.


HOW TO MAKE TURKEY POT PIES
- The main difference with my recipe and all the others is that I like to use my leftover “Turkey Gravy” instead of heavy cream in my pies.
- It does the same thing, keeps the pies moist yet adds that extra level of flavor.
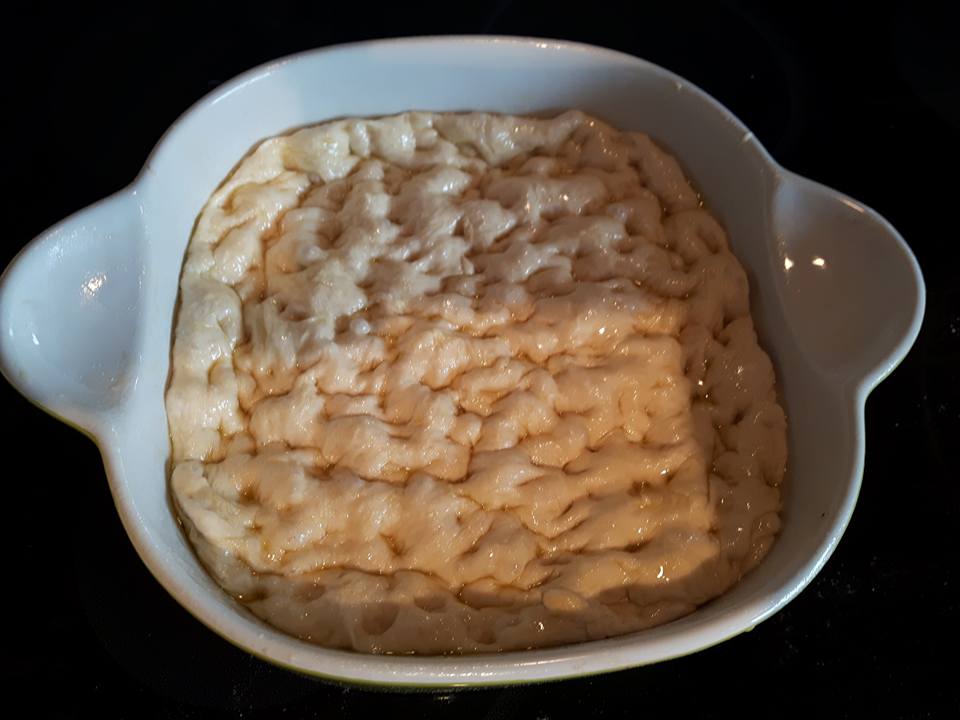
- You will want to start by making the pie crust recipe. Once the pie crust has been made you will roll it out on a clear kitchen counter that has been sprinkled with flour.
- Place your bakeware over top and with a knife cut around the bakeware to create the pie crust as seen below.


- Then you will prepare the filling and place that in the bakware before folding over the pie crust.
- Brush the crust with butter and bake.


Also, I like to use a frozen vegetable mix, that contains green beans, peas and carrots to fill the pies.
The more veggies the healthier right?
Plus all three go so well together and make these pies AMAZING!
So if you too are wondering what to do with all that leftover turkey, then look no further because this recipe is not only simple to make it’s absolutely delicious!

CAN TURKEY POT PIES BE FROZEN
Yes, as long as the turkey was not frozen to begin with.
Don’t want to make individual pies?
No problem, simple place the pie filling inside a large pie baking dish and make a large one with the same recipe.
Totally up to you 🙂


So instead of placing the ingredients into four smaller dishes place it into one large and cover with one crust. I hope you enjoy!

Notes: If you don’t have any leftover turkey gravy, feel free to use canned or cream in replace of.
Recipe Inspiration: Easy puff pastry recipe
More Christmas & Thanksgiving recipes you may like:
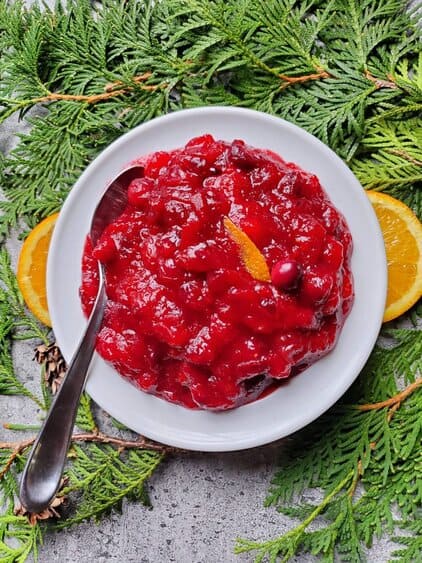
Cranberry Sauce with Orange Juice

Beef and Mushroom Wellington


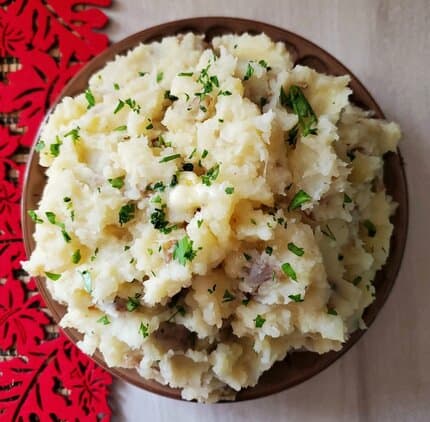
Instant Pot Garlic Mashed Potatoes

- Brussel Sprouts with bacon
- Butter Herb & Parmesan Mushrooms
- Turkey Pot Pies
- Creamy Cheese Mashed Potatoes
- Honey Mustard Brussel Sprouts
- Shredded Brussel Sprouts with Bacon and Balsamic
Also check out my roundup of Thanksgiving & Christmas Recipes from around the World or my 10 delicious stuffing recipes! for more inspiration!
I am so thrilled you are reading one of my recipes, if you made this, I want to see! Follow Canadian Cooking Adventures Instagram, snap a photo, and tag and hashtag it with @canadiancookingadventures and #canadiancookingadventures.
Stay connected and follow along on Facebook, Pinterest, and Instagram for all of my latest recipes!