How to make Pounded Yam

If you love African food then you are sure to want to learn to make some homemade Pounded Yam to go along with most of your favorite dishes. 

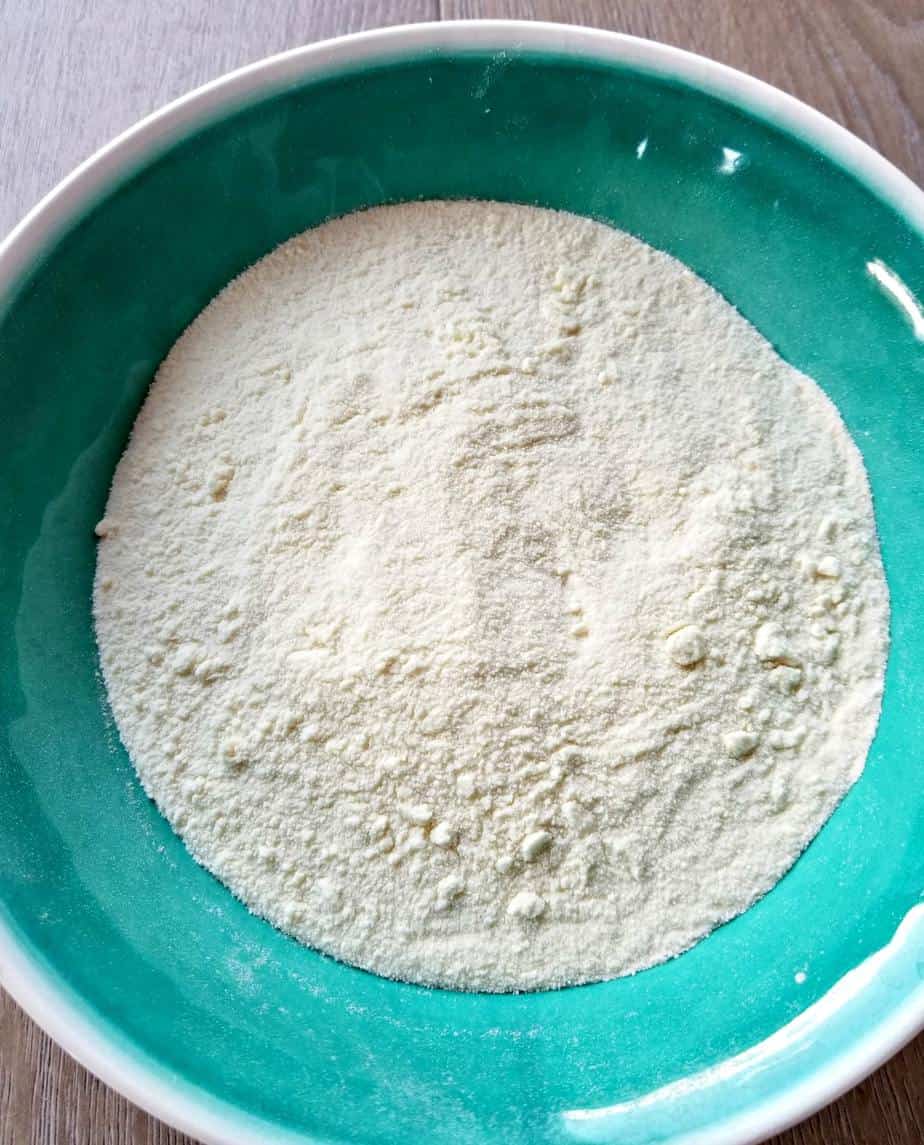
For this recipe I will teach you how to make “pounded yam” the easy way. With yam flour!

Pounded Yam is often enjoyed beside many West African dishes kind of like rice or potatoes.  If you haven’t tried it before, then you may be in for a pleasant surprise.

HOW TO MAKE POUNDED YAM

  • To make pounded yam you will need a pot and a wood spoon.
  • Then you will want to bring the water to a boil, turn down the water to low heat
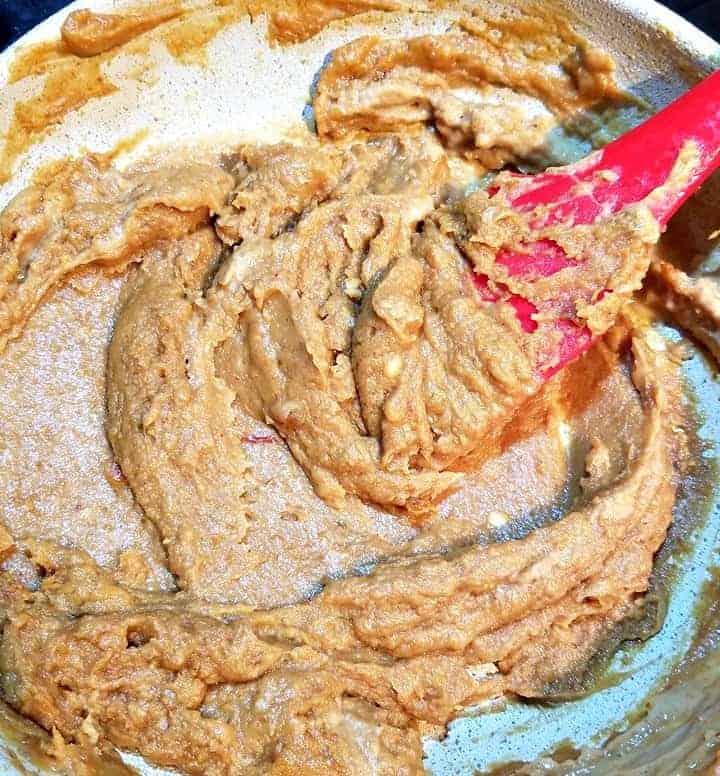
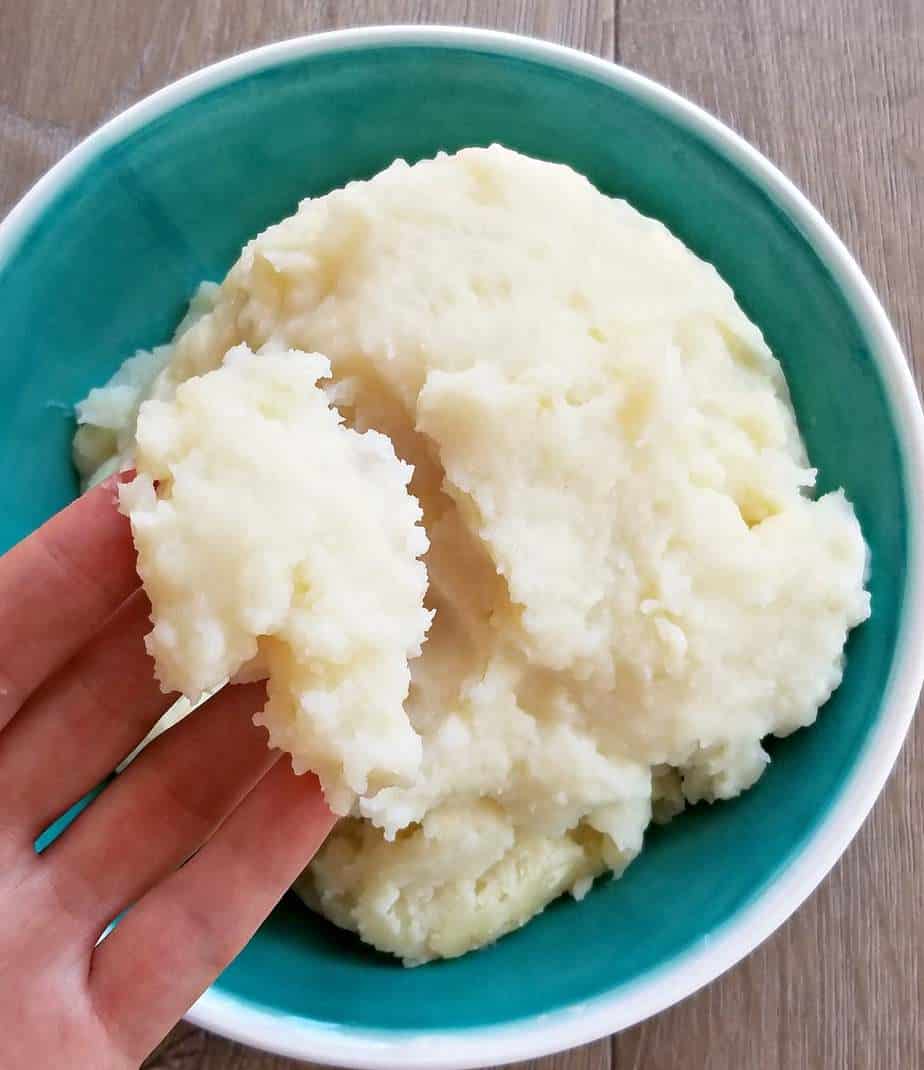
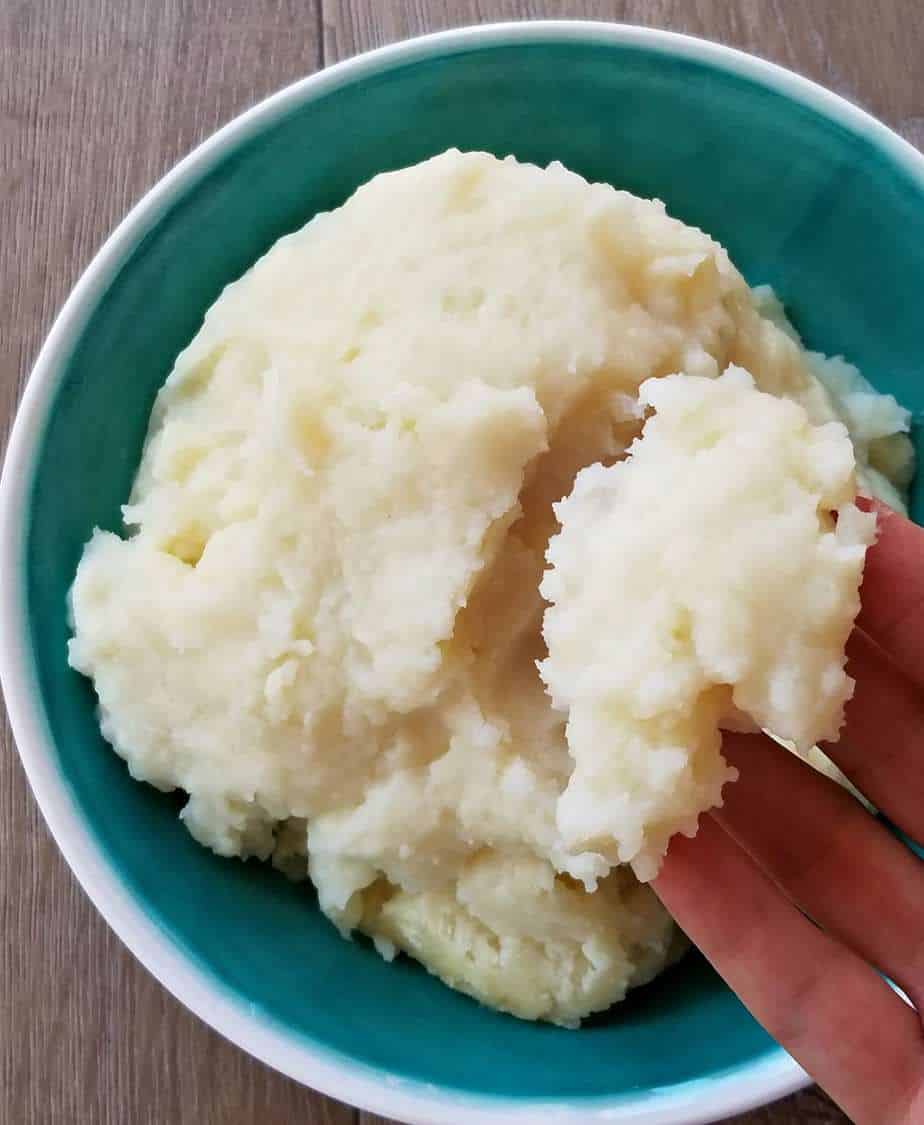
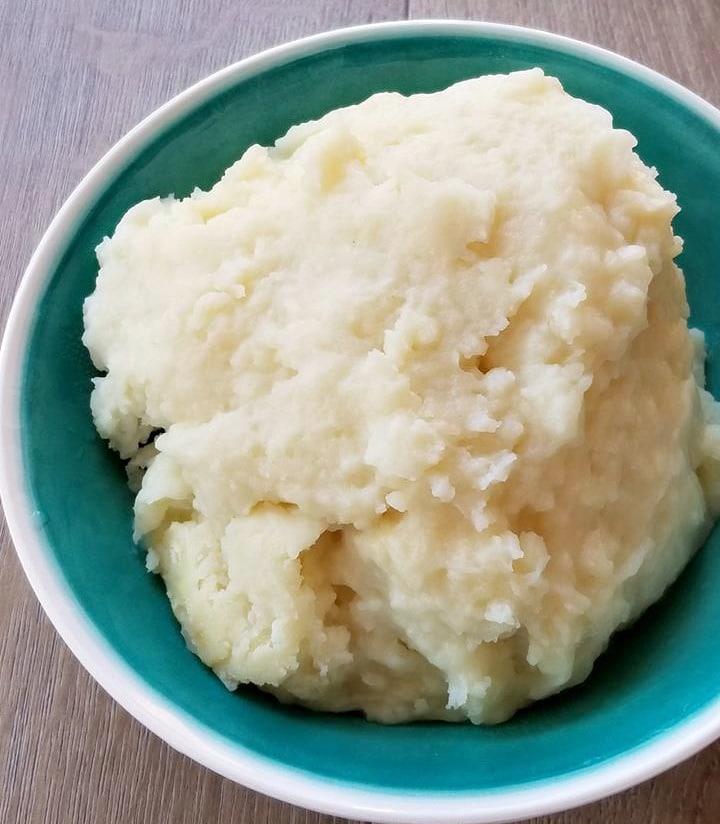
  • Then slowly pour the flour into the hot water and mix it hard and fast till it forms a ball like you see below. “which helps to slightly pound the yam flour while it cooks in the hot water”
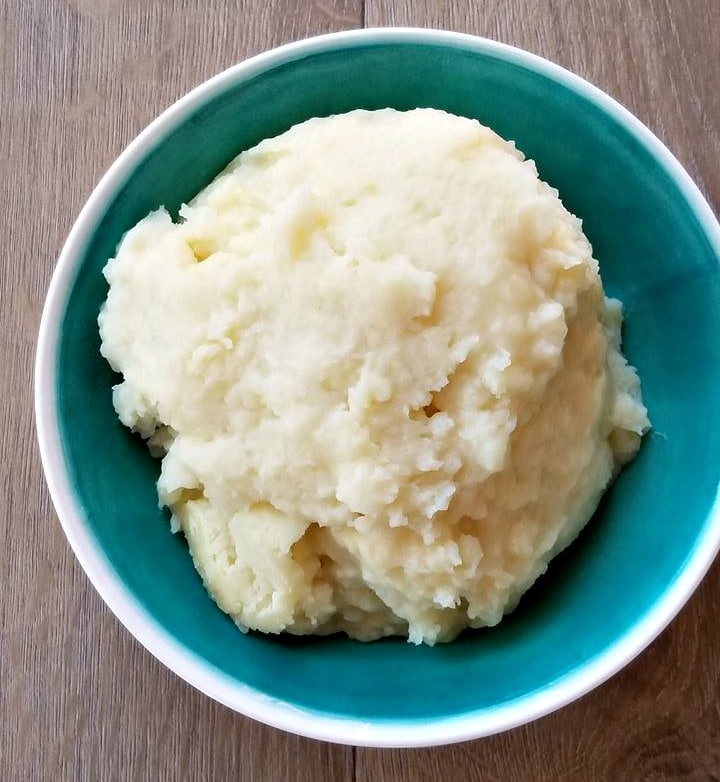
  • Serve and enjoy!

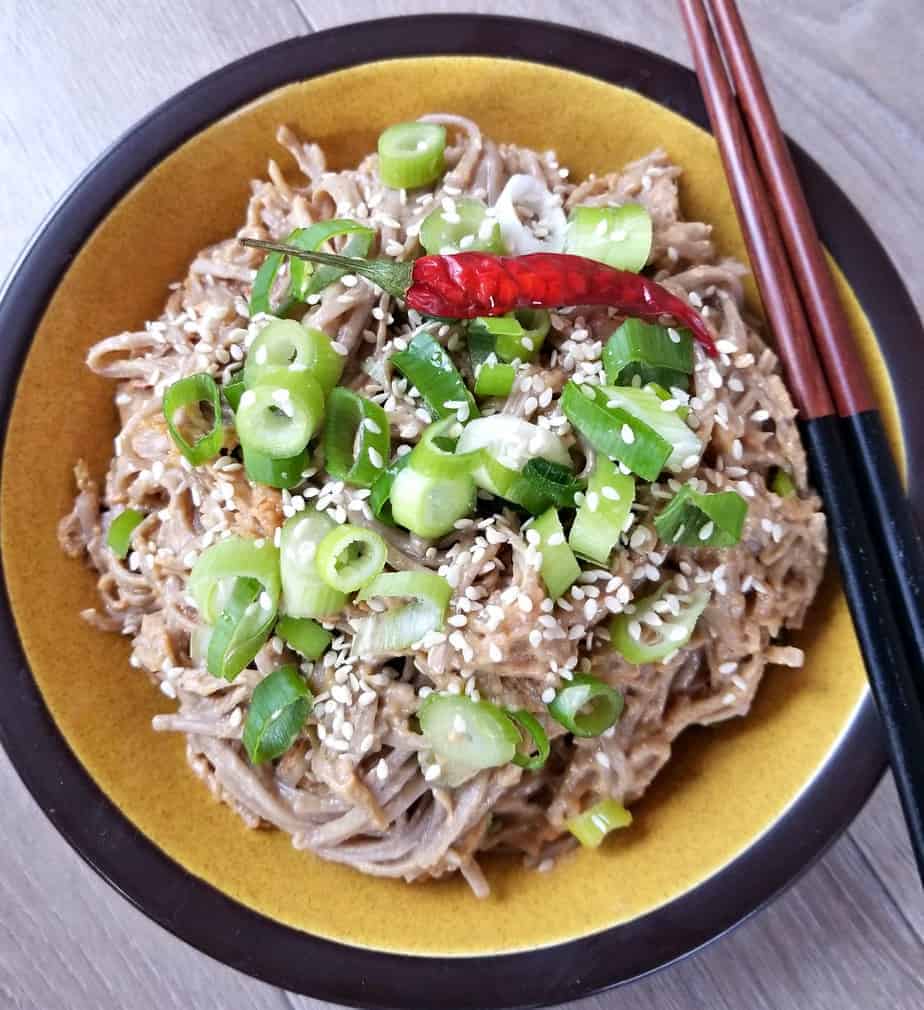
HOW TO EAT POUNDED YAM AND EGUSI

It is often served with Nigerian Chicken Stew or Meat Red Stew

Today you can make it in less than 5 minutes and that is because there is actually no pounding involved.
That is if you buy the “flour” and make it the quicker way.
 
Of course the original method had people cooking whole yams and then peeling and pounding them in a large mortar, however that is no longer necessary.

I like to purchase my pounded yam from my local Indian grocery, they tend to have it in the African isle next to the ground crawfish, palm oil and other African foods.

To bad we don’t have African groceries who sell their own products. But for now this is where it is typically found.

You can also purchase “Yam Flour” through amazon. I have attached the link below to make that purchase, amazon has the same brand that I use “Ola-Ola as seen below.

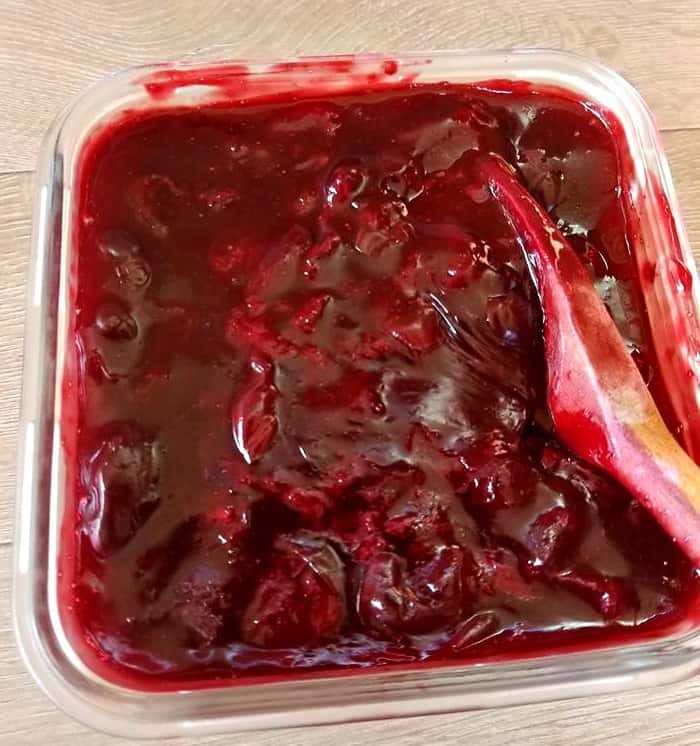
My favorite recipe to make along pounded yam is “Red Tomato Stew”.

Which is mostly made of  fresh fried tomatoes, onions, garlic and red bell peppers.

That recipe can be found on this blog and below.

This stew is so special that it is served as the main dish during the holidays in Nigeria.

Yup you heard that right, so instead of our North American Turkey they serve this.

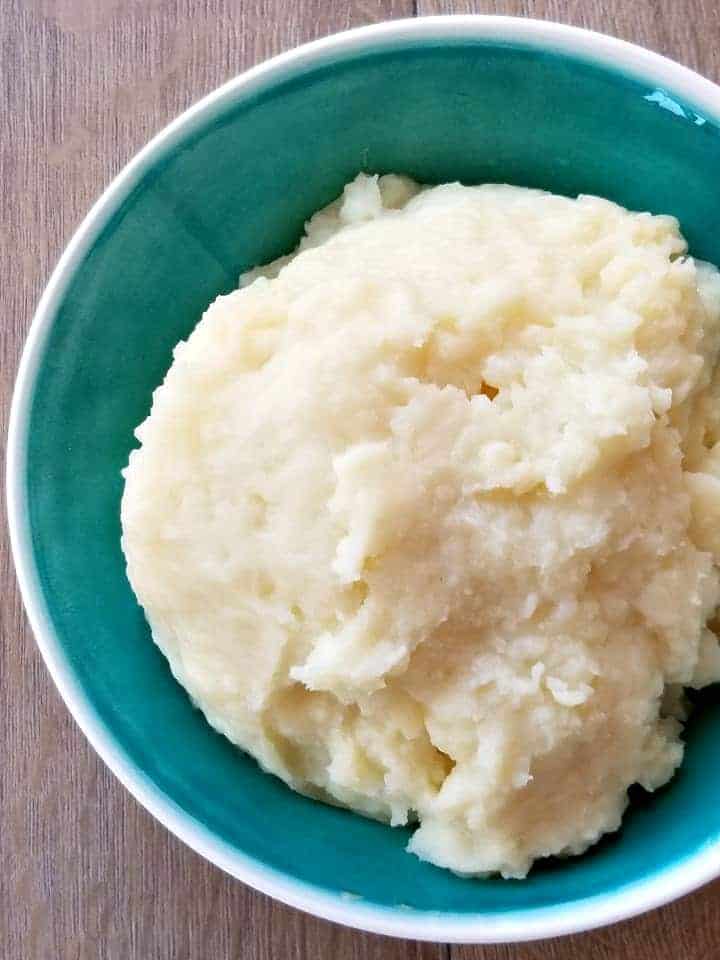
Pounded Yam is meant to be used in replace of a spoon or fork, so don’t be shy and dig in.

Your going to love it, and if you don’t feel free to mail it to me 🙂

Notes: When mixing in the Yam flour into the hot water, make sure that you are using a heavy hand to stir it and that you are using a wooden spoon to do that job. You want the flour to be somewhat wet as it forms into a large ball. So make sure your adding in more water as you go to make that happen. Practice makes perfect, you may need to try this several times to get the hang of it. Once you do it’s pretty easy to make this recipe any other time.

I am so thrilled you are reading one of my recipes, if you made this recipe I’d love to hear about it! Thank you very much for reading and until next time see ya in the kitchen. Don’t want to miss a recipe? Sign up for our NEWSLETTER delivered right to your inbox every Month!

Cajun Creamed Corn

This Cajun Creamed Corn is not your sweet Southern Corn you may be more familiar with, not to say this isn’t sweet. Because it is, we are still using sweet corn after all. 

However we are omitting the sugar and using cajun seasoning to spice it up some.

This is my kind of creamed corn, I hope you enjoy it too.  

My cajun creamed corn is so good it can be enjoyed as is or as a side to just about any meal.

Made with just a few simple ingredients of milk, butter and cornstarch then seasoned to perfection.

Your sure to crave this stuff next time you’re looking for a unique side dish to serve.

Feel free to use milk in replace of cream or almond milk if desired.

Also if you want it more thick simply add one more 1 tbsp of cornstarch during the cooking phase.

Did you know that sweet corn is very good for you? 

It’s true, it’s loaded with lutein and zeaxanthin, two phytochemicals that promote healthy vision.

Besides helping with weight loss, the insoluble fiber in corn feeds good bacteria in your gut, which aids in digestion and helps keep you regular.

Once this recipe has been cooked, feel free to add cooked bacon pieces to this corn mixture. It works really good in this side as well.

I am so thrilled you are reading one of my recipes, if you made this recipe i’d love to hear about it! Thank you very much for reading and until next time see ya in the kitchen. Don’t want to miss a recipe? Sign up for our NEWSLETTER delivered right to your inbox every Month!

Creamy Peanut Butter Noodles

These Creamy Peanut Butter Noodles are delicious! Plus they are vegan and packed full of protein a must try! 

This recipe is very easy to prepare since all we are doing is cooking the noodles till tender then tossing them in a creamy peanut butter sauce. 

I added a red chili pepper just for this picture, however they are a bit spicy do to the sriracha chili in the sauce.

So follow along for this tasty recipe that can be on the table in under 15 minutes.

You can pretty much use any type of noodles you want for this recipe, I did choose gluten free buckwheat noodles for mine.

However we aware not all buckwheat noodles are gluten free so please read the labels.

If you’re looking for another gluten free option, try vermicelli rice noodles instead. Once the noodles have been cooked you will simply remove and drain them.

Then in a non stick frying pan add the peanut butter, sesame oil, honey, soya sauce, sriracha sauce and water and that is all that is needed to make the creamy sauce.

Today you can find many different types of ways to prepare these noodles. Some recipes call for sugar, I feel that the peanut butter has enough in it even if your using an all natural kind. 

However if you want it to be a bit sweeter go ahead and add 1 tsp of sugar or maple syrup. I hope you give it a try and let me know what you and your family think. 


ENJOY!

I am so thrilled you are reading one of my recipes, if you made this recipe i’d love to hear about it! Thank you very much for reading and until next time see ya in the kitchen. Don’t want to miss a recipe? Sign up for our NEWSLETTER delivered right to your inbox every Month!

Cherry Tiramisu

This Super delicious and decadent Cherry Tiramisu is a cross between Black Forest Cake and Tiramisu! And is super simple to make, I kid you not!

It is said the origin of tiramisu goes back to the 1960s in the region of Veneto, Italy.  Tiramisu has several meanings such as “pick me up”, “cheer me up” or “lift me up”.

And is coffee-flavoured Italian dessert.

That is made with espresso or strong roast coffee and mascarpone cheese, and cocoa among a few other key ingredients.

My recipe here uses espresso, vanilla extract, mascarpone cheese, cocoa and whipped cream vs raw eggs.

Be ready to have your socks knocked off with this one 🙂

Just be sure to follow the directions I have listed below and you will be on your way to Tiramisu heaven! 

You may be thinking, can it really be made without the eggs?

Doesn’t traditional Tiramisu have raw eggs in it? And my answer to that is “Yes” and “No”.

Some traditional Tiramisu recipes that hail from Italy will ask you to put raw egg whites in the Tiramisu.

However not all Italians do that, just look at Laura Vitale recipe which this recipe was inspired by.

She is Italian and does not agree with putting raw eggs in her recipe either.

The reason some do that is one because it’s tradition and two it also creates a light and fluffiness to the cake.

With mine, we are substituting those raw eggs for fresh whipped cream which helps to maintain that light fluffy texture. And is much better if you ask me! 

See this whole sheet cake above? Between me Jason and my girlfriend had it polished off in two days.

It is that good guys!! The whole darn thing was gone in less than 48 hours 🙁 and I was so sad.

Also if you have kids in the house or don’t drink alcohol you can omit the rum.

You can make the Tiramisu more on the sweet side like most cakes or follow the traditional Tiramisu style that has more of a liquor espresso taste, which I must prefer.

Plus the cherries have enough sugar in them already so adding heapings of extra sugar is not necessary.

I used fresh sweet cherries for this filling and cooked them down with a little cornstarch and water.

You can use fresh or frozen cherries just make sure there the sweet ones otherwise you will want to add some sugar as well.

And if you want to skip the stovetop cooking method, by using a cherry pie filling instead. Just keep in mind most of those are filled with sugar so your Tiramisu will be allot sweeter than mine. If prepare it from scratch it tastes much better if you ask em.

Tiramisu has always tasted best the next day, so if you cannot wait the 24 hours. Allow it to sit in the fridge for at least 6 prior to serving.

Also feel free to replace the cherries with raspberries if you’d like, they go really well with the Tiramisu flavors as well.


I am so thrilled you are reading one of my recipes, I appreciate every single one of you! Thank you very much for reading and until next time see ya in the kitchen. Don’t want to miss a recipe? Sign up for our NEWSLETTER delivered right to your inbox!


Cherry Galette

If you have never made a galette which is a term used in French cuisine to designate various types of flat round or freeform crusty cakes, then you are in for a treat. 

Most people would agree and say this galette tastes just like cherry pie, however is a bit more light and flaky.

Served with a Chocolate Cherry Syrup that is sure appease those with a sweet tooth. Serve to your friends and family and watch them be in awe that you made it yourself from scratch.

I absolutely love cherries and come summer when they are in season and ripe, I like to eat them by them by the pounds. Packed full of antioxidants and fiber they are just too good to not enjoy fresh all summer long. 

I’m always finding new ways to cook with them too and so you can find a few cherry recipes on this site for sure.

If you are checking this recipe out and there not in season where you are, then you can definitely use the pre pitted frozen ones too that most of the grocers carry. 

For this recipe you are just filling and folding over to create the most delicious dessert, without all the hassle of a typical pie.


You will need about 3 cups of fresh cherries! One premade butter puff pastry, sugar and olive oil.

Place 2 1/2 cups of pitted cherries inside the Butter Puff Pastry like so

And then simply fold over all the sides

Sprinkle with white sugar or drizzle with maple syrup and bake at 375 for 35 minutes 

Just make sure the cherries are defrosted fully before making this recipe if you choose the frozen variety. 

While the galette is cooking in the oven, you will simply reduce a few pitted cherries on the stove top with some chocolate chips to create the perfect glaze. 

Serve the glaze warm alongside this gallette and you will be in Cherry Chocolate Heaven!

Flaky, sweet and a bit tart this is sure to cure your sweet tooth!

And by all means go ahead and serve with some whip cream… so good!


PIN IT FOR LATER

Homemade Fresh Cherry Pie

I’m baking up a delicious cherry pie today with a buttery flaky crust. I like to use the Dr. Oetker pie crust because it gives me a perfect crust every time. All you need is cold butter and water along with a rolling pin and you will be in business. 

One of my favorite summer desserts is cherry pie, I guess its to do with the fact that cherries are in the height of the season now and go so good in a pie.

My Galette cherry pie is very similar to this recipe in many ways, however the crusts are just different. I do not recommend using frozen cherries for this recipe as they hold way to much water and then you will end up with a watery pie.

Now I don’t know about you, but I was never a fan of the store bought cherry pie. Once I started making my own pies at home, I knew right away what i have been missing all along.

This pie has just the right amount of butter crust, cherries, lemon juice, egg, vanilla extract and powdered sugar to make anyone’s mouth water. I hope you give it a try, because it’s something special to be able to say I made this myself, enjoy! 

It’s ready to go into the oven, cant hardly wait!! 

Note: You can serve this along with ice cream or whip cream.

I am so thrilled you are reading one of my recipes, if you made this recipe id love to hear about it! You can post a review, picture below or via Instagram and let me know how it turned out. And by doing so you will be automatically entered into our seasonal CONTEST to win one of our great prizes. Winner will be notified via email within a week after the contest closes. Thank you very much for reading and until next time see ya in the kitchen. Don’t want to miss a recipe? Sign up for our NEWSLETTER delivered right to your inbox!


PIN IT FOR LATER


Authentic Tabbouleh Bulgur Recipe

This Authentic Tabbouleh Bulgur Recipe is something you will want to make time and time again. 

The secrets to a good Tabbouleh is using the most freshest of ingredients such as fresh parsley, tomatoes, cucumber, mint, onions and the right type of bulgar.

This tasty salad goes well alongside any type of dish and has been a typical side dish that has been served in the middle east for centuries. 

Tabbouleh salad is something I have come to enjoy immensely over the years.

Actually I tried it for the first time at my local deli a few years back and liked it so much that returned to the market to find all the ingredients that night. 

It took me some time to master the perfect combination and techniques to making the most tastiest of tabbouleh, but I’m sure i’ve done it now.

This salad has an a array of flavors that are sure to please even the pickiest of eaters. And tastes much better than any store bought variety, believe me. 

You will want to start by using a “coarse Bulgur” variety, you can use  “fine coarse” Bulgur if you want, however I find the course works best because it gives more substance to the salad.  

Also, I recommend using both lemons and limes for this recipe, however traditionally lemons are just used. Be sure to chop up all your fresh ingredients finely and mix  well before serving.

I hope you enjoy this version for my favorite tabbouleh salad. 

What are some of your favorite summer time salads? 

Looking for more Summertime salads? Try these popular recipes below. 

I’m thrilled you are reading one of my recipes, if you made this recipe i’d love to hear about it! You can post a review, picture below or via Instagram and by doing so you will be automatically entered into our seasonal CONTEST to win one of our great prizes. Winner will be notified via email within a week after the contest closes. Thank you and until next time see ya in the kitchen. Don’t want to miss a recipe? Sign up for our NEWSLETTER delivered right to your inbox!


Spicy Chicken Pad Thai Recipe

What makes Chicken Pad Thai different than other popular Thai dishes is the crushed peanuts and tamarind along with a few more important spices. 

This dish can be pulled together in under 30 minutes so follow along.

This recipe is inspired by my partner’s favorite Thai dish = Pad Thai!

Pad Thai is also one of Thailand’s most famous stir frys and whenever we go to any new Thai restaurant, it’s the first thing my Man will order.

I can hear it now, what do you two want to order. PAD THAI!!

I like Pad Thai too, it’s just I find most restaurants make it way to sweet and I much prefer recipes with a little bit of heat.

So I decided to create the same dish but with the addition of a little more heat to make it more suitable to my taste.

If you prefer a more sweet Pad Thai simply omit the red chilies. 

And well my partner in crime… he is just super happy I now make it for him at home.

If you prefer the more sweet Pad Thai recipes, then you can simly up the sugar in this recipe by 2 tbsp.

Which will make a dish quite similar to those restaurant style pad thai dishes.

After all it’s your Pad Thai and I want you to make it how you like it.

So what gives mine the extra heat? It’s the chili powder and the “red chili paste”. Easy enough eh?

HOW TO MAKE PAD THAI

Make sure you are using Tamarind Concentrate vs the paste.

You will know the difference because the concentrate is sold in small containers vs the paste which is actually a pulp and has to be soaked in water and strained prior to using.


When in doubt, just read the tamarind directions prior to purchasing.

If you love Thai food as much as me, then you will want to try my other thai dishes! All are AMAZING and really are some of the best ways to make Thai at home in a fraction of the time. 

Note:  Feel free to use shrimp in replace of the chicken or just enjoy it as is.

I’m thrilled you are reading one of my recipes, if you made this recipe i’d love to hear about it! Thank you and until next time see ya in the kitchen. Don’t want to miss a recipe? Sign up for our NEWSLETTER delivered right to your inbox!