Easy Baked Lemon Chicken and Potatoes

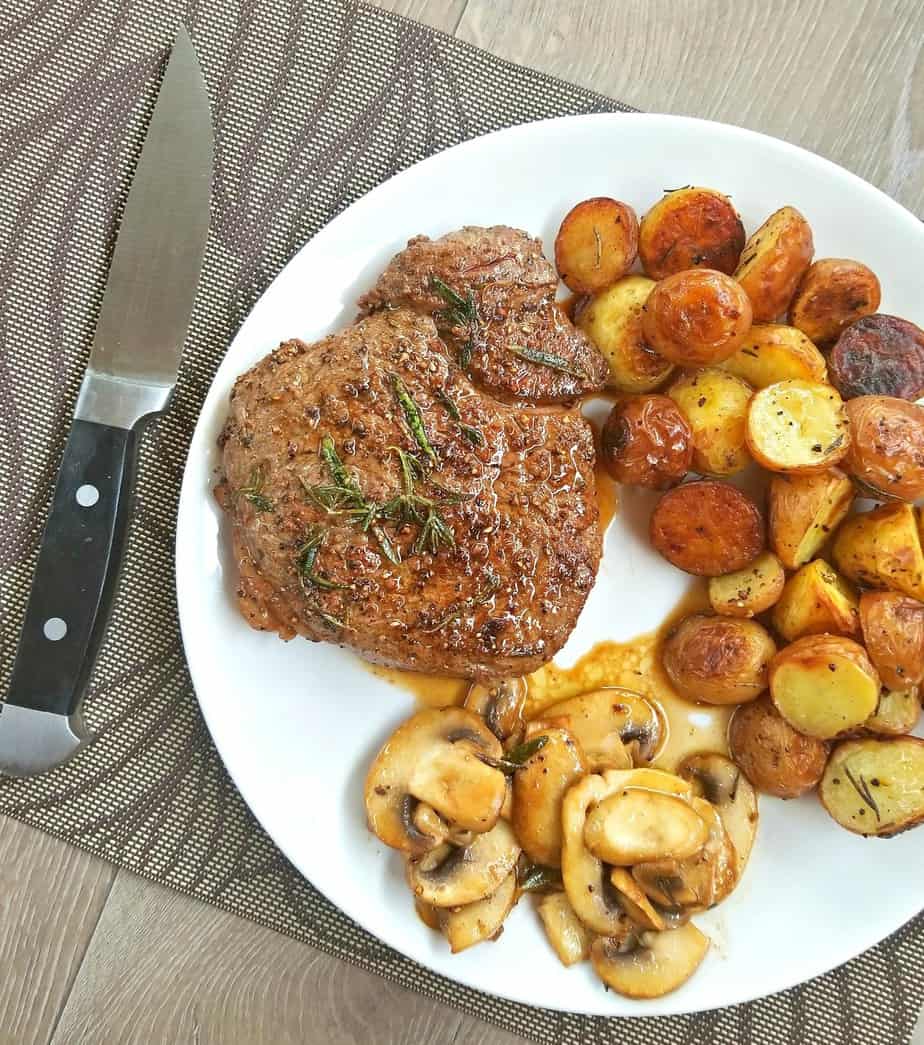
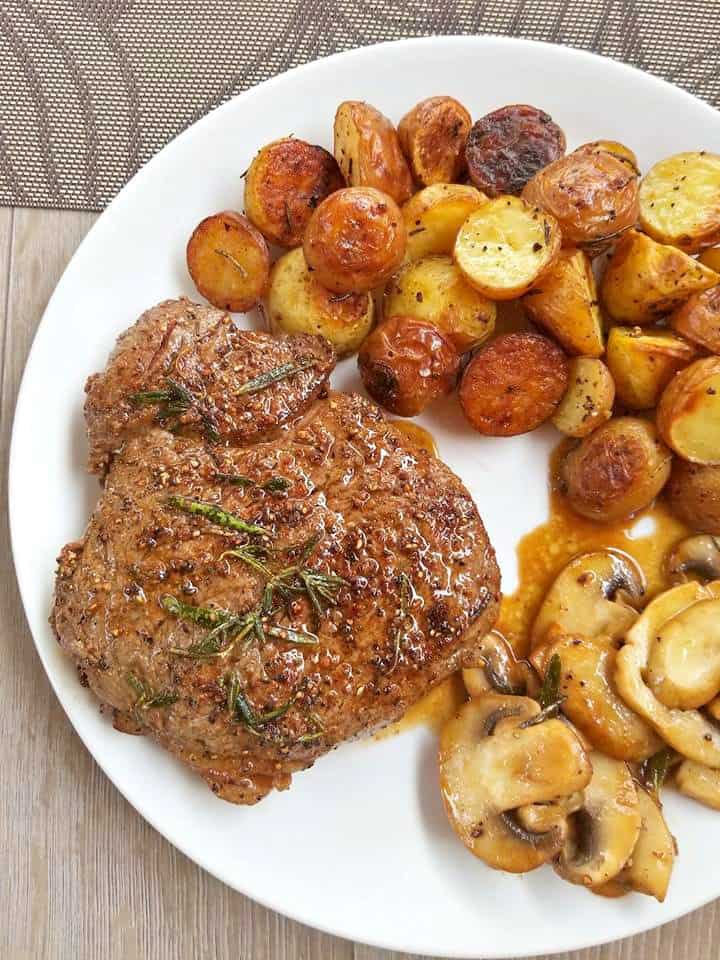
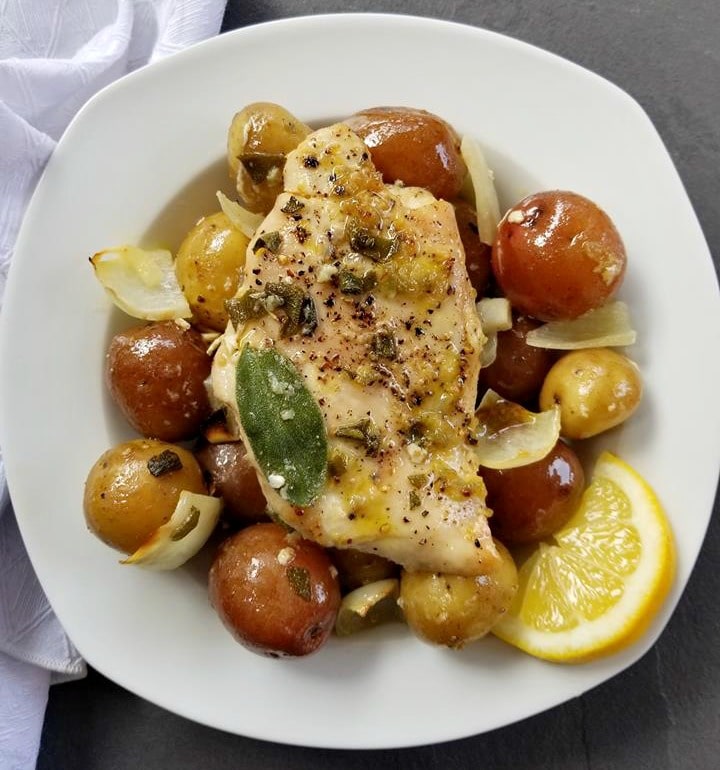
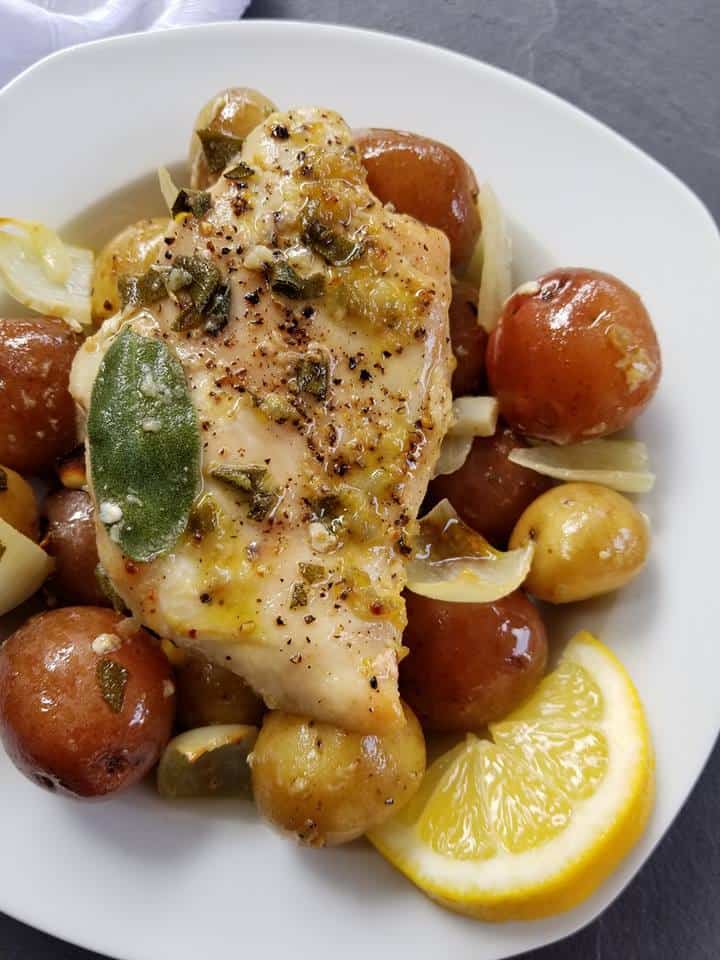
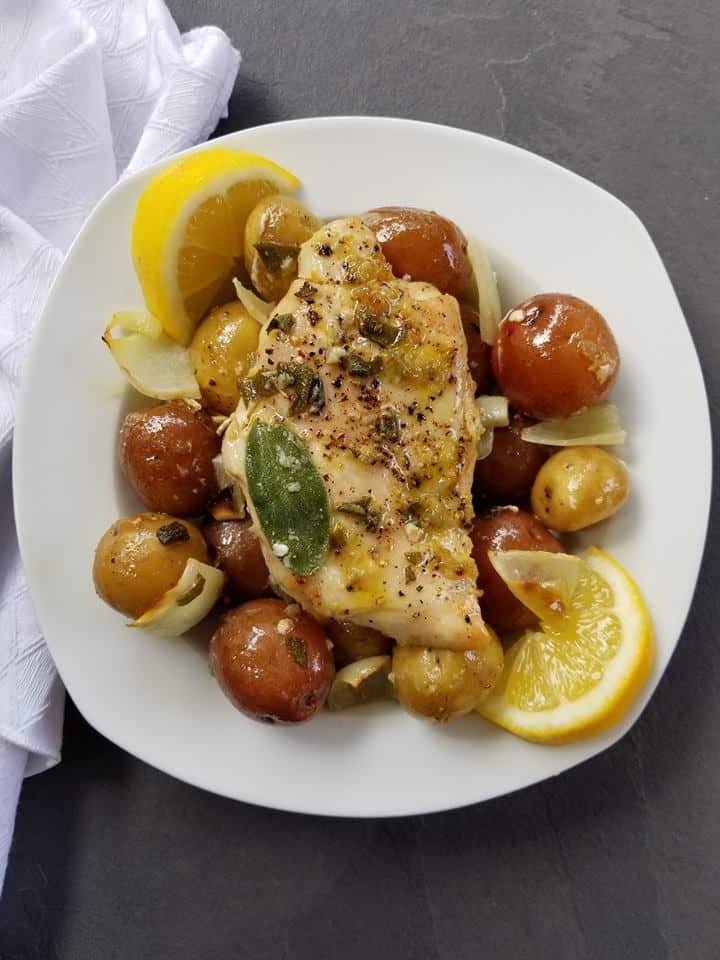
These Easy Baked Lemon Chicken and Potatoes are cooked to perfection and smothered in a lemon, garlic sauce that is sure to impress.

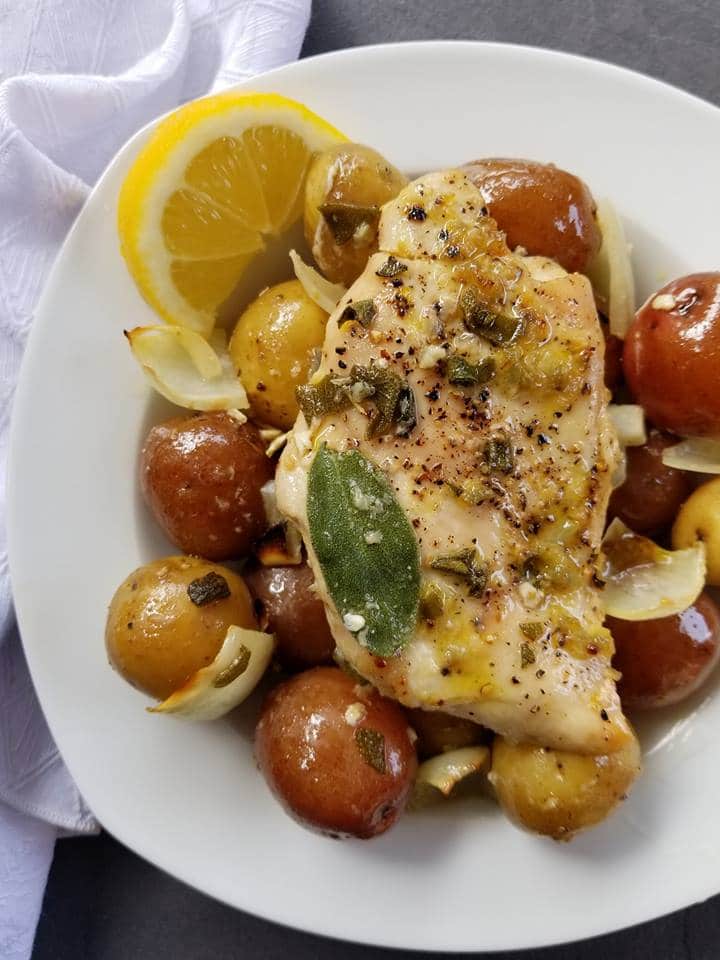
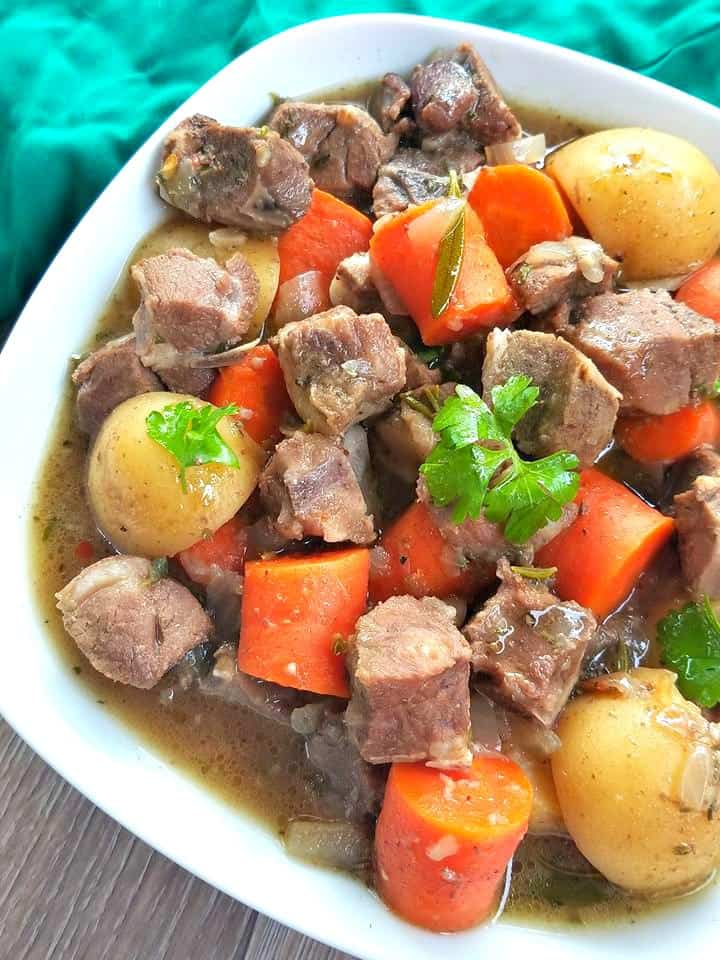
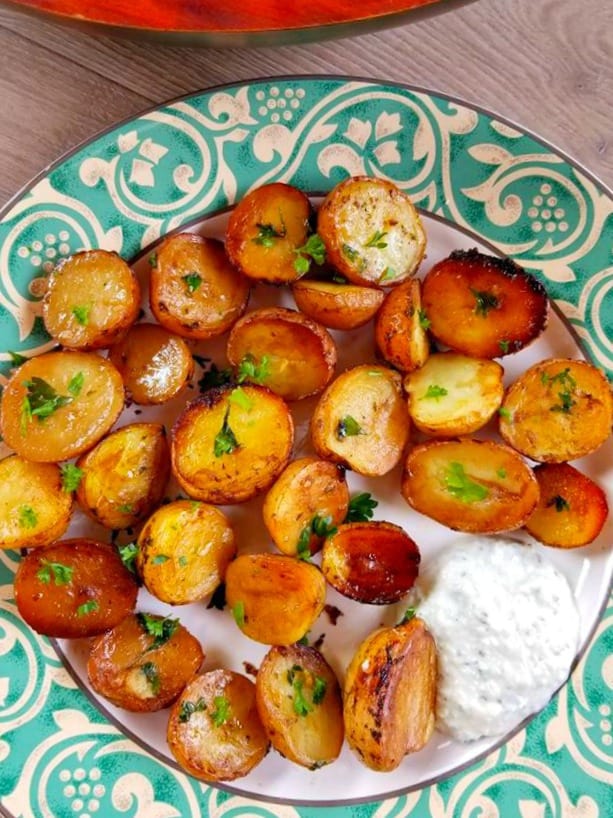
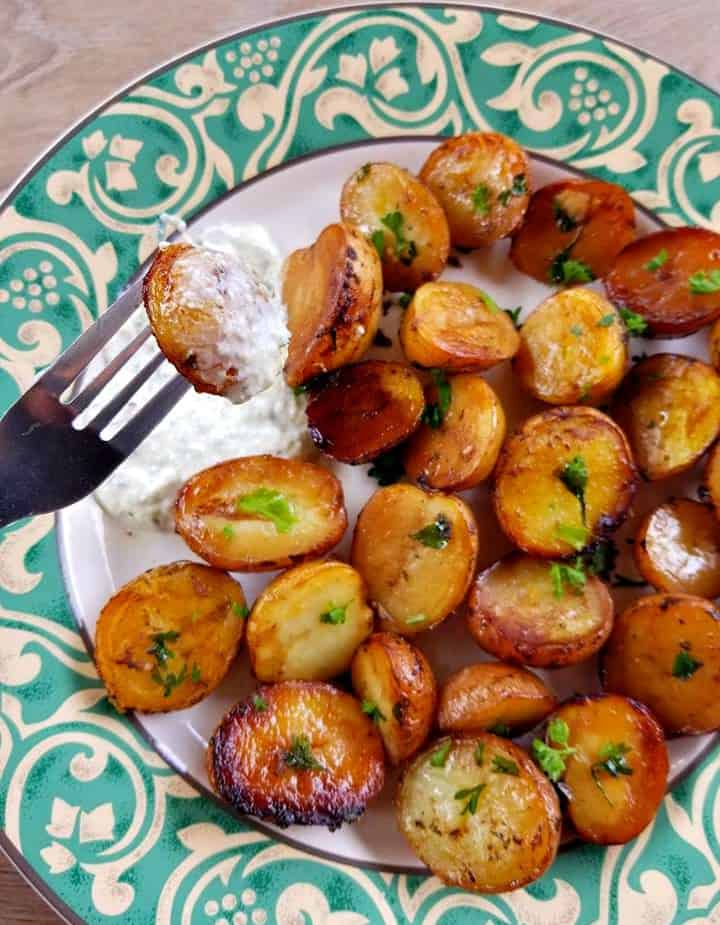
I really like to use mini potatoes when I can for this recipe.

I find they really go well with this type of dish and make it look kind of fancy, don’t you?

Plus they are baked so soft that you can simply mash them with a fork which allows those mini potatoes to soak up all those delicious flavors. 

Looking for another awesome way to bake some Chicken Breasts? You may want to try this recipe for a Moist Baked Chicken Breast

Can I make this in my Instant Pot or Slow Cooker?

Absolutely!

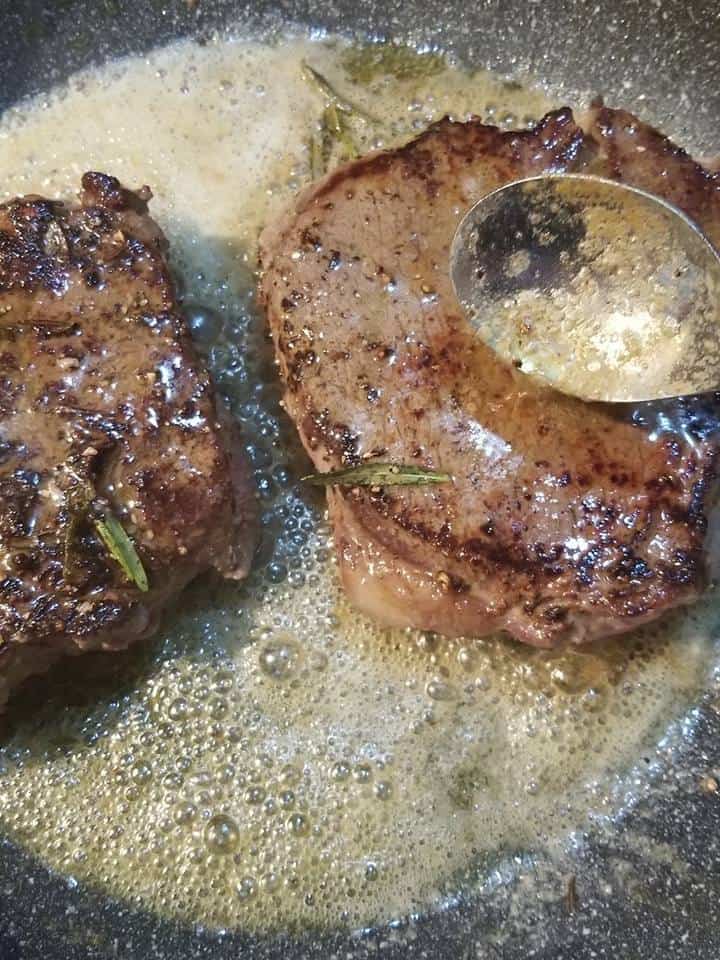
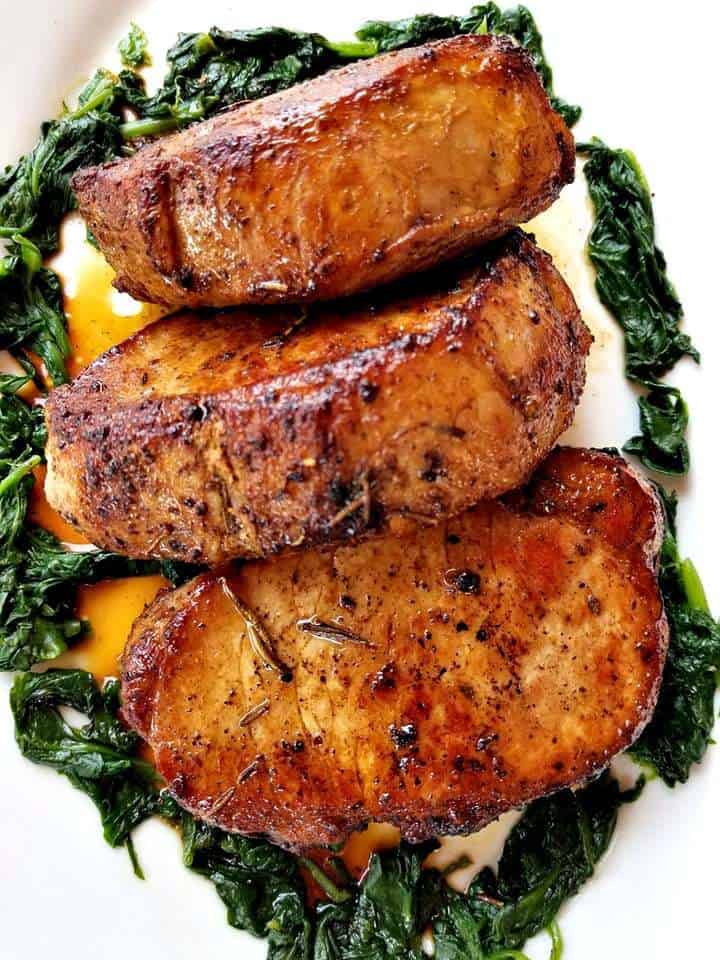
And if you like your chicken moist and juicy then you will love this recipe.

In order to make the best baked lemon chicken you will want to start by adding the right ingredients though. 

How to make the best baked chicken and potatoes

  1. Marinate– You want to use the right amount of stock.
  2. Time – You do not want to bake them for more than 50 minutes.

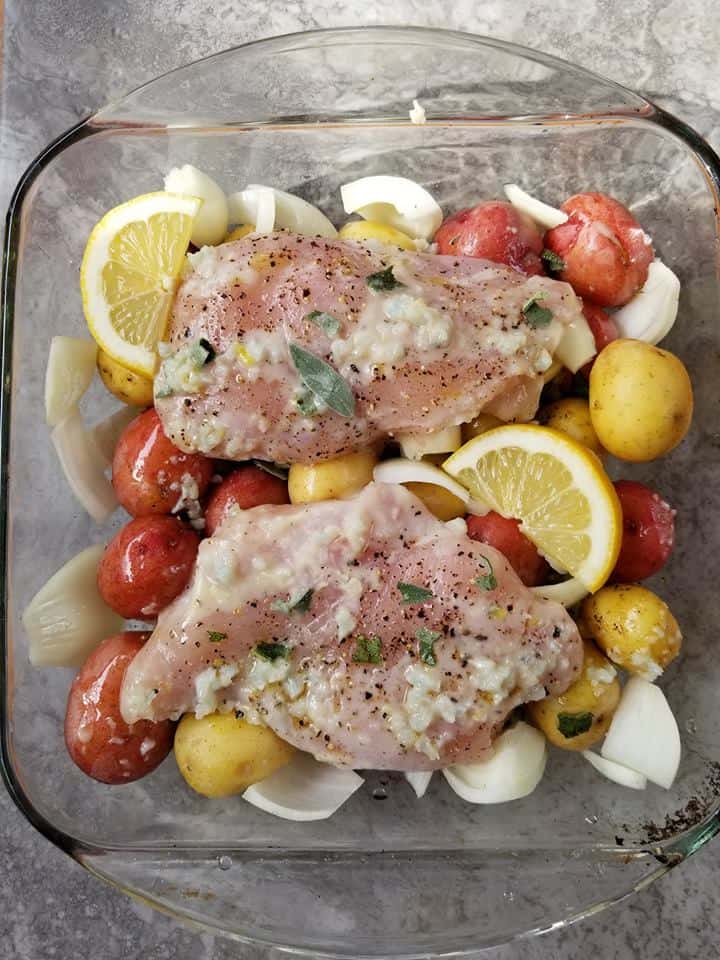
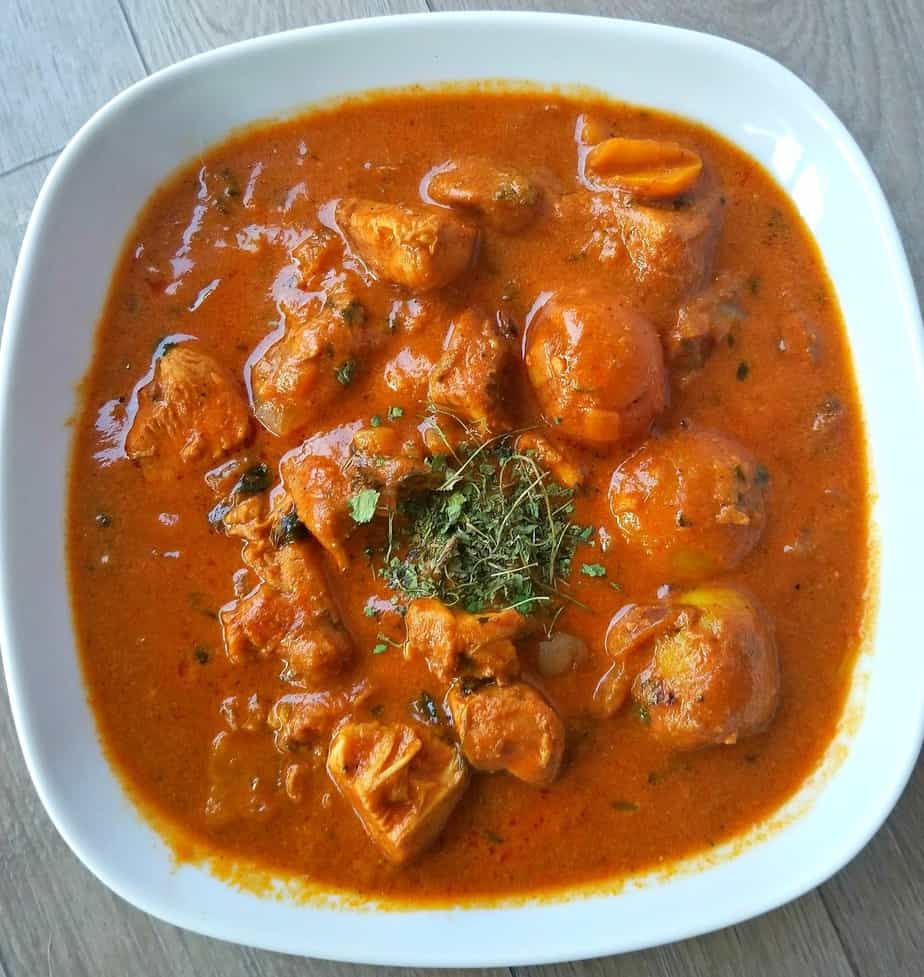
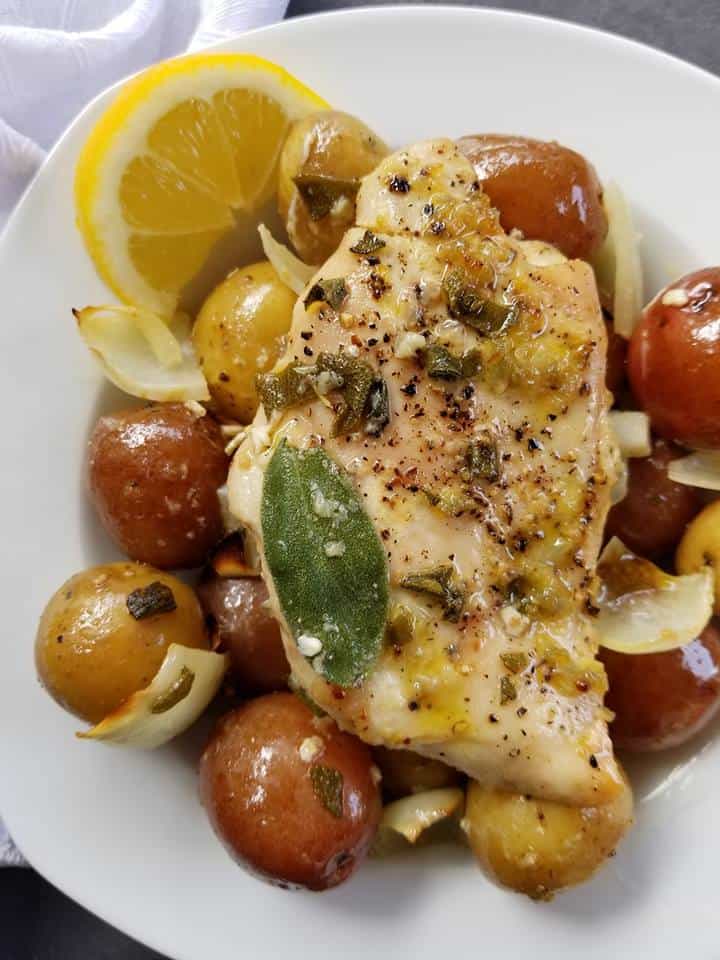
This dish consist of fresh chicken breasts, fresh sage, lemon juice, onions, garlic and mini potatoes.

Oh and 1/2 cup of chicken stock which helps to create the most delicious potatoes.

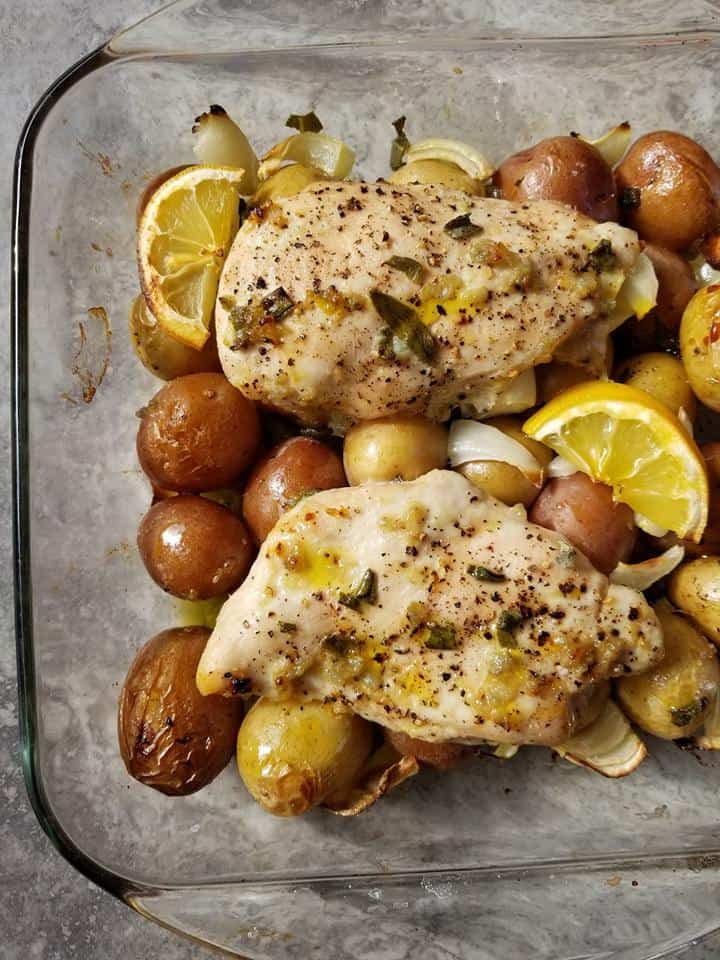
If you follow those two tips alone you are sure to prepare the best grilled chicken breasts.

Also feel free to use bone in breasts as well, those work for this recipe well also. 

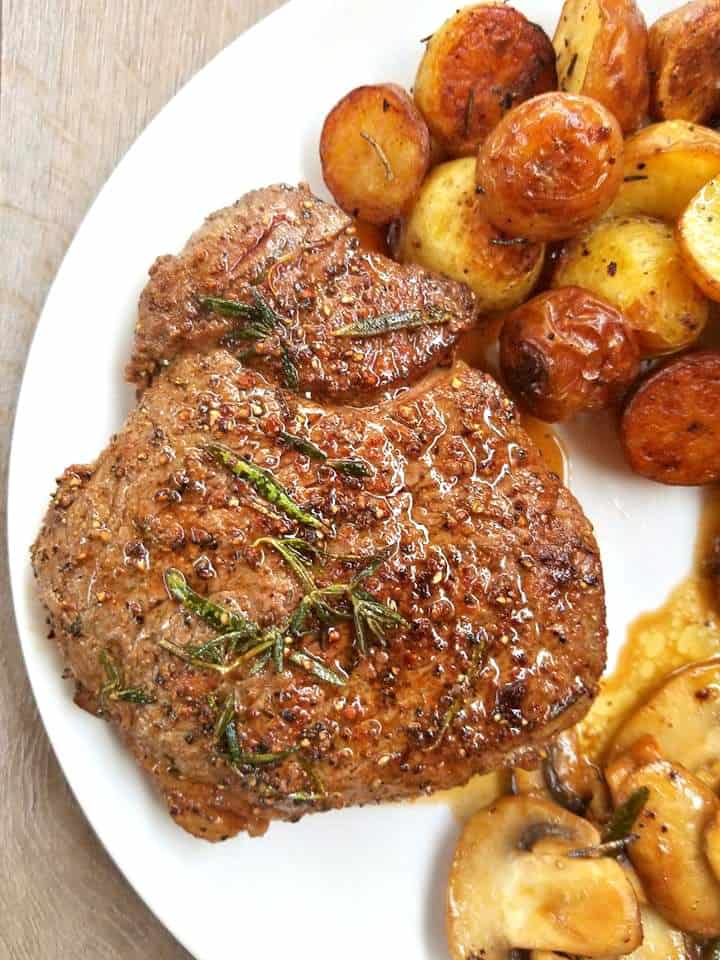
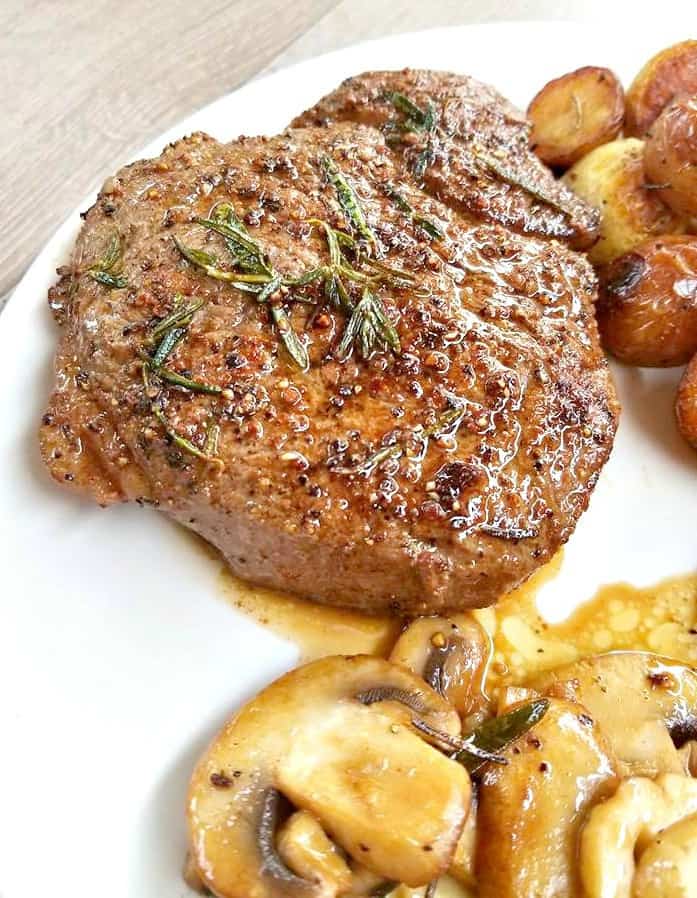
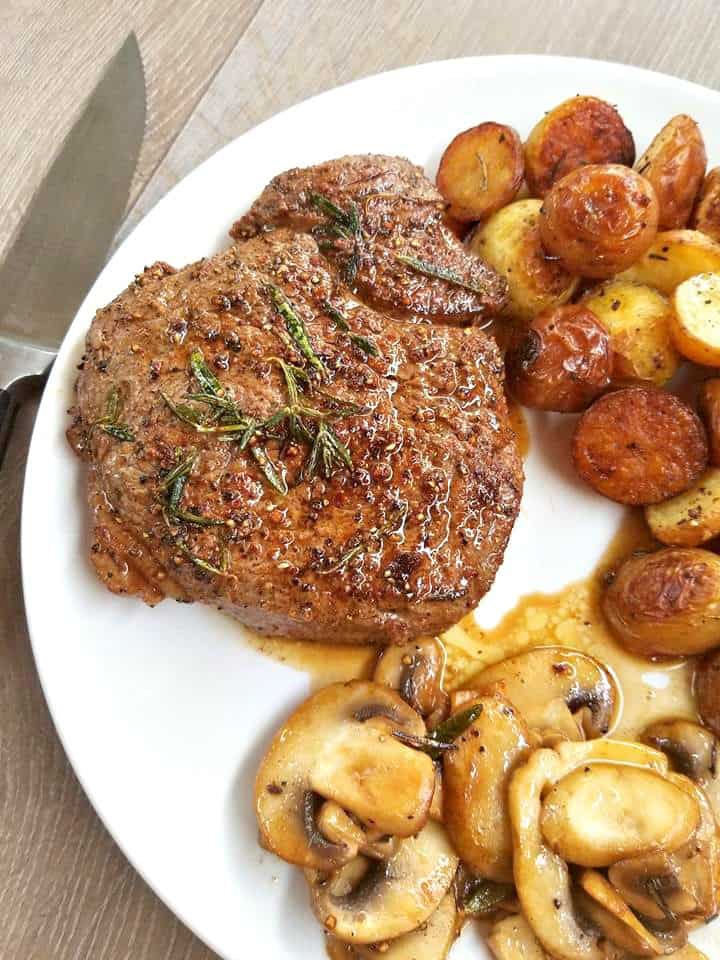
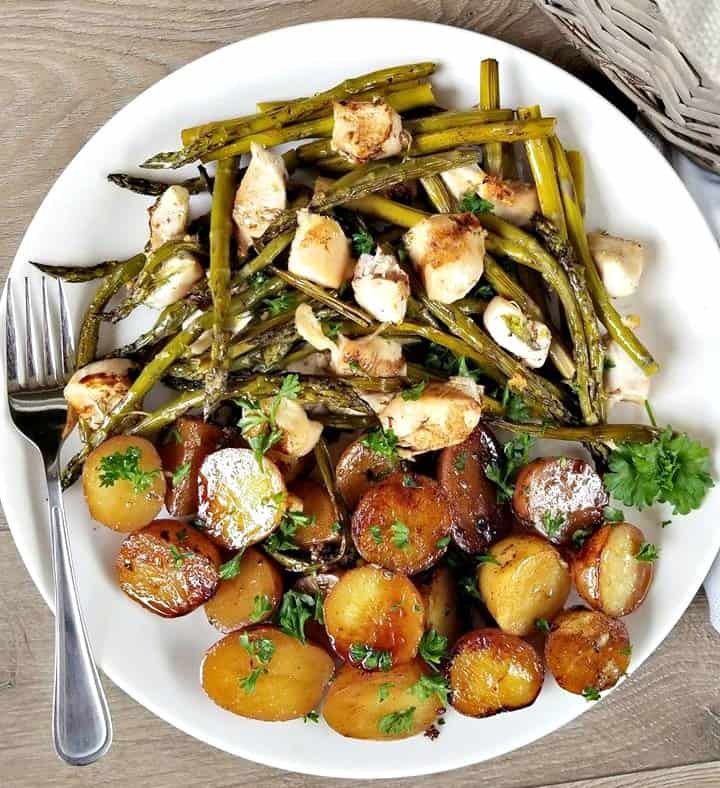
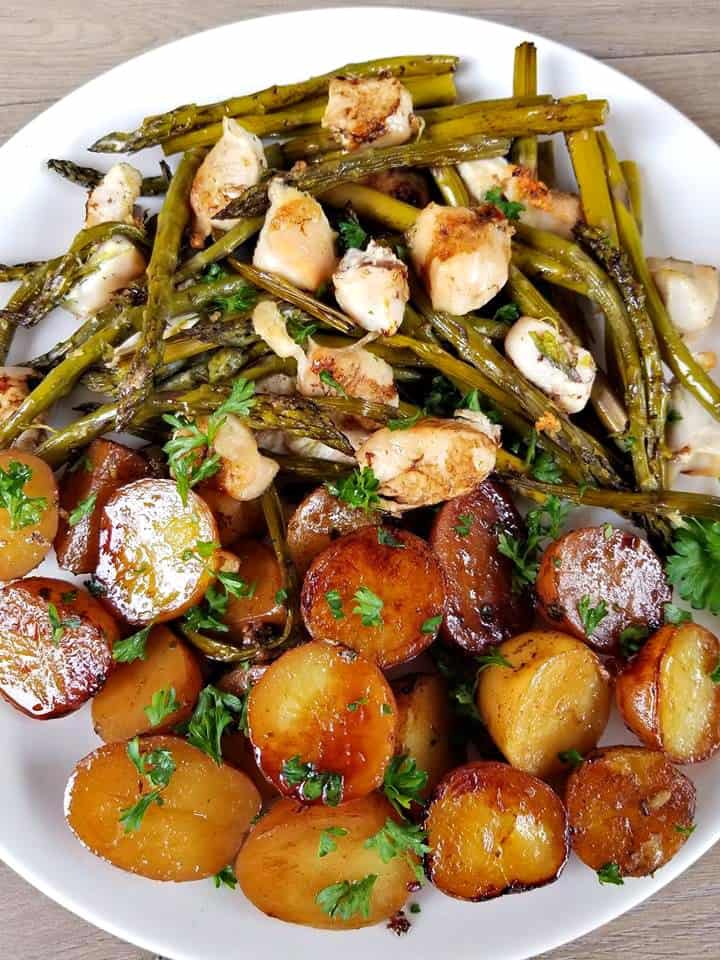
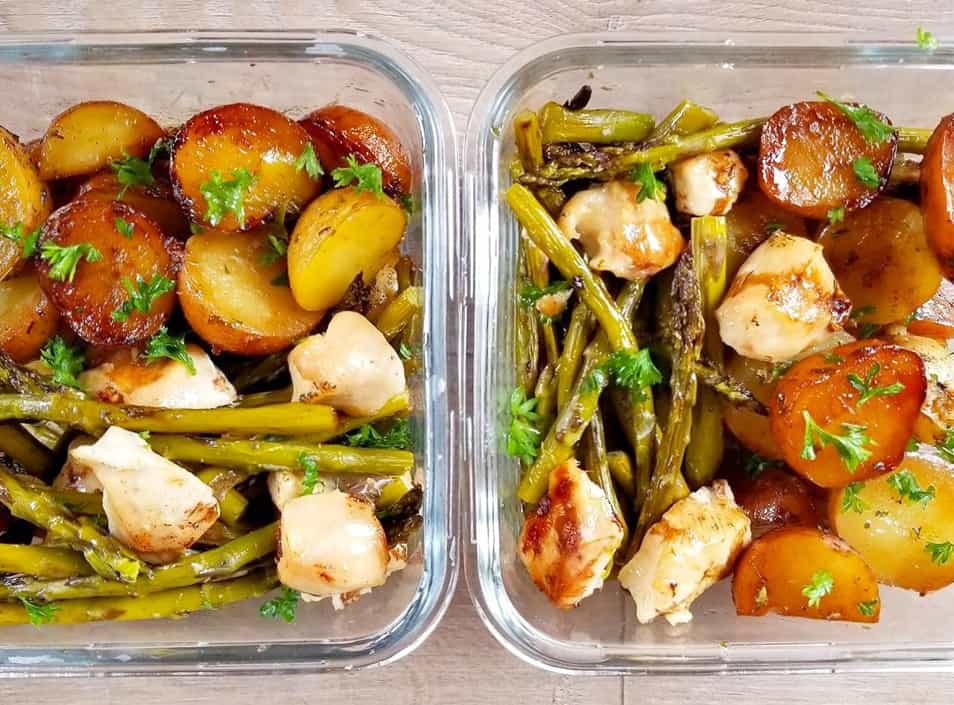
You can serve these baked lemon chicken breasts and potatoes alongside a bed of grilled asparagus, salad or some other vegetable of your if desired. 

Looking for another popular chicken breast recipe? 

DID YOU MAKE THIS RECIPE?

If you make this recipe, I would love to hear about it! You can leave a 5 star review in the comments below! Thank you very much for reading and until next time see ya in the kitchen. Don’t want to miss a recipe? Sign up for our NEWSLETTER delivered right to your inbox!

Black Forest Ham Hash Browns with Eggs

These sunny side eggs are served warm over a plate of Black Forest Ham Hash Browns. I grew up eating bacon and eggs along with homemade hash browns. My mom used to make it all from scratch every Saturday morning. 

I remember her singing to me “Wakey wakey eggs and bacy”. It always made me feel so happy hearing her sing that because I knew it was the weekend and that we were going to have a good day spending quality time together as a family.

I always felt so much love from my mom’s cooking because she really put a lot of effort into preparing a good hearty meal for us whenever she could. And it’s something I will fondly remember about my childhood.

My favorite way to eat eggs for breakfast are sunny side up and then lightly based. So when you serve them like this over these homemade Black Forest Ham Hash Browns you will be in breakfast heaven!

This breakfast takes me back to my childhood every time and sometimes I will make this for dinner too. Oh how some foods can do that to us eh 🙂

To prepare them this way you will want to start by using your best non stick frying pan. Then you will simply turn up the heat to medium and will add 1 tsp of cooking oil to the pan to cook the hash browns, onions and ham.

I like to use mini potatoes for these hashbrowns because I will leave the skin on the potatoes. They really give this dish that extra special flavor so if you can’t get your hands on the mini ones then try to find ones with an edible skin.

Once the hash browns have been cooked remove them to a warm plate and prepare the eggs. The eggs cook fast so keep and eye on them for sure.

Once you crack each egg into the hot pan, cover them with a lid and within 2-3 minutes the white part will set and then you can remove them from the pan with a large spatula or slide them out directly onto the top of the cooked hash browns. Season with salt and pepper to taste and enjoy!

Looking for another GREAT breakfast recipe? Try my Sweet potato ham hash with-eggs. It’s another favorite of mine!

Did you grow up enjoying Bacon and eggs too? I would love to hear about your favorite breakfast memories in the comments below. Till next time friends, see you in the kitchen 🙂


I am so thrilled you are reading one of my recipes, I appreciate every single one of you! If you made this recipe i’d love to hear how it turned out! You can post a review/picture below or via Instagram and let me know. And by doing so you will be automatically entered into our seasonal CONTEST  to win one of our great prizes. Winner will be notified via email within a week after the contest closes. Thank you very much for reading and until next time see ya in the kitchen. Don’t want to miss a recipe? Sign up for our NEWSLETTER delivered right to your inbox!


PIN IT FOR LATER


Irish Lamb Stew

A classic stew that is sure to warm the soul on some of those long chillies of days. This Lamb Stew hails from Ireland and dates back to the early 1800 century and has become very popular dish Worldwide.

The Irish know that this type of stew always tastes much better the next day. So that is why I make a large batch so that me and my partner can enjoy it over a few days.

Allot of recipe you will find for this stew will call for flour, I prefer not to add that since the potatoes thicken the liquid up very nice, leaving enough juice to mash them in.

If you prefer a thicker stock, simply go ahead and mix 3 tbsp of flour into the beef stock before adding to the pot.

I grew up eating Irish Stew though my family is not Irish. It was always served on the table around the St.Patrick’s day holiday.

I did not ask my mom for her recipe, because I pretty much remember how it’s made and have been enjoying it myself over the years.

The key to making the best Irish Lamb Stew is simmering in for at least 2 hours on a Low -MEDIUM heat on the stovetop or for 8- 10 hours in the slow cooker. 

This really makes the stew so tender and helps to merge the flavors all together to create the most flavorful meal.

Also you don’t want to use oil you want real butter and not a whole lot, 2 tbsps will do.  Along with fresh thyme and rosemary really help to kick it up a notch.

Oh and also use beef stock instead of chicken it just tastes that much more better in the end.

Lamb Stew always tastes richer and better the next day. So whenever, I make it I will make a large batch and eat it over 3 days = sharing of course.

Also for this recipe I used bone in cubed lamb because that is what I found this week at the grocery. However, it’s best to use cubed lamb without bones if you can find.

Now let me ask you, have you ever had Irish stew? Was it as good as this one? I would love to hear what you have to say in the comments below.

Notes: This stew can keep in the fridge in a airtight container to up to 3 days. If you are cooking this in the slow cooker then add 1 cup less of beef stock or add 3 tbsp of flour to thicken it up. Otherwise cooking it on the stovetop with the lid off the last 30 minutes will reduce the stock.


I’m thrilled you are reading one of my recipes, if you made this recipe i’d love to hear about it! Don’t want to miss a recipe? Sign up for our NEWSLETTER delivered right to your inbox!


Rosemary Garlic Butter Steak

Today I’m sharing one of our favorite recipes for Rosemary Garlic Butter Steak. 

We are using a 3 inch thick Sirloin Steak and searing it over medium-high heat. 

This steak can be served rare, medium rare or medium well done.

You can also use fillet, ribeye or t-bone if you like in replace of sirloin.

Just take note of the different cooking times as I will explain more below.

This recipe works very well served alongside some sauteed mushrooms and mini potatoes. However if your on a keto diet of some kind asparagus can be replaced for the potatoes.

HOW TO COOK SIRLOIN STEAK MEDIUM RARE

Sirloin steak is best served medium rare, in order to cook it that way you will want to sear it for 6 minutes on one side then flip it over once and sear it for another 5 minutes on the other.

HOW TO COOK STEAK 

If you prefer your steak medium cooked, then you will want to sear it for 7 minutes on one side and 4-5 on the other. Always let your steak sit off the heat for 5 minutes to rest before serving!

Sirloin steak is allot like fillet and is considered a prime steak and is most people’s favorite cut.

While mine is a t-bone which takes a bit longer to cook.

Want to try my “Rosemary Garlic Roasted Mini Potatoes”? you will find that recipe below too. If you were to order something like this in the restaurant you are looking at minimum $50 a person.

However preparing this at home is simple and can save you a lot of money.

I just love the way the rosemary and garlic butter flavors the steak, it melts in your mouth and to be honest I have yet to try something this good in the restaurants. 

So if your thinking of preparing this for a loved  for some kind of special occasion then you can’t go wrong with this recipe.

The trick to cooking the best steak is to use ample butter, you are going to be basting the steak in the butter while it cooks. Giving it depth of flavor and also helping to make it moist and juicy.

The second trick is to season the steak generously on both sides prior to cooking with salt and pepper. If you follow those two tips alone you are sure to prepare the best steak ever.

Steak cooking times vary based on the cut: Always cook your steak over medium-high heat, searing it on each side only once. Turning the steak often sometimes leads to a overcooked and tough steak.

HOW SIRLOIN STEAK

  • Sirloin Steak: Cook for 6 minutes on one side and 4-5 on the other for a medium rare steak. Up the cooking time by one minute to have a medium steak.
  • Ribeye: Cook for 5 minutes on one side and 3 on the other for a medium rare steak
  • Fillet: Cook for 4 minutes on one side and 3 on the other for a medium rare steak
  • T-Bone: Cook for 8 minutes on one side and 4-5 on the other for a medium rare steak 

I will never understand why it’s so darn expensive to order steak at a restaurant when you can make one just as good at home for a fraction of the cost.

Just be sure to source a organic cut of beef those tend to taste the best.

What is your favorite cut of steak? and seasoning mixture? I would love to hear about it in the comments below.


I’m thrilled you are reading one of my recipes, if you made this recipe i’d love to hear about it! Thank you and until next time see ya in the kitchen. Don’t want to miss a recipe? Sign up for our NEWSLETTER delivered right to your inbox!

Easy Chicken Tikka Masala

Craving curry tonight? Well skip the take out and impress your family tonight with this easy to make and authentic tasting curry. 

This is my take on a healthier version of Chicken Tikka Masala.

What makes it healthier that we are omitting the cream and replacing it with 2% milk and then adding plain yogurt as well.

What makes it easier is that we are not blending the onions after cooking them rather just allowing them to simmer in the pressure cooker.

Also if you can get your hands on “green cardamom pods” which you can find in your ethnic spice isle, do add a few of those. This really adds a unique taste and is soooo good in here.

Packed with so much flavor this recipe will definitely remind you of some of the best Chicken Tikka Masala dishes that you have tried at your favorite restaurant.

In addition I like to add some mini potatoes to this recipe, however those are not typically used in Tikka Masala.

I think they go so well with this dish, so I will leave that ingredient option up to you. You can also serve this with rice OR naan bread.

If you end up giving it a try, do let me know in the comments below. I would love to know what you think 🙂

Notes: For a spicier curry add 1 tbsp of red chili powder. Also feel free to omit the mini potatoes if you would rather serve this with rice or naan bread.

I am so thrilled you are reading one of my recipes, if you made this recipe i’d love to hear about it!  Thank you very much for reading and until next time see ya in the kitchen. Don’t want to miss a recipe? Sign up for our NEWSLETTER delivered right to your inbox every Month!

Baked Mini Potatoes

These super simple Baked Mini Potatoes are such a good snack idea. Plus their very tasty served by themselves or with dip!

HOW TO MAKE BAKED MINI POTATOES

  • These mini potatoes are simply made by washing then slicing them into haves.
  • Then tossing them all together in a bowl with olive oil, garlic powder, parsley and salt.
  • And baking them in a oven at 400 f on a single layer pan for 30 minutes. 
  • Or until crispy and brown.
  • Really there isn’t much to making them!

Each serving contains feel good fiber and when paired with my Greek Tzatziki also gives you a good amount of protein.

See my favorite recipe below for homemade Tzatziki. You will simply love it!

If Tzatziki is not your favorite dip, you can always try ranch dressings or ketchup instead.

This tasty little appetizer reminds me of a healthier potato chip, because they are baked not fried. 

There are a few ways to enjoy these mini potatoes, see below for a few more recipe ideas.

I hope you give these tasty little bite size potatoes a try! 

Also keep in mind that the smaller the mini potato the better the crisp will be! So be sure to seek out a quality small potatoes for this recipe. 

Looking for another Mini Potato Recipe Idea: 

  • Try “Salt and Vinegar potatoes” once the potatoes have cooked, toss them in a bowl with 2 tbsp of white vinegar and salt
  • Seasoning them with cayenne pepper and paprika
  • Seasoning with a dry package of ranch or chipotle.

The sky’s the limit with these guy’s, you can flavor them pretty much any way you want. 

Dip: Make my authentic homemade Greek Tzatziki to serve on the side.

Looking for something to serve alongside these to make it a meal? 


DID YOU MAKE THIS RECIPE?


Balsamic Chicken with Roasted Vegetables

Hi guys, I hope your day is going well. If not this Balsamic Chicken with Roasted Vegetables is sure to put a smile on your face. 

It’s super healthy for you and full of flavor.

I just know that your going to love it as much as we do.

Everything you see here is baked together on one pan making it a breeze to prepare.

You will have dinner on the table tonight in 30 minutes time. It doesn’t get any easier, tastier than this.

Be sure to pick up some mini potatoes for this recipe, they work best and cuts the cooking time down.

I like to place all the mini potatoes face side down on the bottom of the pan, this helps them to brown nicely in a little olive oil.

Then top with the asparagus and chicken before drizzling more olive oil over top along with balsamic vinegar and season appropriately.

Bake for 30 minutes and then you ready to serve or section off into meal preps for the week ahead.

Absolutely delicious!

You have three options when it comes to cooking the chicken, you can cube it like I do or you can slice it or leave the breasts whole.

Cubing or slicing it does dry the chicken out some, so be sure to drizzle more olive oil and balsamic overtop of it before baking.

If you end up giving it a try I would love to hear what you think of it in the comments below. 

This super satisfying recipe is sure to hit the spot tonight!

You can always skip the chicken and make this a vegan dish. I hope you give it a try, Bon Appetit!

MEAL PREP IDEA: Make enough to create a few meal preps bowls for the week ahead!  This recipe feeds four, so if your wanting more? Simply adjust the recipe above with my simple recipe adjuster.


I am so thrilled you are reading one of my recipes, if you made this recipe i’d love to hear about it! Thank you very much for reading and until next time see ya in the kitchen. Don’t want to miss a recipe? Sign up for our NEWSLETTER delivered right to your inbox every Month!