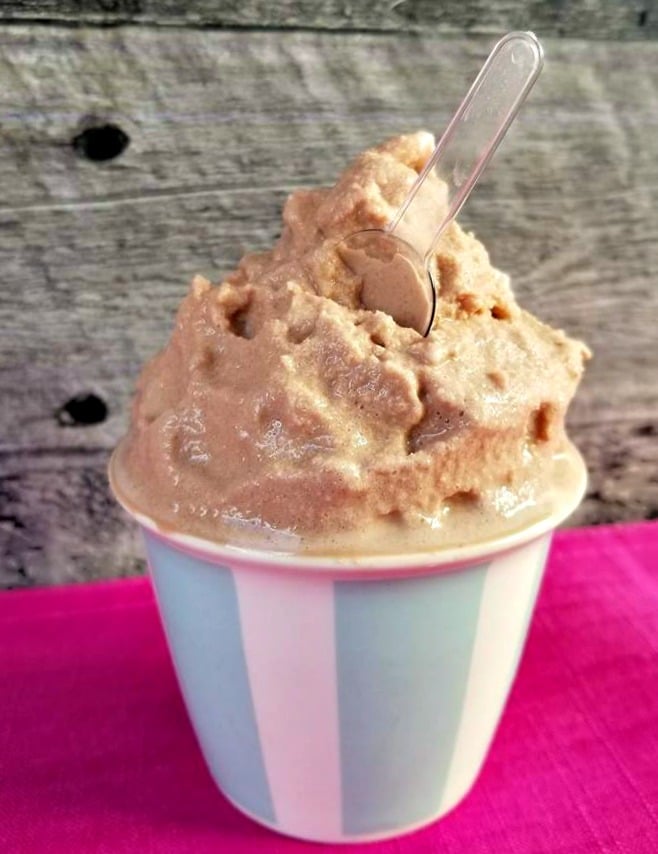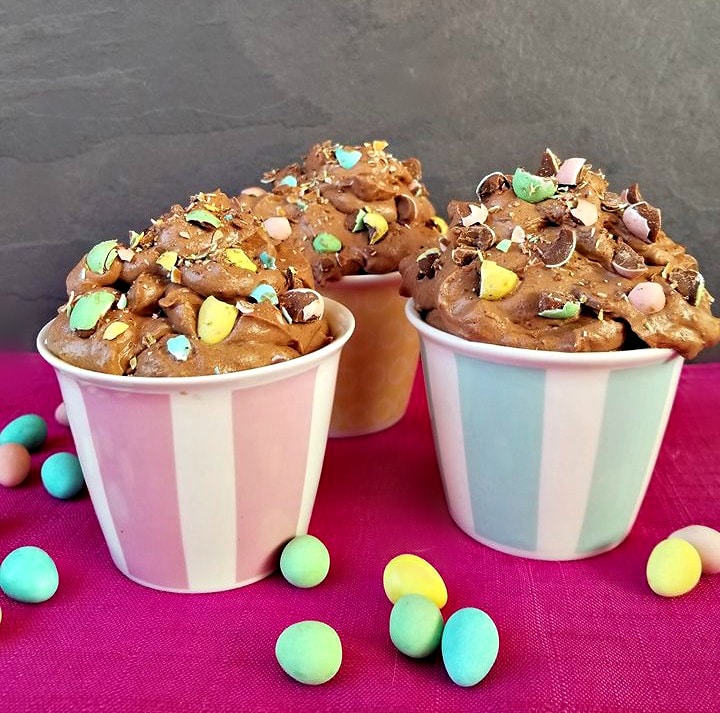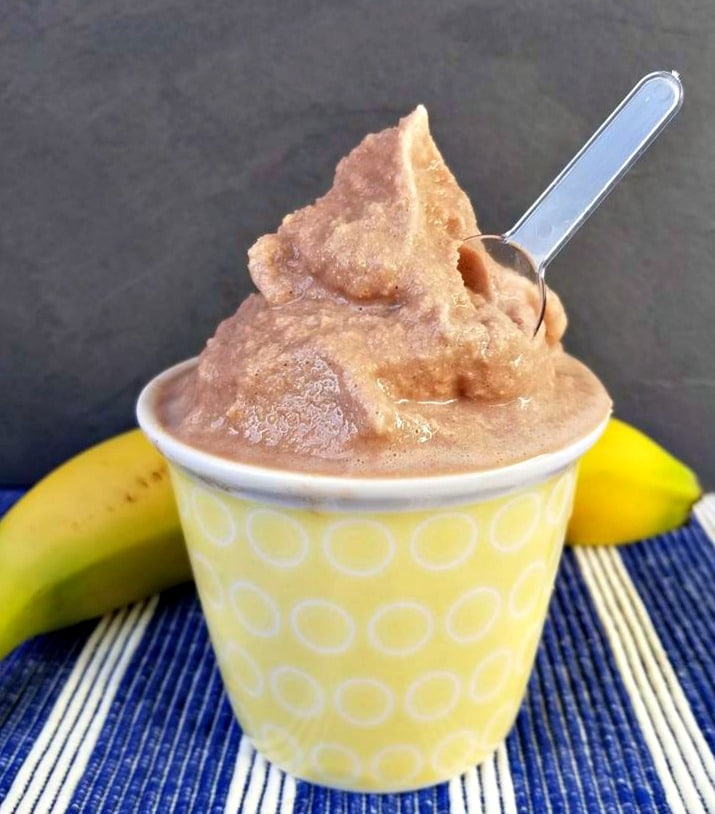
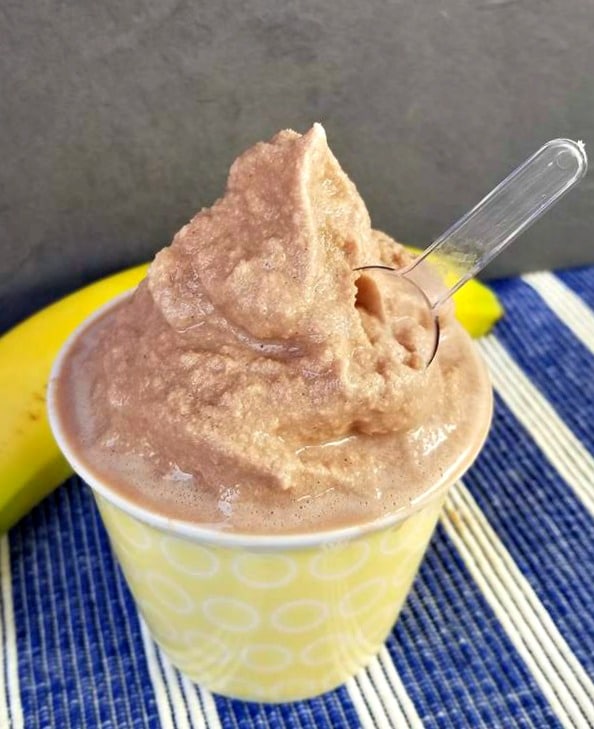
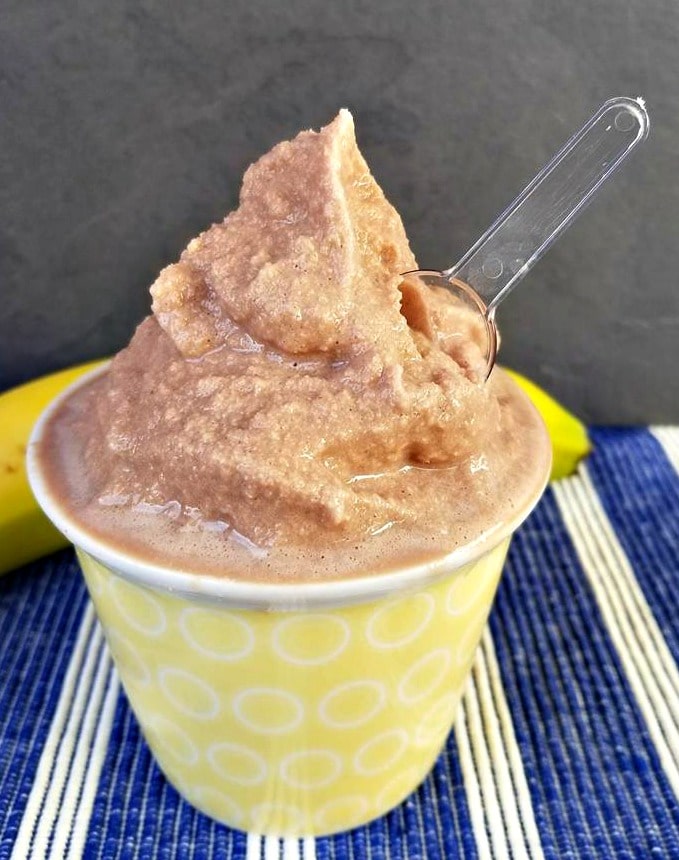
This Chocolate Banana Frosty is super delicious and is pretty healthy in comparison what you can get at the store.


Summer is right around the corner and that means those delicious frozen desserts are about to be marketed on every tv commercial and billboard near you.
So I wanted to share my recipe to make a delicious frosty’s at home.
In hopes to save you from those long lineups at the drive thru and hopefully your healthy some too.

I admit I used to be one of those people that would get all caught up it it. Idling my car in those ridiculously long drive thru lineups, just because I needed that cooling taste of a creamy frosty.
I knew they were not very healthy but the reward of a creamy cool down was worth it!
Well I found a way to have that cool cooldown at home and in a much healthier way.


This recipe has the addition of a banana in it, however if you want just a Chocolate Frosty, then you can omit the banana. Easy eh enough eh!
Since these frosties contain all natural ingredients vs some of those unmentionable ones you do find in the restaurant kinds. You can really feel good about making and serving these to your family and friends on those hot summer days!
HOW TO MAKE CHOCOLATE FROSTY
A frosty is basically like Chocolate ice cream, made in a similar way. If you have ever been to Wendy’s these taste very similar to their frosties.
- However the trick is to make it with very cold ingredients and to only let it sit in the freezer there after for a minimum of 15 minutes.
- You do not want it to freeze otherwise it will be more like a ice cream!!
WHAT’S IN A CHOCOLATE FROSTY
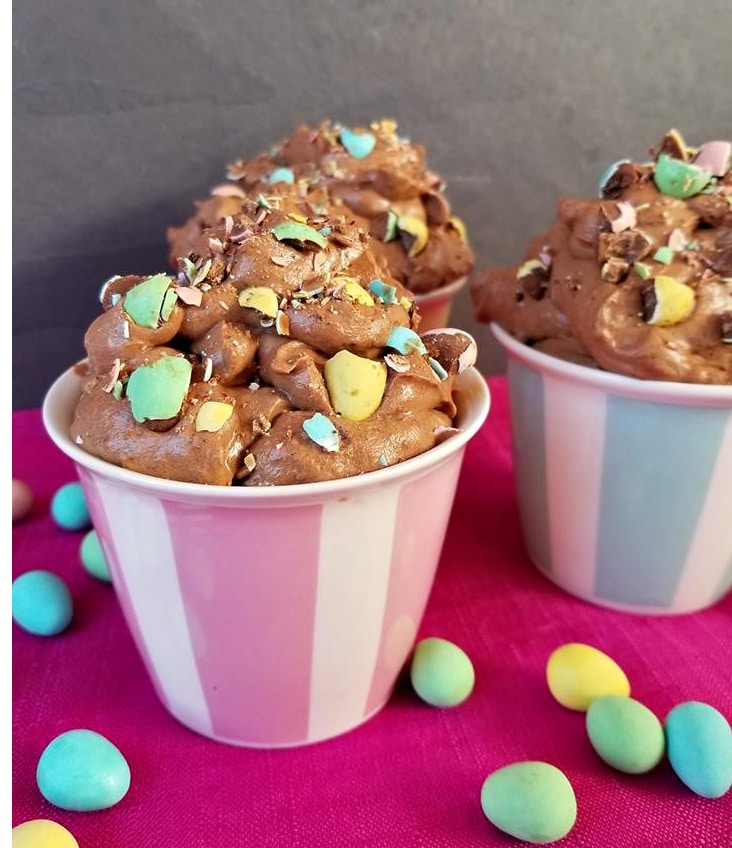
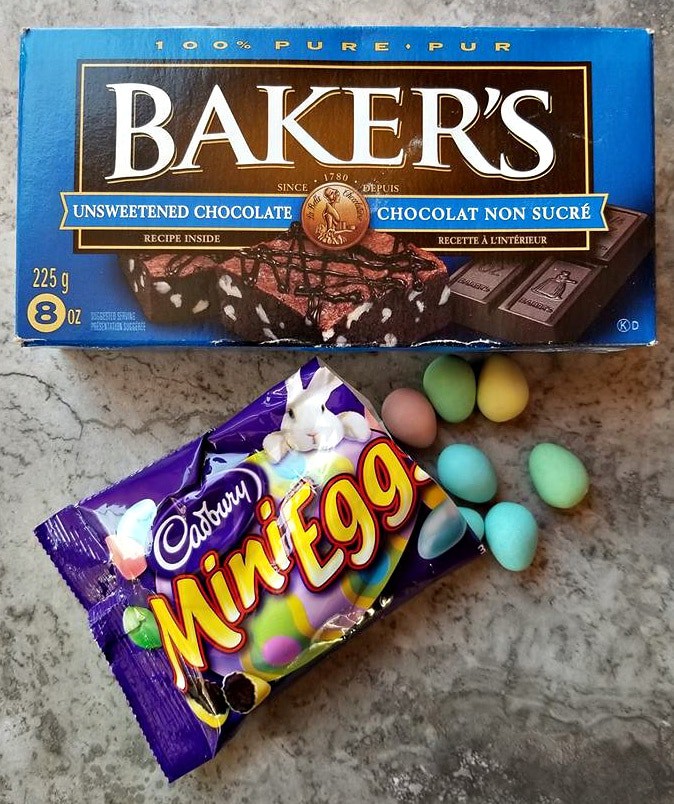
- The ingredient in this frosty are, ice cubes, chocolate milk, unsweetened cocoa powder, frozen banana, sweetened condensed milk, whip cream and pure vanilla extract.

Plus these frostys are super simple to make as only contains 5 ingredients to make it.
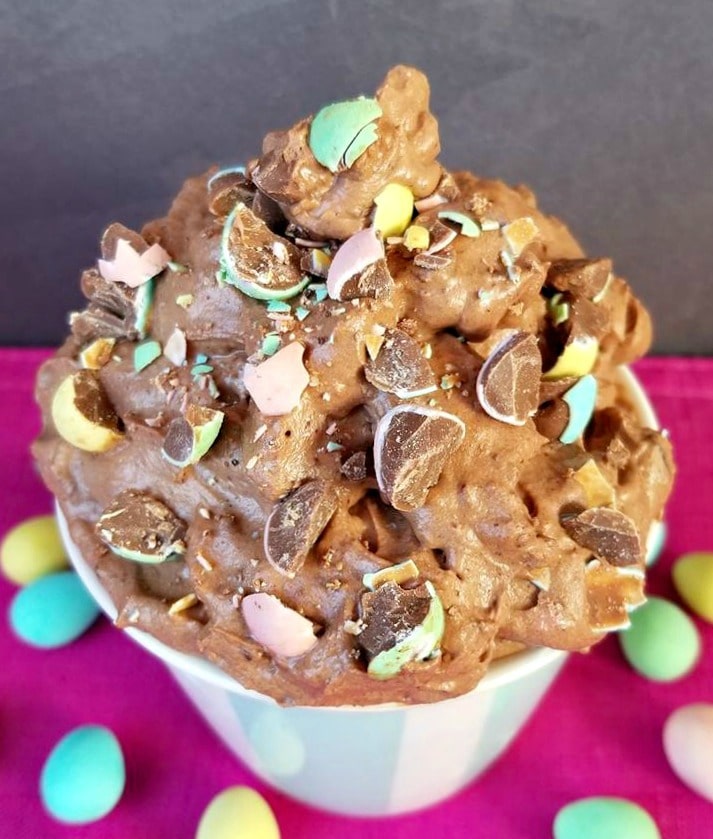
This recipe makes the most chocolate and creamy frosties around.
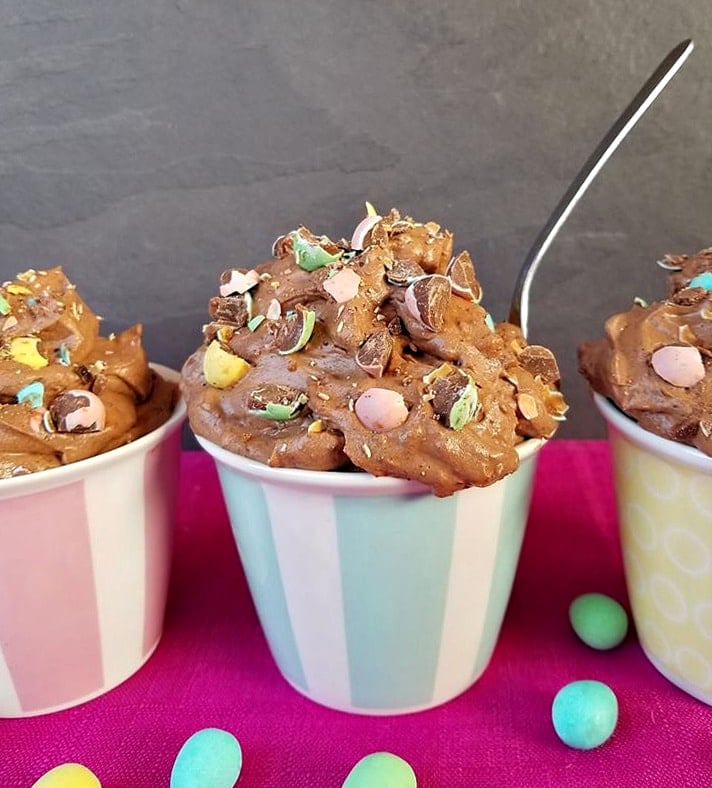
This recipe will make 2 medium sized frosties, however if your wanting to serve more people, simple double to recipe with my easy to use recipe adjuster above.
When making frostys at home, your expected to enjoy them shortly after. Because this is not ice-cream and itt does not need freezing at all. A frosty literally can be made and enjoyed in less than 30 minutes from start to finish!
Just be sure to follow the directions I have listed below and you will be on your way to Chocolate frosty heaven!
Like this recipe? Try my “Chocolate Banana Frosty ” or my “Chocolate Frosty” it is very similar to this with a fruit flare.
DID YOU MAKE THIS RECIPE?
If you make this recipe, I would love to hear about it! You can leave a 5 star review in the comments below! Thank you very much for reading and until next time see ya in the kitchen. Don’t want to miss a recipe? Sign up for our NEWSLETTER delivered right to your inbox!