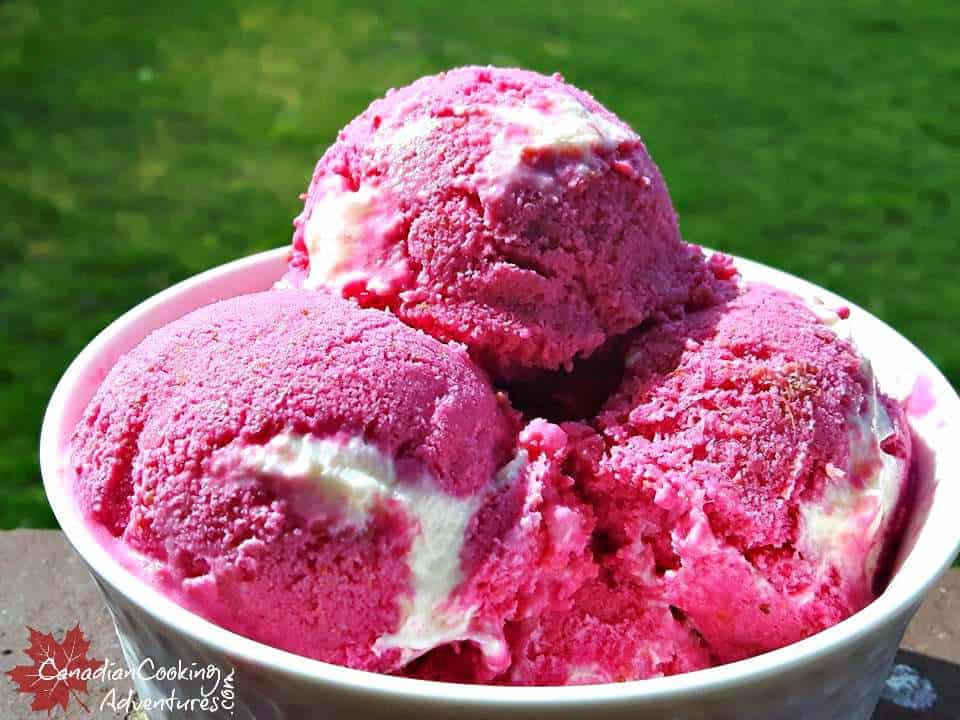
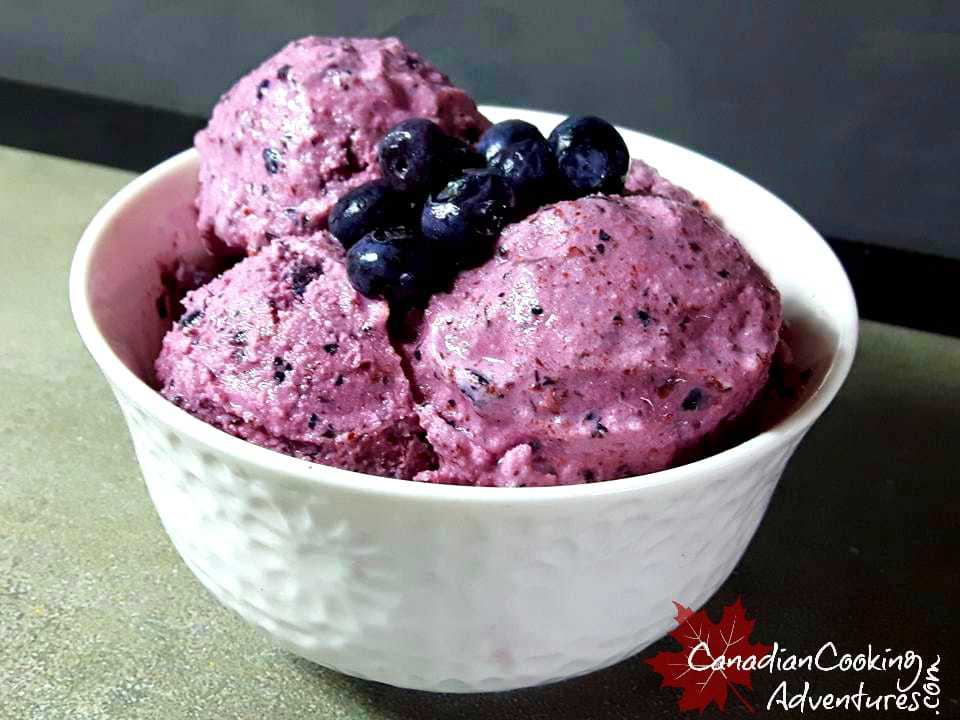
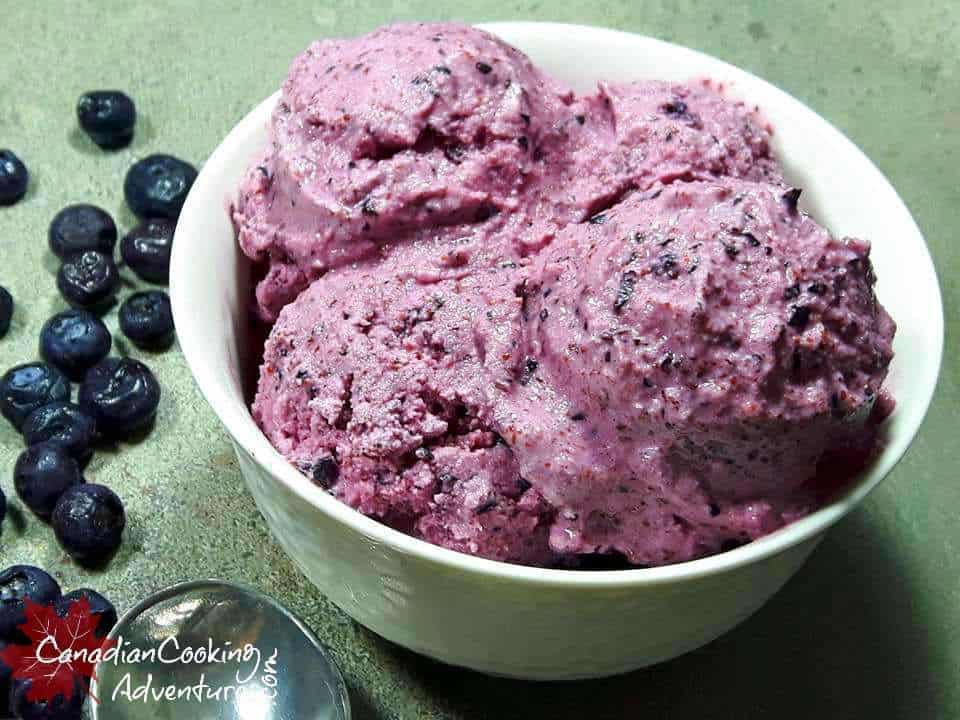
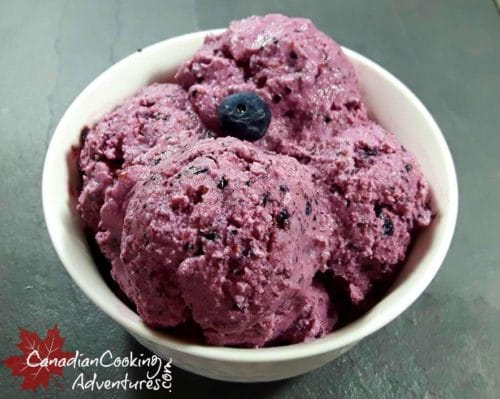
Ohhhh Blueberries i love you. I must admit, when i was a kid i hated fruit. But now that i am an adult i love it. Maybe it is because almost all my desserts are made with it!! Or maybe its because i finally have found an excuse to eat frozen yogurt and ice-cream more often. When making Frozen Yogurt i often choose one with a fruit base, and this is certainly one of my favorites. Plus it’s super easy to make and is so healthy for you its very hard for my guests to say NO to even if on a diet. Because once i tell them whats in it and that Blueberries are the King of Antioxidants, which are packed full of fiber, potassium, folate, vitamin C, vitamin B6 and more there sold. And for me its more than enough reasons alone to eat this every night.


Kitchen Essentials:
- Airtight container
- Ice Cream & Sorbet Maker
- Food Processor
- 2 bowls
- Rubber spatula


To make 2 quarts of Blueberry Frozen Yogurt:
- Add your frozen blueberries to your food processor, pulse till blended.
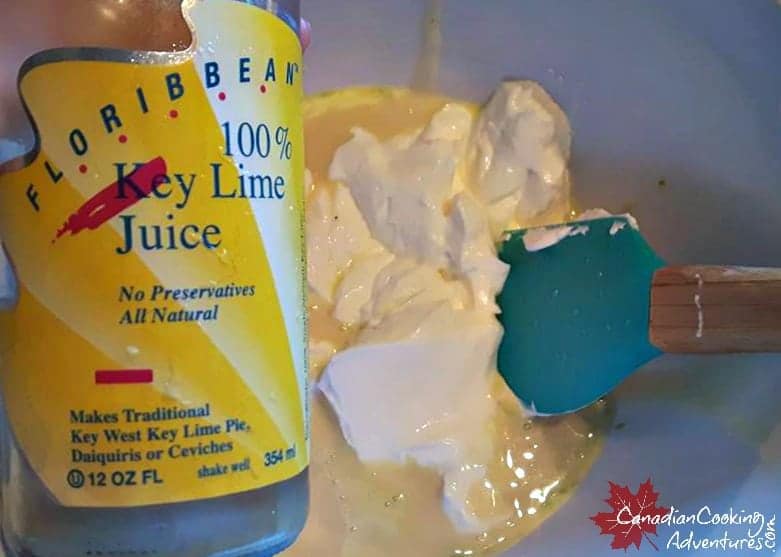
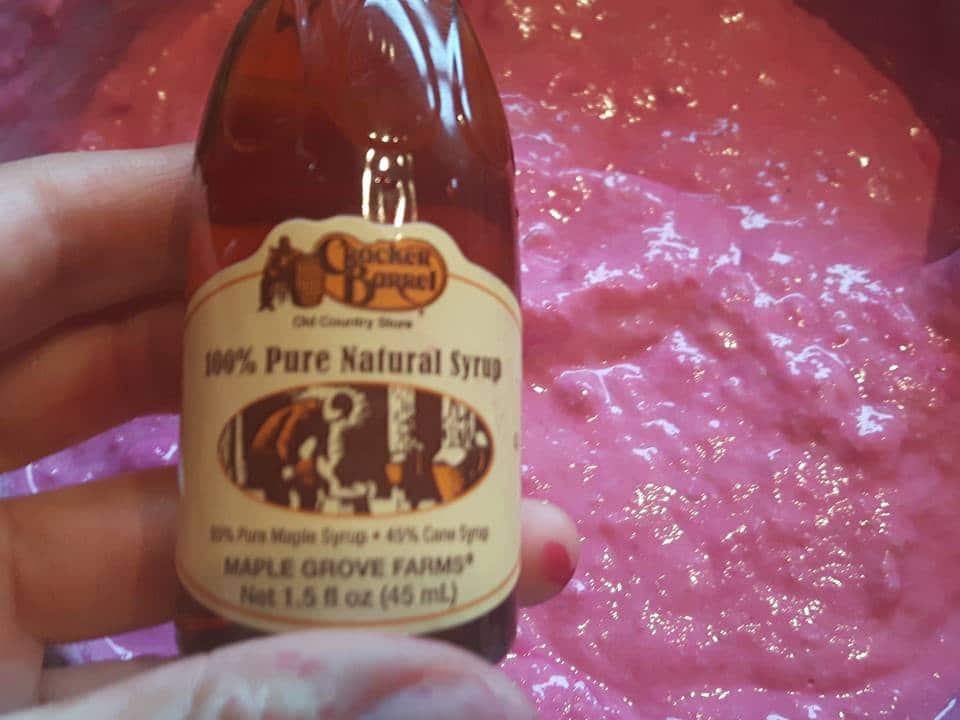
- Now lets make the frozen yogurt base, start by adding your cold yogurt, milk, condensed milk, lime juice and blueberries into a large bowl and mix with a spatula till blended.
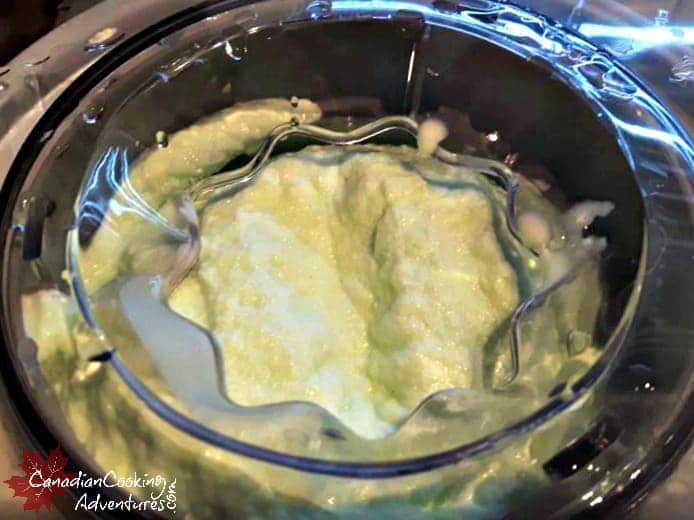
- Once your mixture is blended, pour the mixture into your frozen Cuisinart maker and process for 25 minutes or according to manufacturer’s instructions.
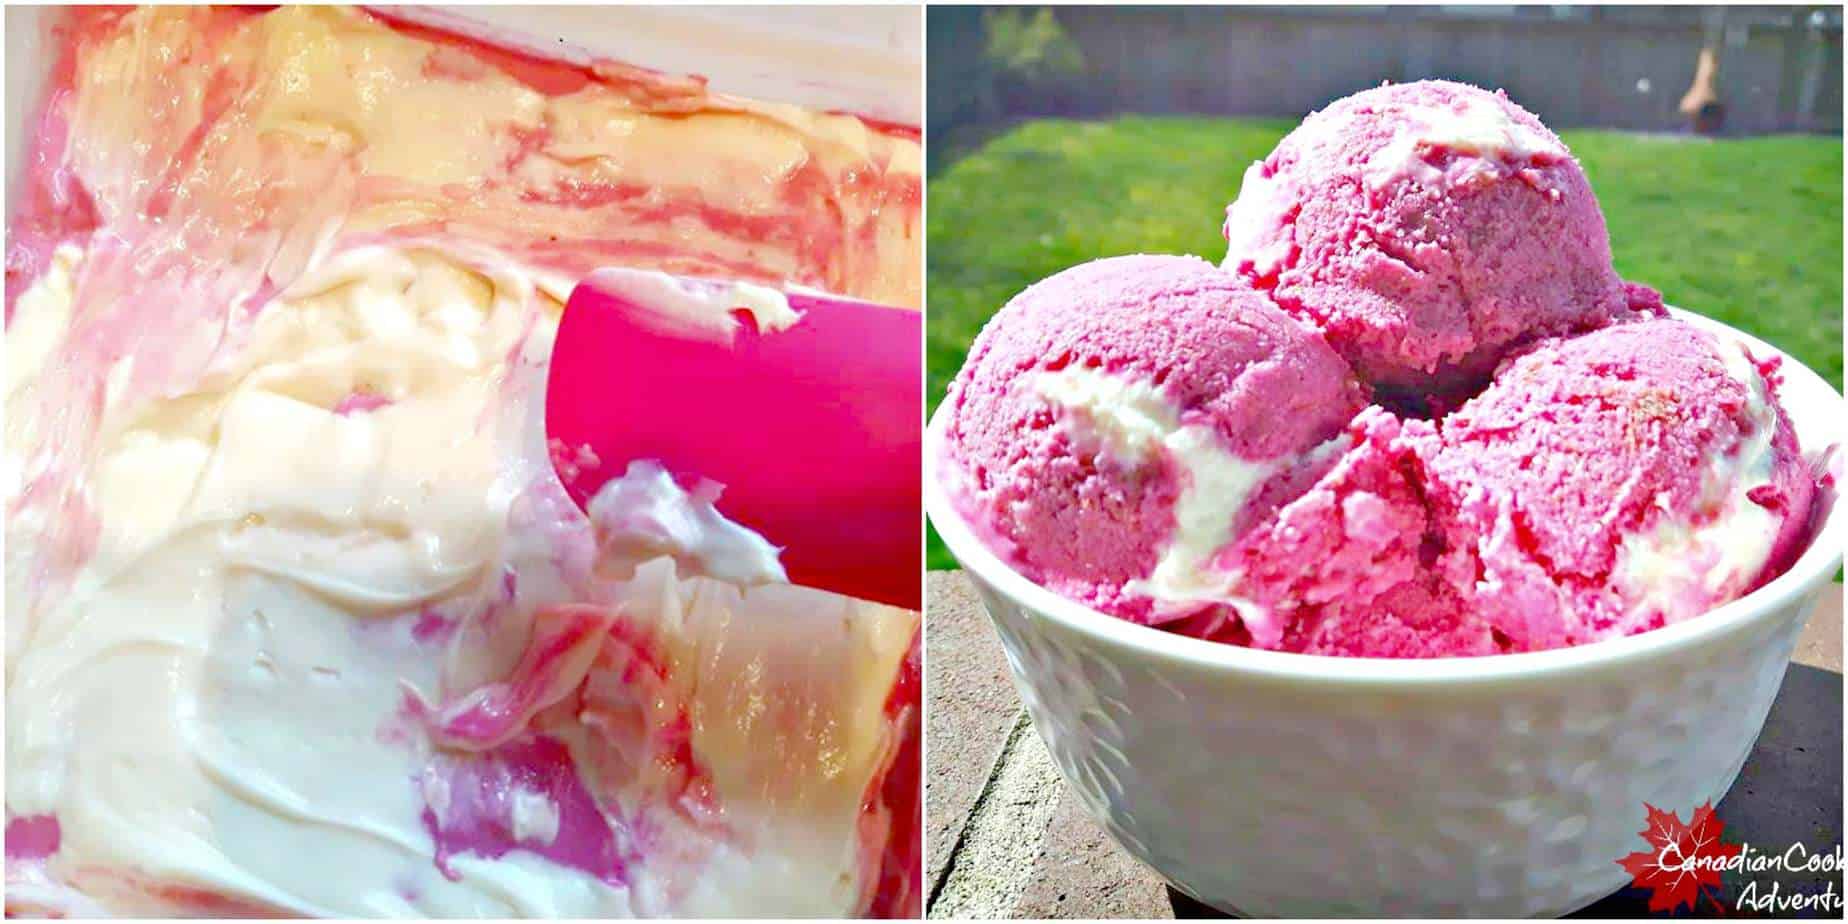
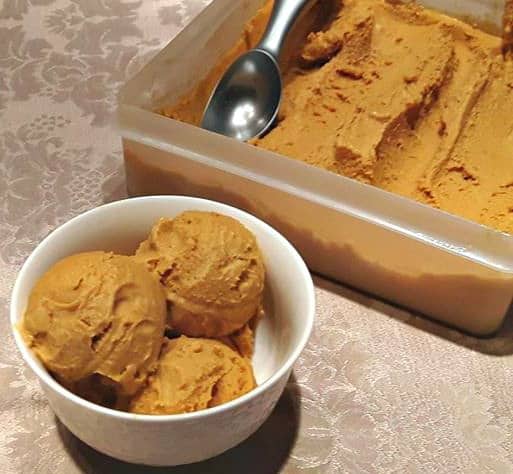
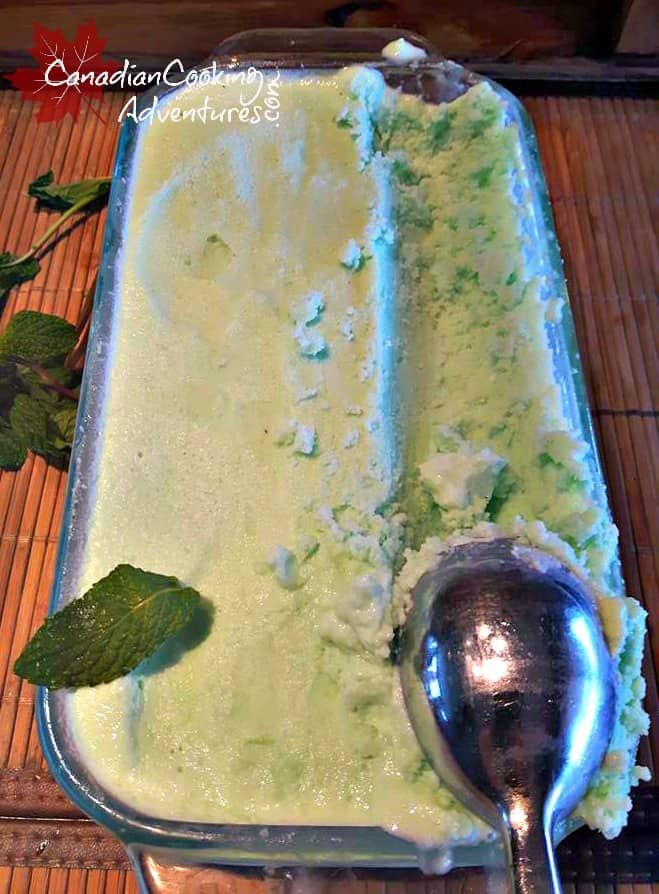
- Now comes the fun part, grab a large plastic container will a lid (you will be using this to freeze your frozen yogurt in) after letting it sit for 30 mins in the (Cuisinart machine which makes it easier to remove) then you can start by pouring all of your frozen yogurt mixture in your container.
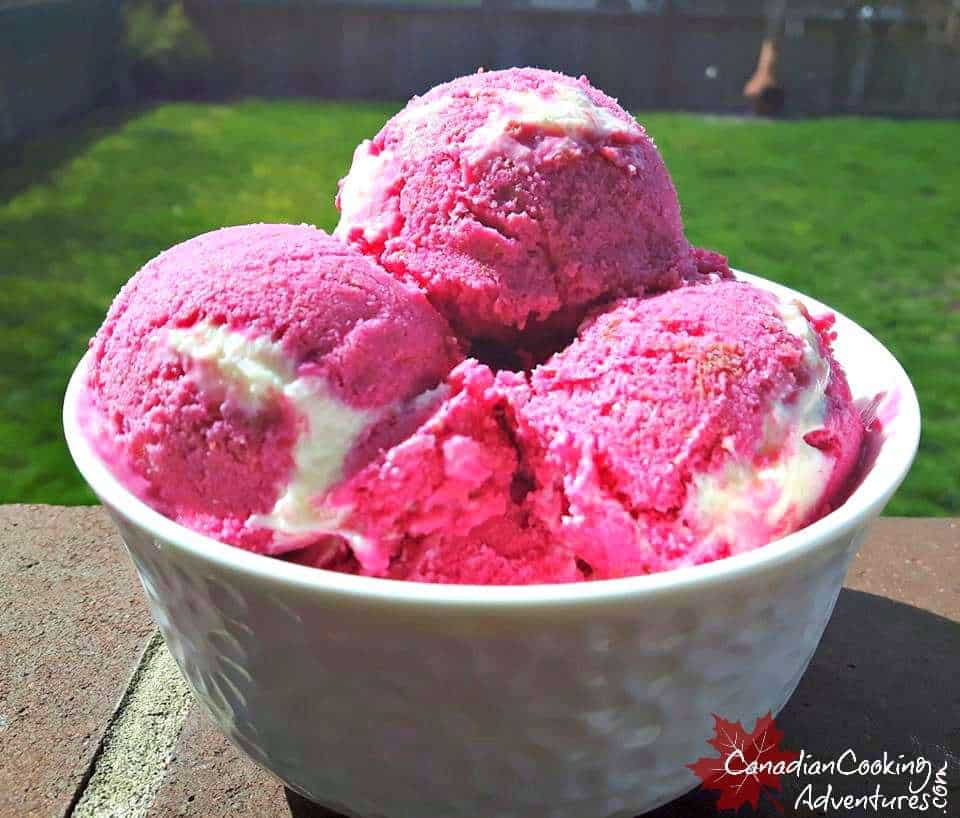
- Freeze for 2 hours and serve.
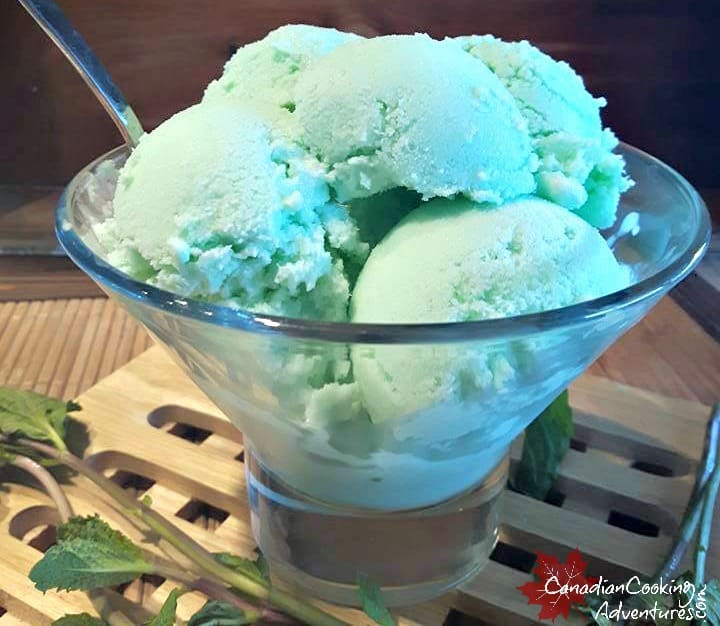
- Before scooping, enjoy!

If you don’t have an Cuisinart frozen yogurt maker, check this post out
Note: Set outside the freezer 10-20 minutes prior to scooping.

I am so thrilled you are reading one of my recipes, if you made this recipe id love to hear about it! You can post a review, picture below or via Instagram and let me know how it turned out. And by doing so you will be automatically entered into our seasonal CONTEST to win one of our great prizes. Winner will be notified via email within a week after the contest closes. Thank you very much for reading and until next time see ya in the kitchen. Don’t want to miss a recipe? Sign up for our NEWSLETTER delivered right to your inbox!