This creamy Smoked Oyster dip is made with cream cheese and sour cream and it is the perfect appetizer for the holidays or any large gathering. Plus it is super easy to make guy’s as it takes less than 10 minutes from start to finish.
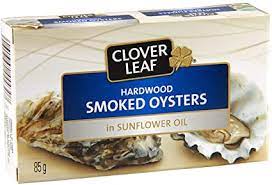
What is in this dip besides Smoked Oysters? Sour cream, cream cheese, capers, garlic, Worcestershire sauce, lemon juice along with some other seasonings. Make sure to add the juice from the smoked oysters this makes for an extra tasty and creamy dip.
If you are anything like me and love smoked oysters then you are going to love this dip.
I like to make this dip whenever I have guests coming over, typically around the busy holiday season and or around game day.
HOLIDAY DIP RECIPE
You can eat this all to yourself or make a bowl for a group of guests. Think Christmas, Thanksgiving or even the Super Bowl Party!
The nice thing is it takes less than 10 minutes to prepare, doesn’t get any easier than that right?
CANNED SMOKED OYSTER DIP
HOW TO MAKE SMOKED OYSTER DIP
Combine all your ingredients in food processor and blend everything together.
Chill for one hour before serving.
Sprinkle a little seasoning salt over top and serve with some light crackers for dipping. Enjoy!
I’m aware that this is something not everyone has tried before, because they simply don’t sell this dip pre-made in the stores.
But trust me it is a WINNER!
Feel free to omit placing a whole oyster on top before serving, so they know what is really in this dip. Not every one likes Oysters, but I am more than certain if they don’t and try this recipe.
They may have a change of taste!
Most people’s first reaction is what is that? And then well, the rest is history because everyone wants the recipe. It’s that good, and simple to make.
Which will allow you to focus all your attention on the main course.
Plus it’s makes for an interesting appetizer around the living room table. Simply chill in the fridge right before serving and let the snacking begin.
Serve with some light crackers and watch it disappear before your eyes.
This recipe serves around a group of 10 people, if your feeding less or just making it for yourself then you can cut the recipe in half.
I hope you give it a try! I would love to know how you like it.
Note: Store leftovers in an airtight container up to 3 days.
I am so thrilled you are reading one of my recipes, if you made this recipe i’d love to hear about it! Thank you very much for reading and until next time see ya in the kitchen.
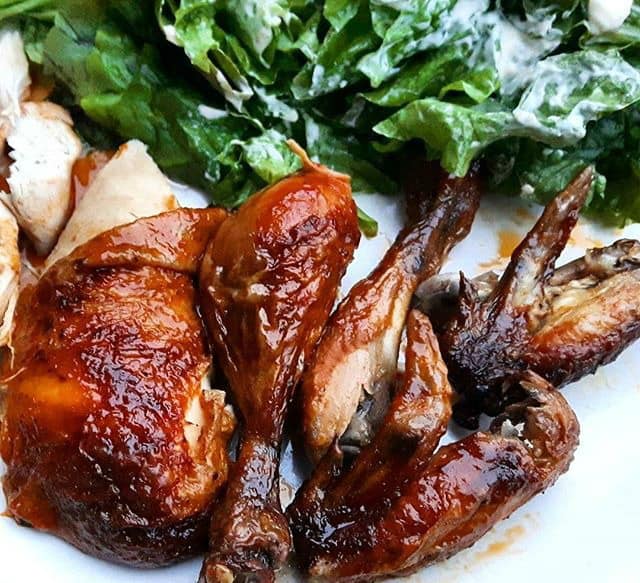
Want a little spice in your life? This “Portuguese Peri Peri Chicken” is sure to hit the spot. It’s not only super simple to make it’s also one of my favorite chicken recipes of all time!! ARIBA PORTUGAL!
Wanting another tasty portuguese recipe? Try this Portuguese Beer Chickenit is AMAZING!
IS PERI PERI CHICKEN SPICY
Yes, so if your not a fan of spicy foods then you probably want to skip this meal because it uses Bird’s eye chilies.
These types of chilies are very similar to the African red chillies that are sometimes also used in this dish.
With the combination of lemon and garlic among some other spices you are sure to have a taste of the best piri piri chicken to serve tonight.
WHAT’S PERI PERI CHICKEN
Well it’s a special marinade used alot in Portuguese and South African cooking, and now of course now Worldwide.
It contains a mixture of hot chili spices that work so well with this chicken.
If you want just a plain chicken with some paprika, lemon and garlic, which is good too, I guess. Then you can omit the bird’s eye chilies, but then it won’t be Peri Peri anymore.
Otherwise you can also buy a pre made peri peri sauce, like the one in the picture below and use that alone to make this recipe.
Also if you like the thought of having dinner served on the table in under one hour, then you’re going to be a fan of this recipe.
WHERE IS PERI PERI CHICKEN FROM
Originally it comes from Angola and Mozambique when Portuguese settlers arrived with chile peppers (known as piri-piri.
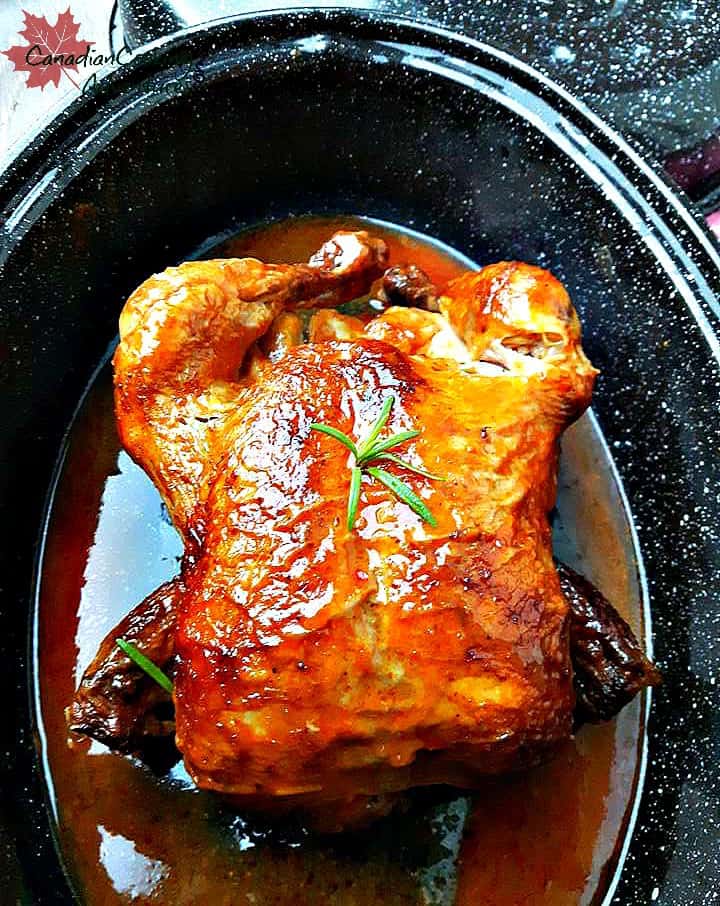
HOW TO MAKE PERI PERI CHICKEN AT HOME
You want to start by maranding the whole chicken in a large ziplock bag for 24 hours in advance to help with infusing the flavors more.
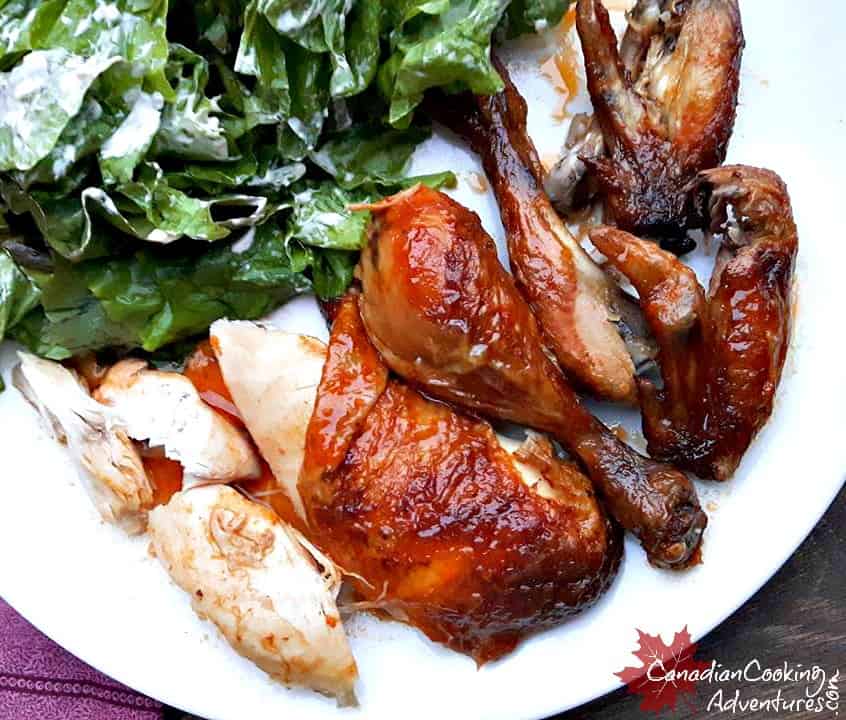
Peri peri chicken can be made in the oven or on a grill or bbq
I hope you give it a try, and let me know how you like it in the comments below. Serve with a side salad and you will have yourself a great meal for 2. Till next time see you in the kitchen!
IS PERI PERI CHICKEN HEALTHY
Yes, it contains a lot of protein and the heat from the sauce can aide in weight loss.
This chicken is super tasty and takes less than an hour to prepare!
Note: You can find these chilies at any Asian market or you can use any fresh red serrano chilies as a replacement. Please don’t mistake jalapeños for serrano peppers they are very different. Also you can buy a premade peri peri sauce and marinate your chicken in that.
I am so thrilled you are reading one of my recipes, if you made this recipe I would love to hear about it! Don’t want to miss a recipe? Sign up for our NEWSLETTER delivered right to your inbox every Month!
ANOTHER PORTUGESES CHICKEN RECIPE THAT I MAKE OFTEN IS BELOW!
This juicy and tender Crispy Oven Baked Chicken Breasts are done one in the oven. Who doesn’t love deep fried chicken? It’s tender, crispy and full of undeniable flavor, but so is this.
I used to eat it allot, back in the day when I was young and really not paying attention to my diet. I used to get the take out kind, from one of my favorite chain restaurants which I won’t mention. I mean a lot, once a week at best.
However these days I like to make this kind of chicken at home, where there is no deep fryer involved. Plus instead of using chicken with the skin on, which of course you can do if you like. I choose the lean skinless chicken breasts most times when I am making this recipe. And let me tell you, this recipe is something AMAZING!
Some people like to marinade there chicken in buttermilk 24 hours prior to making oven baked chicken, however don’t. Even though this step helps to tenderize the chicken, I find it just adds more fat and takes more time, so I simply pound each breasts on a cutting board prior to tenderize mine.
Also there is a secret ingredient in this recipe, and that is the addition to the panko bread crumbs a package of kraft oven fry extra crispy chicken seasoning. See below for the exact brand I use. Serve with some honey mustard if desired!
With this recipe, you can have 5 Crispy oven baked breasts done in under 1 hour. Wanting to feed more people? Simply double to recipe up and use two pans, easy enough eh?
Now get ready for the best oven baked chicken that is sure to knock your socks off. Your family will be surprised that there was no deep fryer used to make this delicious chicken. And you can start feeding your family healthier one day at a time, without them hardly noticing the change. I hope you give my recipe a try and let me know what you think… could you switch to baked vs deep fried chicken now.
Extra Crispy Shake N Bake and Parmesan cheese.
Note: Make enough to create a few meal preps bowls for the week ahead, simply add some corn to the bowls first then chicken on top. And then you will have the most healthiest southern style baked chicken and corn to enjoy later.
I am so thrilled you are reading one of my recipes, if you made this recipe i’d love to hear about it! You can post a review, picture below or via Instagram and let me know how it turned out. And by doing so you will be automatically entered into our seasonal CONTEST to win one of our great prizes. Winner will be notified via email within a week after the contest closes. Thank you very much for reading and until next time see ya in the kitchen. Don’t want to miss a recipe? Sign up for our NEWSLETTER delivered right to your inbox!
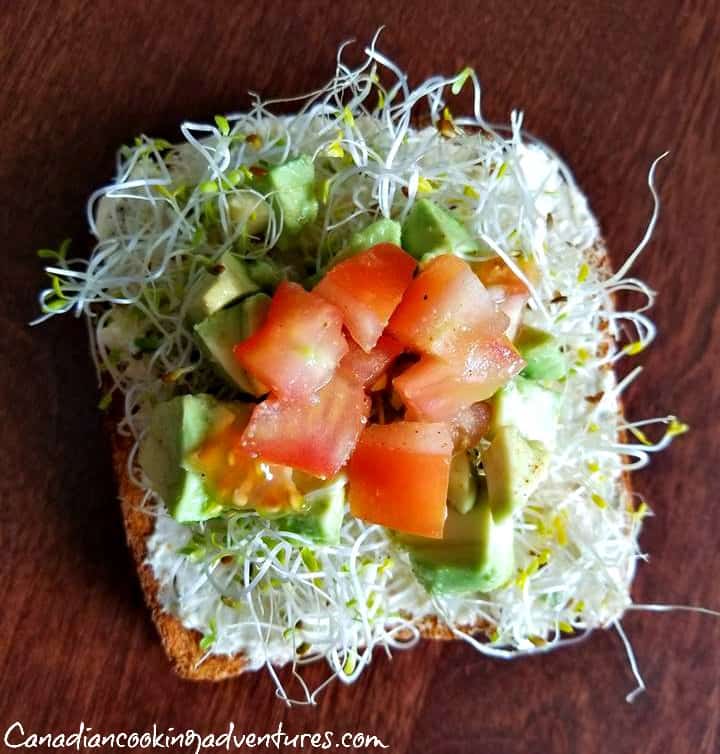
This Easy California Sandwich is Vegetarian and is super simple to prepare.
It is packed full of healthy probiotics, nutrients and protein.
Open faced sandwiches like this are consumed in all across Europe and North American as a regular breakfast or snack food.
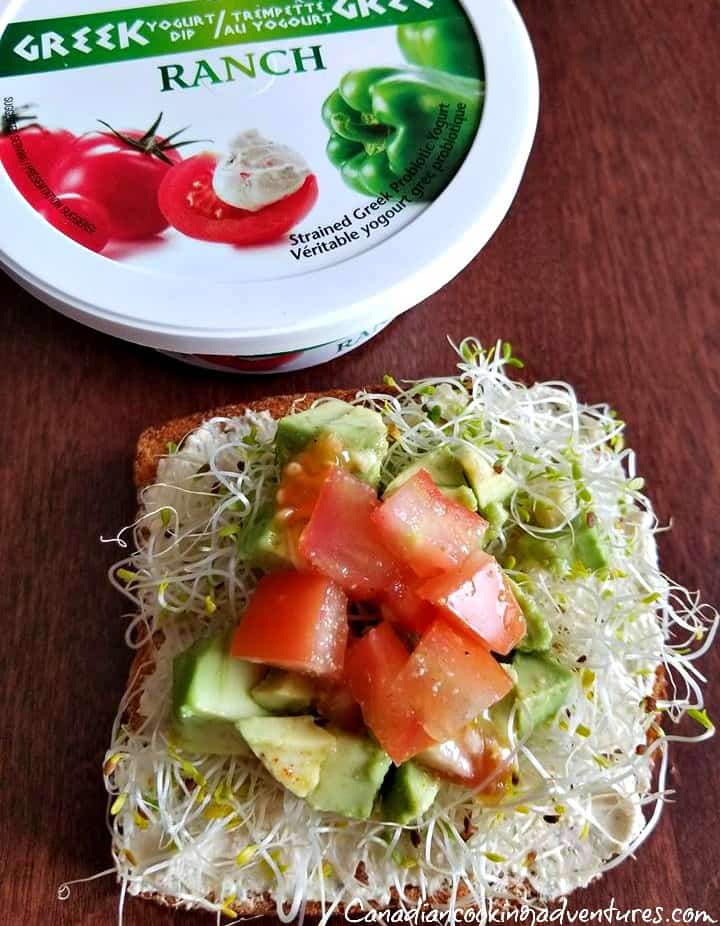
You can pretty much put anything on top a California sandwich, but in most cases the sandwich begins with a spread of mayonnaise, or cream cheese.
I like to use Ranch flavored Greek Yogurt spread this way I’m getting in some protein and my probiotic for the day.
This California sandwich is one of my favorites, it contains whole grain bread, Greek yogurt spread, alfalfa sprouts a tomato and an avocado.
Season that it with some seasoning salt and you will have the most delicious open faced sandwich in minutes.
Two typically fill me up, I will eat this for breakfast or lunch and sometimes dinner when I’m looking for something healthy and Quick.
So fresh and packed with gut health probiotics and protein from the Greek Yogurt!
You can also top with chopped cucumbers, and chickpeas if desired.
I’m thrilled you are reading one of my recipes, if you made this recipe i’d love to hear about it! Thank you and until next time see ya in the kitchen. Don’t want to miss a recipe? Sign up for our NEWSLETTER delivered right to your inbox!
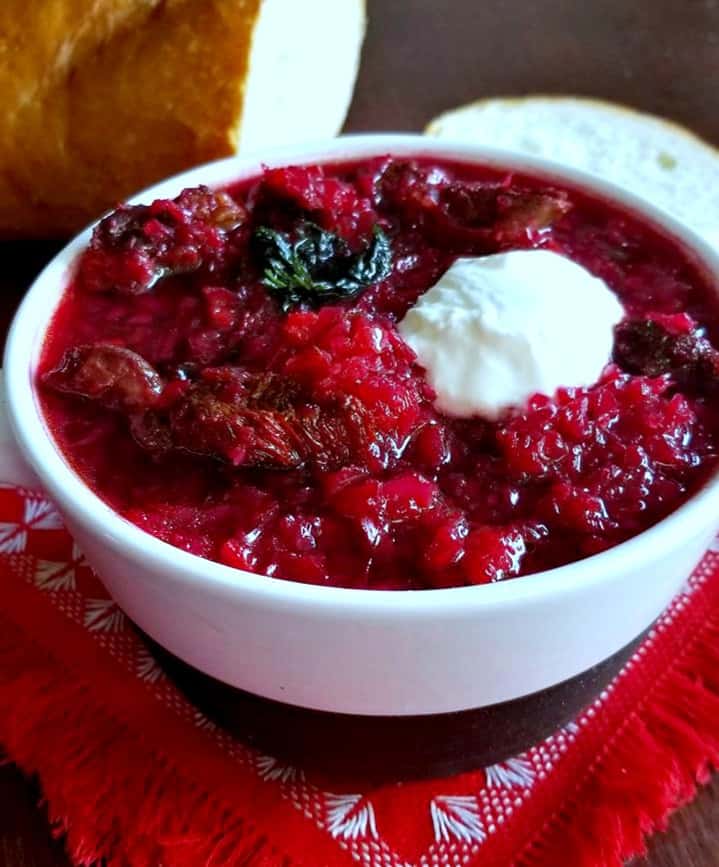
This Homemade Beef Borscht is simmered in a healthy beef bone broth and is packed full of flavor.
HOW TO MAKE BORSCHT SOUP
Borscht can be made several different ways, so it all comes down to personal preferences. But one thing is for certain, you want to use beets. Fresh is always best, however pre frozen can work too.
Example: Borscht Soup can be made vegetarian or not. Also it can have cabbage, red beans and potatoes in it or not.
Can be made VEGETARIAN, and the cabbage and beets can be shredded as with my original recipes > Ukrainian Borscht
Can also be made with sausage, chopped potatoes and kidney beans, see that recipe here >
Can be made with LARGE sliced Beets, see that recipe here > Creamy Beet Soup
And of course with it can be made with beef. As you will discover in this recipe here!!
Feel free to make a bone broth as the base for this soup, or simply use some pre made beef stock.
Typical bone broths take hours to prepare, however with this recipe we are skipping that and doing the long stovetop simmering part in the pressure cooker. So a quick version of bone broth!
Unless you would prefer to simmer the stock on the stovetop for 4 hours, which is another option. With the pressure cooker you can have the stock done in under 15 minutes, so i’ll leave the first and important step up to you.
Or you can be real lazy here and use a good quality pre made beef stock. This all depends on the time you have and what you prefer for your homemade borscht.
To make this soup that faster way, you will want to have a pressure cooker and at the very minimum a food processor, which will saves you a ton of time.
Otherwise you can use a grater to get the job done as well, but be prepared to put some extra work into it.
I much prefer using the food processor as I’m able to shred most of my vegetables up very finely as opposed to chunky. After all this is a soup not a stew, right? If your looking for a more chunkier borscht soup, you can have that as well.
After all it is all about preference.
With the beef if your using “stewing beef”, simply cut it up small enough to fit in a spoon. Sunflower oil is traditionally used also, so if you have some on hand I recommend using it.
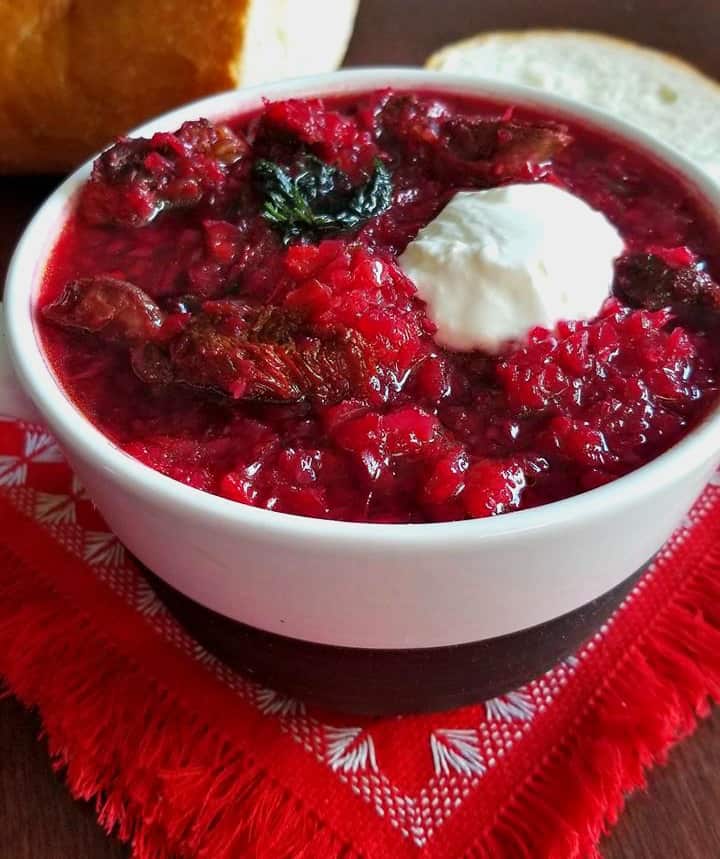
Serve alongside some crusty bread and a dollop of sour cream and some dill and you will be in borscht heaven!
BORSCHT HOW TO SERVE
Serve alongside some crusty bread and a dollop of sour cream if desired! Fresh dill also goes very well in the soup or on top of each bowl served.
WHO INVENTED BORSCHT
Some people think Borscht soup originated in Russia, however it’s actually from the Ukraine.When searching the web and cook books, you will find there are several ways to make borscht.
Did you know that consuming bone broth is actually good for you? Yes it’s true, bone broth has many healthy benefits such as join protection, gut health, skin, immune support and even helps to detoxifiesyou.
Traditionally borscht is made with beef stock and chunks of beef, and to get that bone broth beef shanks are simmered in water for most of the day. Which becomes the base for the soup, if you just want to use pre-made beef stock instead you can do that also if you like.
But don’t skip on the beef chunks/stewing beef, this is what makes the borscht beef broth after all. The bright red beets and bone broth carry so many health benefits, it’s no wonder I feel so great after eating this soup for a couple of days.
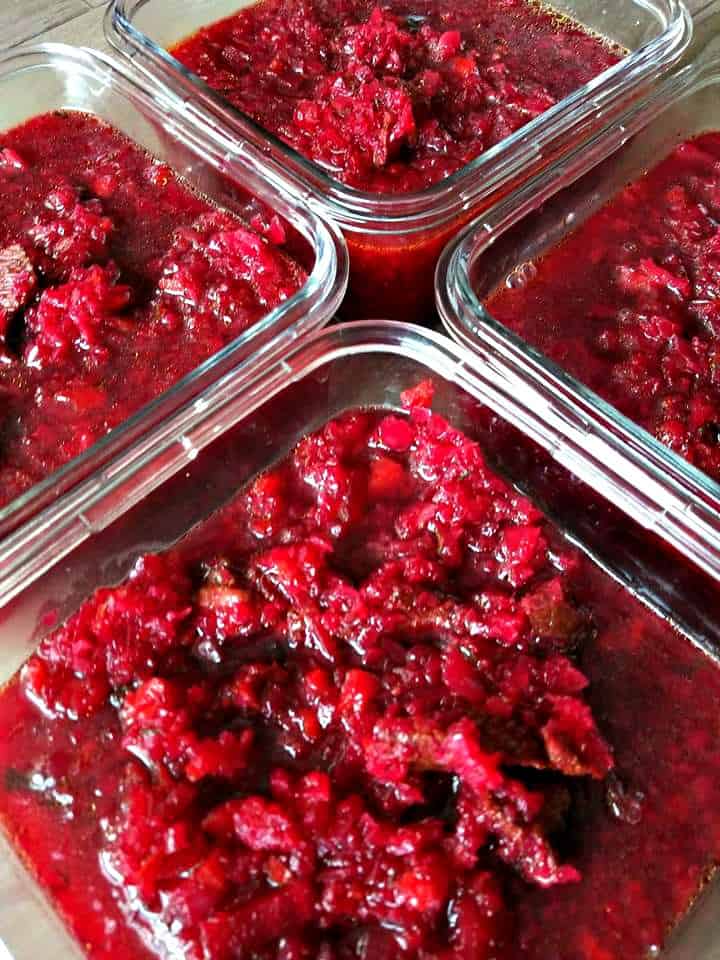
This recipe will make a large pot of soup, so if you have any any leftovers “which is highly unlikely” unless it’s just you. Then you can enjoy it over the next few days or freeze it as a meal prep option for another time if desired.
Plus the flavours in this soup develop and improve overnight, so don’t be afraid to make this large batch. There are plenty of ways to preparing borscht soup, and this is my favorite way to make the beef version.
Why? Well because one it’s simpler and two it takes less time to prepare that typical stove top borscht.
Notes: Keep in mind, as with all my recipes. If you want to make more or less of this soup, simple adjust the serving size in the ingredients section above and the servings will automatically adjust for you. And save yourself time and hassle, and let your food processor chop up your beets and cabbage up, also it gives a great consistency to the soup.
Looking for a Vegetarian Borscht recipe? Check out my other recipe here for Ukrainian Borscht
Create 4 or 5 meal preps for the week with the remaining soup
I am so thrilled you are reading one of my recipes, if you made this recipe i’d love to hear about it! Thank you very much for reading and until next time see ya in the kitchen. Don’t want to miss a recipe? Sign up for our NEWSLETTER delivered right to your inbox every Month
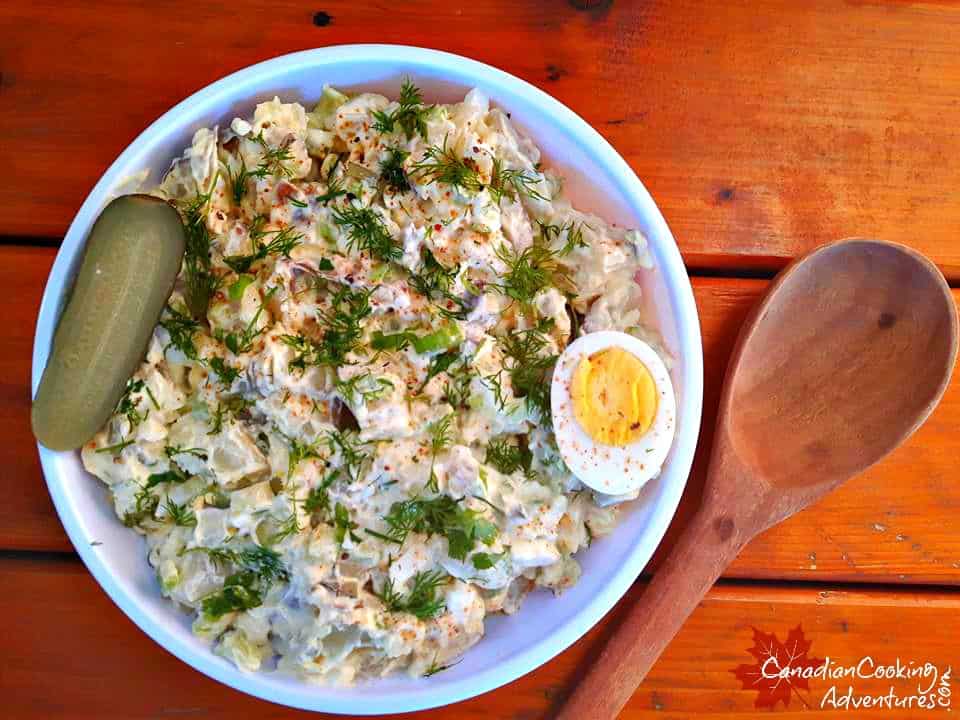
This Dill Pickle Potato Salad is made with garlicky dill pickles and it’s juices, egg, russet potatoes, mayonnaise, plain yogurt, dijon mustard and fresh dill.
Let me tell you, this recipe is a sure WINNER!
This salad can be thrown together in no time at all.
I brought this to a potluck recently and obviously did not make enough to feed the 10 people there.
It was gone in no time at all, so if you’re wanting to prepare this for a group of 10 or more double it up, it’s easy to do so anyway.
Wanting to serve a larger crowd? Simply double up the ingredients!
To make this vegetarian omit the mayo and eggs and use a vegetarian mayo.
Personally I like using Hellman’s mayo, it’s my favorite!
I am so thrilled you are reading one of my recipes, if you made this recipe i’d love to hear about it!Thank you very much for reading and until next time see ya in the kitchen. Don’t want to miss a recipe? Sign up for our NEWSLETTER delivered right to your inbox!