White Chocolate Macadamia Nut Cookies

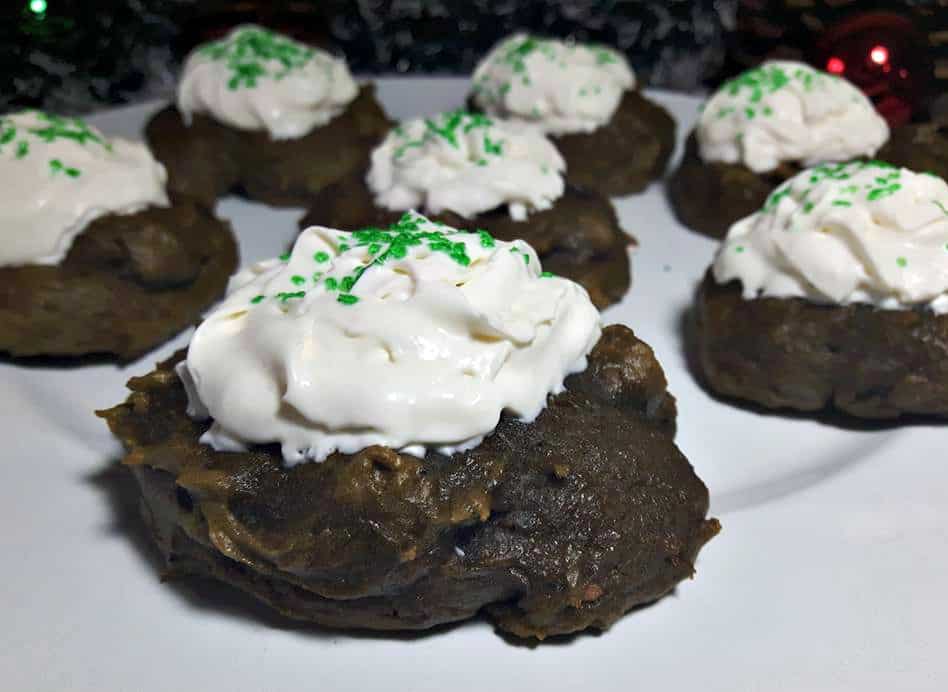
T’was the night before Christmas, when all through the house, not a creature was stirring, not even a mouse. And that’s because the mice know that these cookies are for Santa and his reindeer. 

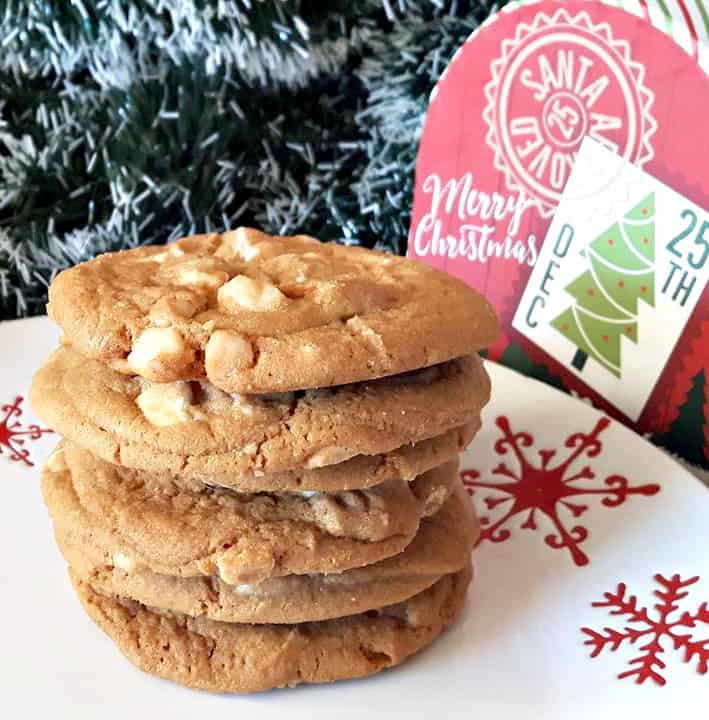
WHO INVENTED WHITE CHOCOLATE MACADAMIA NUT COOKIES

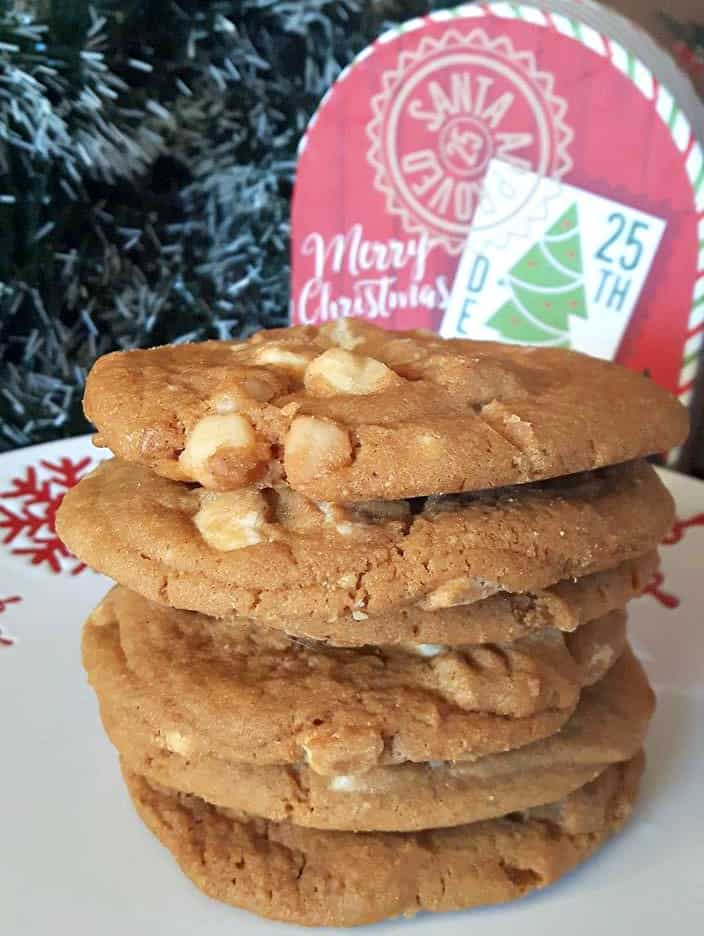
White chocolate chips were invented by Nestle in the 30’s, but macadamia nuts weren’t available to the public until 1975. Sometime after that these delicious flavors found each other, and history was made. 

I just love Macadamia Nuts and putting them in cookies is Amazing.

Plus these are Santa’s favorite cookies, so make sure save some for him too.

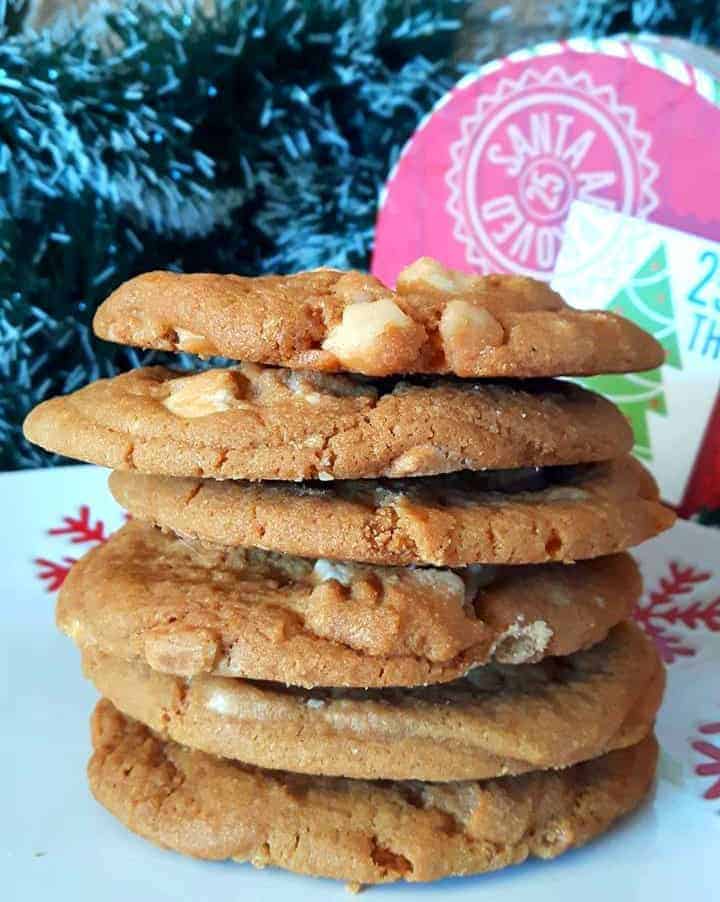
There are various recipes online that claim to be the best, I have tried a few. I have also tried a few from cookbooks and magazines that I have in my library.  I’ve come up with this recipe that makes the best large chewy cookies that everyone is sure to love.

CAN YOU FREEZE WHITE CHOCOLATE MACADAMIA NUT COOKIES

Yes, once you make the dough you can freeze in into small balls in the fridge for up to 3 months. Covered of course, then simply defrost them and smash them down before baking. 

HOW TO MAKE White Chocolate Macadamia Nut Cookies

The key is the ingredient ratio; along with using butter and shortening in the recipe. So be sure to follow this one to a tea and you will be sure to have the best cookies this time of year.

Christmas is just right around the corner, so I am getting my holiday baking done early this time. That way I have plenty of time to do all the other things that are at hand.

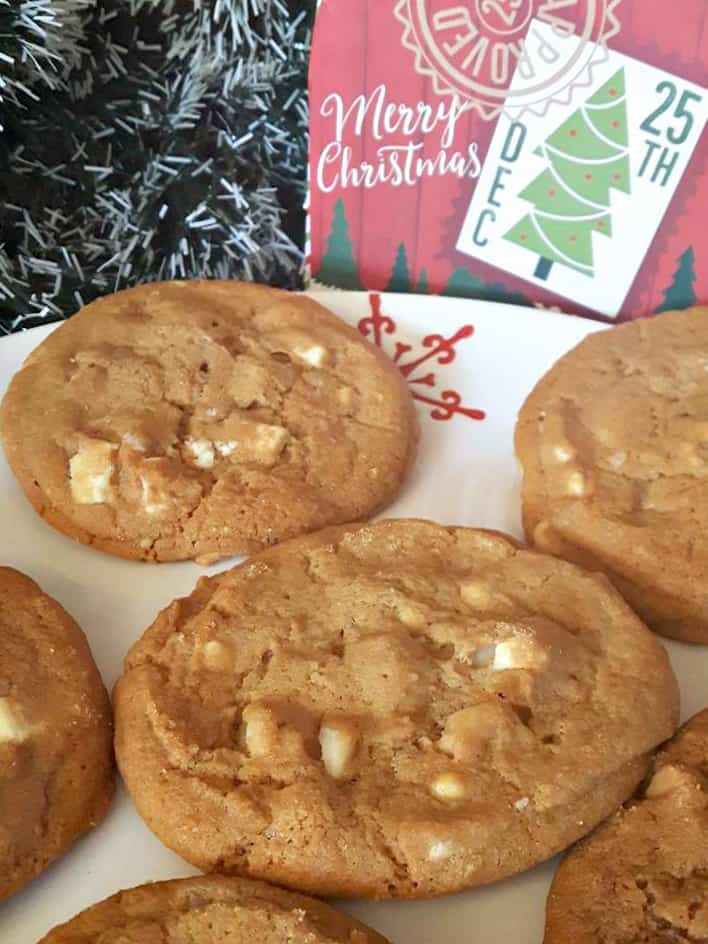
These cookies are simple to make and really go well with a cup of milk, rather rumor has it.

These White Chocolate Macadamia Nut Cookies are one of Santa’s favorite cookies.

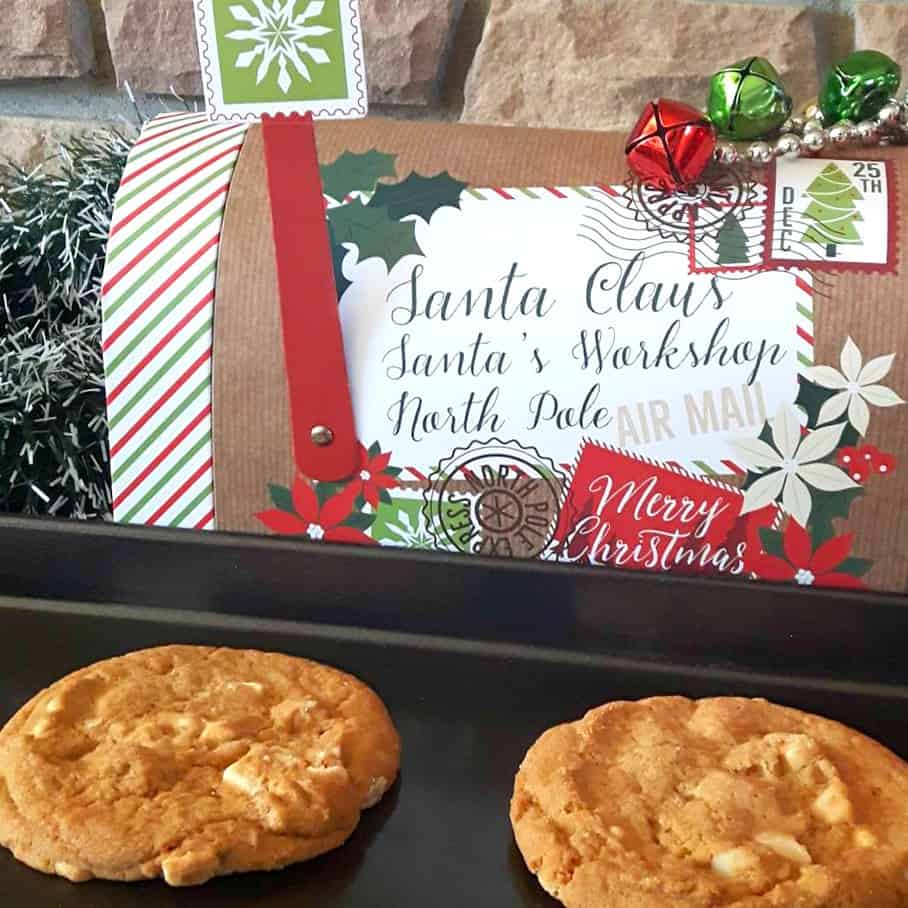
So if you leave them by the chimney this Christmas he may leave behind something extra special for the baker.

Wishing you and your’s a wonderful and very merry Christmas.

Super easy to make, you can have these done in under 30 minutes.

Notes: After cookies are completely cooled, place in airtight container or plastic freezer bag.  Keep the dough refrigerated if you are going to be making these in batches.

Don’t forget to leave them by the fireplace with a glass of milk for Santa. 

LOOKING FOR MORE CHRISTMAS DESSERTS?

I am so thrilled you are reading one of my recipes, if you made this, I want to see! Follow Canadian Cooking Adventures Instagram, snap a photo, and tag and hashtag it with @canadiancookingadventures and #canadiancookingadventures

Stay connected and follow along on FacebookPinterest, and Instagram for all of my latest recipes!

Elf Cookies

Merry Christmas and Happy Hanukkah! If you have not tried Elf Cookies you are in for a treat. 

Right about now, Santa is up in the North Pole working hard in his workshop to ensure all the good boys and girls receive their toys on time. 

These cookies are very similar to the cookies Mrs. Claus would serve the Elves in Santa’s workshop during the Christmas season.

Mrs. Claus is baking up the most delicious foods  that will help to sustain everyone during this busy time of year. Ever wonder how the elves get their energy? It’s by eating elf cookies of course.

Not only are these cookies super moist and tasty they’re also very healthy for you.

Packed full of  antioxidants, from the The Matcha powder which also known to enhance a calming effect because of the amino acid L-Theanine, which helps with the production of dopamine and serotonin. 

These two chemicals serve to enhance mood, improve memory, and promote better concentration something that can benefit everyone! This offers just the right amount of sustainable energy that helps to keep the elves going all night long. Serve with a light cream cheese topping, and some green sprinkles, just make sure you allow the cookies to fully cool down before hand. Otherwise the cream topping will melt and drip down the cookie.

We hope you enjoy them as much as we do.

Wishing you and yours a joyful, peaceful and warm, holiday season!


Serve them with a pre-made or homemade whipped cream frosting!


Super easy to make, you can have these done in under 30 minutes.

Notes: Make sure the cookies are completely cooled, before placing the whip cream topping on.


I am so thrilled you are reading one of my recipes, if you made this recipe i’d love to hear about it! Thank you very much for reading and until next time see ya in the kitchen. Don’t want to miss a recipe? Sign up for our NEWSLETTER delivered right to your inbox every Month!


Dill Pickle Potato Salad

This Dill Pickle Potato Salad is made with garlicky dill pickles and it’s juices, egg, russet potatoes, mayonnaise, plain yogurt, dijon mustard and fresh dill. 

Let me tell you, this recipe is a sure WINNER!

This salad can be thrown together in no time at all.

I brought this to a potluck recently and obviously did not make enough to feed the 10 people there.

It was gone in no time at all, so if you’re wanting to prepare this for a group of 10 or more double it up, it’s easy to do so anyway.

Wanting to serve a larger crowd? Simply double up the ingredients! 

To make this vegetarian omit the mayo and eggs and use a vegetarian mayo.

Personally I like using Hellman’s mayo, it’s my favorite!


I am so thrilled you are reading one of my recipes, if you made this recipe i’d love to hear about it!Thank you very much for reading and until next time see ya in the kitchen. Don’t want to miss a recipe? Sign up for our NEWSLETTER delivered right to your inbox!


Cheesy Egg and Zucchini Scramble

We like to eat good when we are camping, can you tell? But we don’t like to spend the whole time cooking and cleaning up, so we try to make it as simple as possible. 

This whole breakfast can be made in one non stick pan and should take you less than 30 minutes to make give or take. 

Packed with so much fiber and protein this meal will be sure to satisfy any hungry camper.

Who said camping food has to be bland? This is fine dining if you ask me, try it yourself on your next camping trip and you decided if it’s a keeper and don’t forget to serve with some bread.


Note: If you’re camping   in bear country, take appropriate precautions to keep your campsite as unattractive to bears as possible. To do this simply purchase and properly use a bear-proof garbage container or ensure all your garage is placed in a sealed bin in your vehicle or at a designated dump once your done cooking, this helps keep our wildlife safe and you as well.


I am so thrilled you are reading one of my recipes, if you made this recipe id love to hear about it! You can post a review, picture below or via Instagram and let me know how it turned out. And by doing so you will be automatically entered into our seasonal CONTEST to win one of our great prizes. Winner will be notified via email within a week after the contest closes. Thank you very much for reading and until next time see ya in the kitchen. Don’t want to miss a recipe? Sign up for our NEWSLETTER delivered right to your inbox!


PIN IT FOR LATER

Garden Tomato Pie

It’s that time of year, where our gardens are bursting with tomatoes. So why not make a tomato pie? I love tomatoes, don’t you? I also have a pre-made pie crust in the freezer, so I thought why not make this delicious pie and share it with my readers. You can make your pie crust of course, or just buy a pre-made one and have this on the dinner table in under 45 minutes. It’s great for breakfasts or dinner and you can add any kind of tomatoes you like. Looking for a more vegetarian type tomato pie, simply omit the eggs and add some sauté asparagus it will be just as good.  I hope you give it a try, I’d love to hear how you liked it in the comments below!!

What you will need:

To make the Garden Tomato Pie:

  1. In a mixing bowl, combine the cheeses, sour cream, eggs, chopped green onion, mayonnaise, and whisk together till blended.
  2. Next, on cutting board slice garden tomatoes, pat dry with a paper towl to remove excess moisture
  3. Season generously with salt, pepper, thyme, basil.
  4. Pre-heat oven to 425F.
  5. Sprinkle a little flour on the pie shell, to ensure the shell.
  6. Then pour your cheese mixture into the pie shell and then top with you garden tomatoes, drizzle a little olive oil on top and season lightly with salt and pepper.
  7. Bake for 30 minutes until crust has completely browned and the tomatoes have roasted.
  8. Serve immediately, enjoy!

Note: You can pre-cook some bacon and crumble it over the pie if desired.


I am so thrilled you are reading one of my recipes, if you made this recipe id love to hear about it! You can post a review, picture below or via Instagram and let me know how it turned out. And by doing so you will be automatically entered into our seasonal CONTEST to win one of our great prizes. Winner will be notified via email within a week after the contest closes. Thank you very much for reading and until next time see ya in the kitchen. Don’t want to miss a recipe? Sign up for our NEWSLETTER delivered right to your inbox every Month!