Peanut Butter Granola Bars No Bake

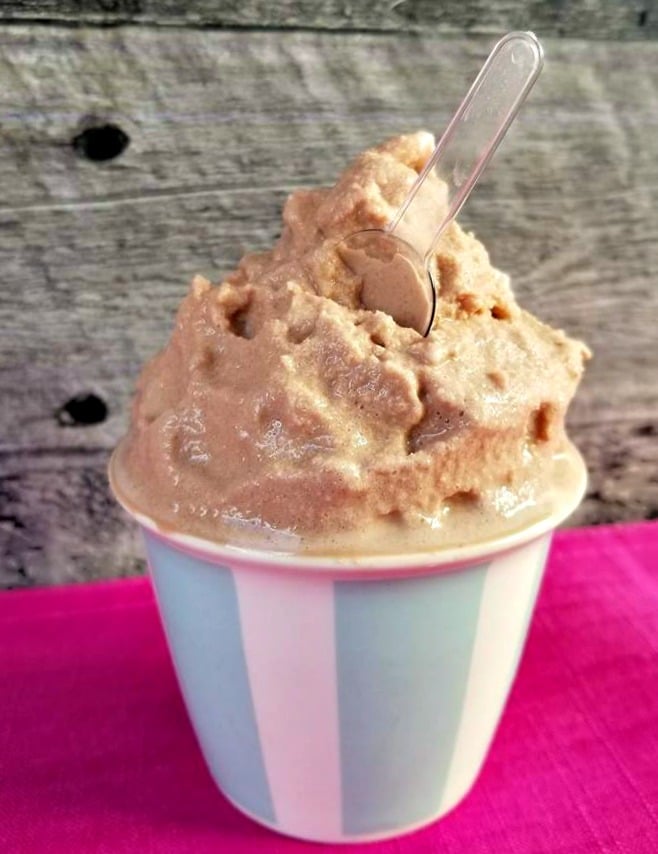
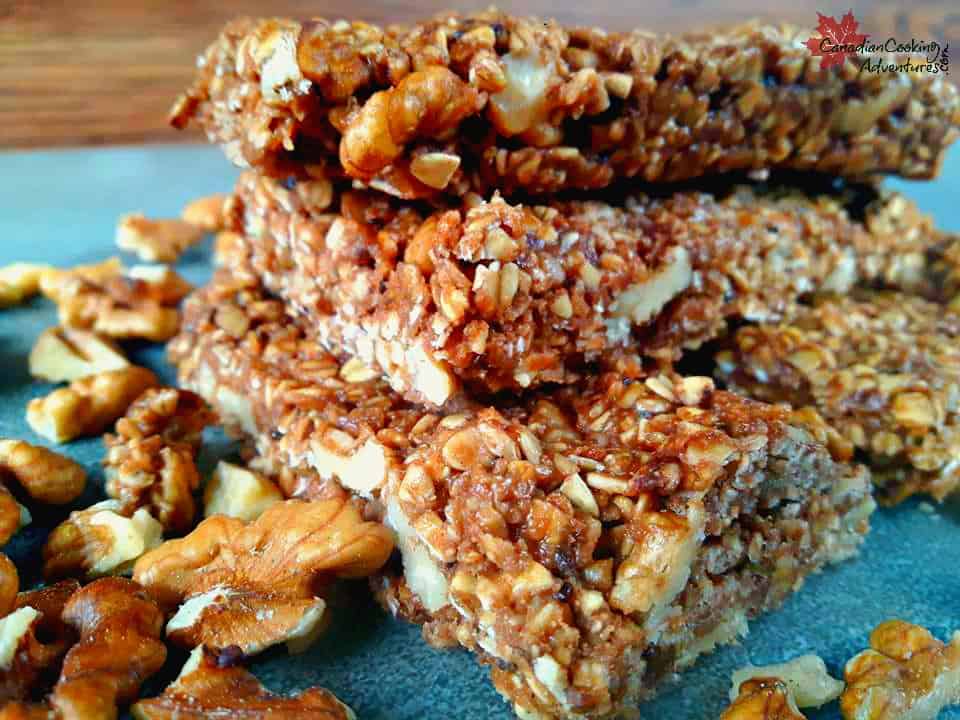
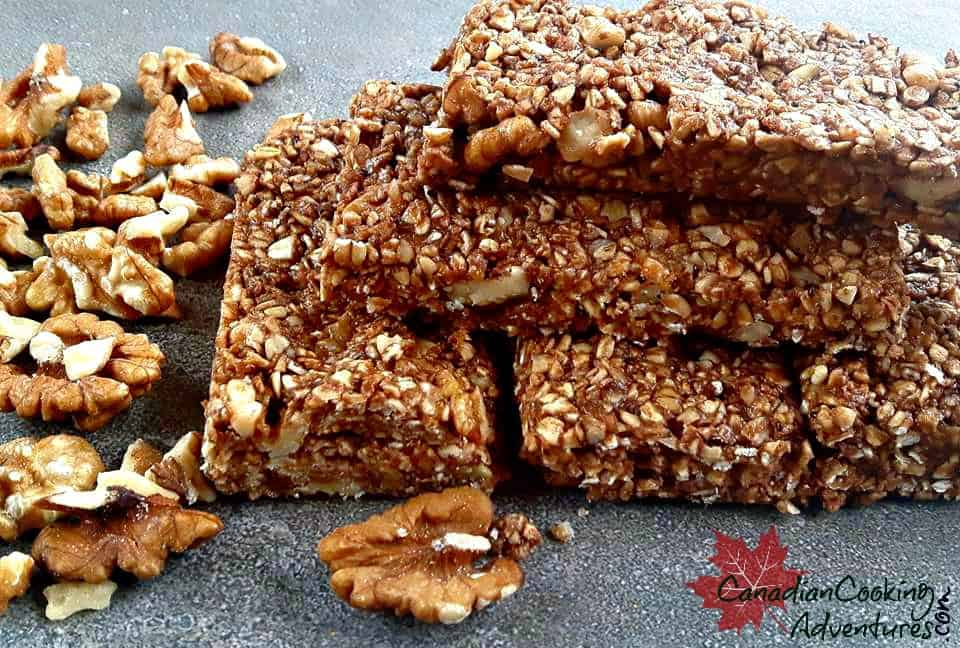
These Peanut Butter Granola Bars No Bake are chewy, not hard. And are absolutely easy to make and much healthier and better than any boxed kind. 

It took me a few attempts to figure out what makes them chewy vs hard, and I have come up with this recipe here.

There are plenty of pre-made granola bars on the market today and most contain a bunch of sugar and other fillers. 

There are some specialty made kinds, that can cost you upwards of $3 dollars a bar. 

But not these, they are healthy and are much less than a fraction of the cost than any store bought kind. 

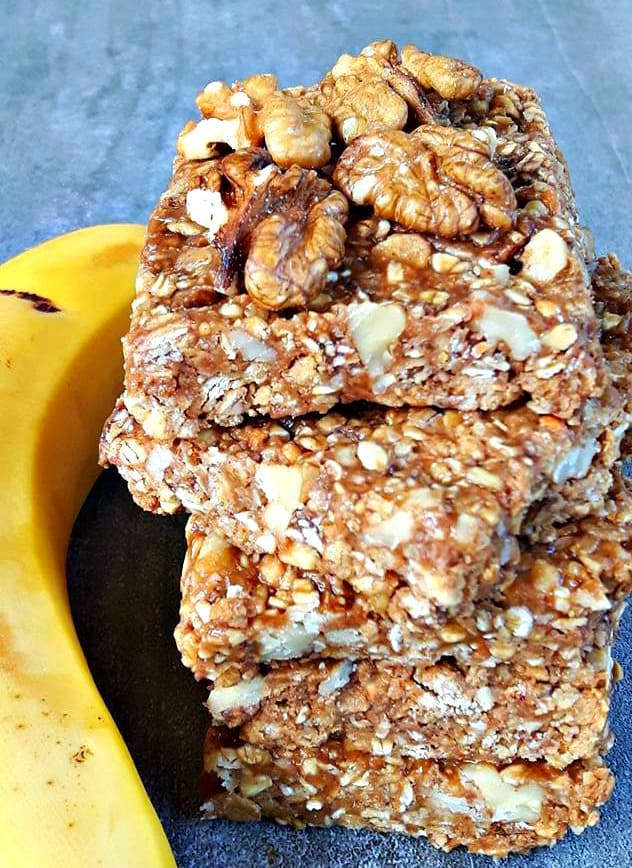
These no sugar bars can be made with just 5 ingredients and take less than 10 minutes to make. And stores well in any type of sealable container that keeps them fresh throughout the week. 

With just some good old ingredients of “oatmeal, honey, cocoa powder, walnuts and your favorite peanut butter brand. You two can start making your own granola bars at home.

T trust me they tasty much better than those box kind.

I like to use organic peanut butter with chia seeds in it, but the type you use is completely up to you.

Whipping these up on a lazy Sunday is best because you can have them stored in the fridge for an easy “Quick on the Go” type of breakfast or snack throughout the week. 

Notes: You can add any type of nut to these bars. Store covered in the fridge for up two a week.

I am so thrilled you are reading one of my recipes, if you made this recipe I’d love to hear about it! You can post a review/picture below or via Instagram and let me know how it turned out. Don’t want to miss a recipe? Sign up for our NEWSLETTER delivered right to your inbox!

Chocolate Frosty Recipe

This Super delicious Chocolate Frosty Recipe is much more healthier to make at home then to order from your fast food restaurant!

Plus it is super simple to make as it only contains 4 ingredients.

I admit I used to go through the drive through in the summer and wait in those long line ups.

Idling my car and feeling bad for that, just because I want the cooling taste of a creamy frosty. 

However that was years ago, I now make my frosties at home.

I have experimented over the years with the different ways to make homemade frostys.

And have come up with the best recipe for making the most creamiest and coolest frosties around. 

Summer is right around the corner and I wanted to share with you all my BEST recipe for making a delicious frosty’s at home.

In hopes to save you from those long lineups at the drive thru and hopefully your healthy some too.

Since these frosties contain all natural ingredients vs some of those unmentionable ones you do find in the restaurant kinds.

You can really feel good about making and serving these to your family and friends on those hot summer days! 

A frosty is basically like Chocolate ice cream, made in a similar way.

However the trick is to make it with very cold ingredients and to only let it sit in the freezer there after for a minimum of 15 minutes.

You do not want it to freeze otherwise it will be more like a ice cream!!

This recipe will make 2 medium sized frosties, however if your wanting to serve more people, simple double to recipe with my easy to use recipe adjuster above. 

When making frostys at home, your expected to enjoy them shortly after. Because this is not ice-cream and itt does not need freezing at all.

A frosty literally can be made and enjoyed in less than 30 minutes from start to finish!

Just be sure to follow the directions I have listed below and you will be on your way to Chocolate frosty heaven! 

Like this recipe? Try my “Chocolate Banana Frosty ” or my “Strawberry Chocolate Strawberry Frosty” it is very similar to this with a fruit flare. 


DID YOU MAKE THIS RECIPE?

If you make this recipe, I would love to hear about it! You can leave a 5 star review in the comments below! Thank you very much for reading and until next time see ya in the kitchen. Don’t want to miss a recipe? Sign up for our NEWSLETTER delivered right to your inbox!

Cherry Tiramisu

This Super delicious and decadent Cherry Tiramisu is a cross between Black Forest Cake and Tiramisu! And is super simple to make, I kid you not!

It is said the origin of tiramisu goes back to the 1960s in the region of Veneto, Italy.  Tiramisu has several meanings such as “pick me up”, “cheer me up” or “lift me up”.

And is coffee-flavoured Italian dessert.

That is made with espresso or strong roast coffee and mascarpone cheese, and cocoa among a few other key ingredients.

My recipe here uses espresso, vanilla extract, mascarpone cheese, cocoa and whipped cream vs raw eggs.

Be ready to have your socks knocked off with this one 🙂

Just be sure to follow the directions I have listed below and you will be on your way to Tiramisu heaven! 

You may be thinking, can it really be made without the eggs?

Doesn’t traditional Tiramisu have raw eggs in it? And my answer to that is “Yes” and “No”.

Some traditional Tiramisu recipes that hail from Italy will ask you to put raw egg whites in the Tiramisu.

However not all Italians do that, just look at Laura Vitale recipe which this recipe was inspired by.

She is Italian and does not agree with putting raw eggs in her recipe either.

The reason some do that is one because it’s tradition and two it also creates a light and fluffiness to the cake.

With mine, we are substituting those raw eggs for fresh whipped cream which helps to maintain that light fluffy texture. And is much better if you ask me! 

See this whole sheet cake above? Between me Jason and my girlfriend had it polished off in two days.

It is that good guys!! The whole darn thing was gone in less than 48 hours 🙁 and I was so sad.

Also if you have kids in the house or don’t drink alcohol you can omit the rum.

You can make the Tiramisu more on the sweet side like most cakes or follow the traditional Tiramisu style that has more of a liquor espresso taste, which I must prefer.

Plus the cherries have enough sugar in them already so adding heapings of extra sugar is not necessary.

I used fresh sweet cherries for this filling and cooked them down with a little cornstarch and water.

You can use fresh or frozen cherries just make sure there the sweet ones otherwise you will want to add some sugar as well.

And if you want to skip the stovetop cooking method, by using a cherry pie filling instead. Just keep in mind most of those are filled with sugar so your Tiramisu will be allot sweeter than mine. If prepare it from scratch it tastes much better if you ask em.

Tiramisu has always tasted best the next day, so if you cannot wait the 24 hours. Allow it to sit in the fridge for at least 6 prior to serving.

Also feel free to replace the cherries with raspberries if you’d like, they go really well with the Tiramisu flavors as well.


I am so thrilled you are reading one of my recipes, I appreciate every single one of you! Thank you very much for reading and until next time see ya in the kitchen. Don’t want to miss a recipe? Sign up for our NEWSLETTER delivered right to your inbox!


Red Velvet Ice Cream

Are you as BIG of a Red Velvet Fan as me? Well then, you’re in for treat! I’m finally ready to share my family’s favorite recipe for Red Velvet ICE CREAM!! 

You cannot find this in stores guys, it only can be made in your kitchen. And your going to want to keep it under wraps, because it will be gone in no time.

Anyone who has ever tasted this ice cream has gone nuts. And rightfully so, it’s the BEST Red Velvet ice cream out there. And I’m so proud to say that I have come up with it. 

Because ice cream machines vary between 1 and 2 quarts capacity, I have create this recipe for my 2 quart machine. If your wanting only 1 quart of ice cream, just simply DIVIDE the recipe in half or use a 1 quart machine. 

The machine I used is listed below in my amazon picks, it’s the best. If you end up giving it a try I would love to know what you think, let me know in the comments below. 

If you’re having a gathering and would like to serve this to your guests, then why not bake an extra “Red Velvet Cake”. Serve each guest with one slice of cake and one scoop of ice cream. Makes about fourteen ½-cup servings.

I am so thrilled you are reading one of my recipes, if you made this recipe i’d love to hear about it! You can post a review/picture below or via Instagram and let me know how it turned out. Don’t want to miss a recipe? Sign up for our NEWSLETTER delivered right to your inbox!


Chocolate Chunk Nut Banana Bread

I have been told on numerous occasions that my Chocolate Chunk Nut Banana bread is Amazing. I will let you be the decider on that though!

This bread is kind of like eating a cake and a cookie all at once, but way more healthier than a cake or cookie.

Because are omitting the oil and using 3 ripe Bananas (the riper the better) + Macadamia & Walnut pieces that makes this a very nutritious and satisfying snack.

Soft and Moist on the inside, and slightly crunchy on the outside. This is the stuff dreams are made of if you ask me 🙂 I hope you give it a try!

Note: You can substitute chopped pecans, hazelnuts or almonds if you prefer.


I am so thrilled you are reading one of my recipes, if you made this recipe i’d love to hear about it! You can post a review/picture below or tag us on social media at #canadiancookingadventures and let me know how it turned out. And by doing so you will be automatically entered into our seasonal CONTEST to win one of our great prizes. Winner will be notified via email within a week after the contest closes. Thank you very much for reading and until next time see ya in the kitchen. Don’t want to miss a recipe? Sign up for our NEWSLETTER delivered right to your inbox!

PIN IT FOR LATER


Simple Walnut Granola Bars (No Bake)

So many granola bars types out there today on the market, MOST contain a bunch of sugar and OTHER fillers. And are no where as good for you as these homemade! I have tried a few recipes throughout the years,  trying to prefect the best bar. Not to CHEWY but not to HARD and I found for this TYPE of recipe simple is Best. These no sugar bars can be made with just 5 ingredients, cost half of what the store bought variety would and take less than 10 minutes to prepare.  With just some good old ingredients of “Oatmeal, Honey, Coca powder, Walnuts and your favorite Peanut butter variety, you to can enjoy homemade Granola bars too. I like to use Organic peanut butter with chia seeds in it, its less sweet than regular peanut butter, but the type you use is completely up to you but its best to use one without  all the added oils & sugar.  Whipping these up on a lazy Sunday is best BECAUSE you can store them covered in the fridge for an easy Quick on the Go breakfast throughout the week. Or if your heading into the great outdoors these can be excellent for that kind of adventure. Me and Jason, tend to eat one a day and so they go by end week!

Kitchen Essentials:

To make the Walnut Granola Bars:

  1. make the Walnut Granola Bars:
    1. In a large bowl add in your honey and peanut butter mix till creamy.
    2. In a small bowl mash half the banana and pour that into your peanut butter and honey mixture.
    3. Then add in your oats, coca powder and walnuts and mix till everything is combined.
    4. Press the granola bar mixture into a medium sized pan lined with tinfoil and press it till its flat and compact.
    5. Put in the fridge for a min of 1 hour and then cut into bars before serving.

Additions: Chia seeds, Flax Seeds, Dried fruit, Chocolate chips, any kind of nuts, etc

Note: Store covered in the fridge for up two a week or pack some outdoor adventure.


I am so thrilled you are reading one of my recipes, if you made this recipe id love to hear about it! You can post a review, picture below or via Instagram and let me know how it turned out. And by doing so you will be automatically entered into our seasonal CONTEST to win one of our great prizes. Winner will be notified via email within a week after the contest closes. Thank you very much for reading and until next time see ya in the kitchen. Don’t want to miss a recipe? Sign up for our NEWSLETTER delivered right to your inbox every Month!