Elf Cookies

Merry Christmas and Happy Hanukkah! If you have not tried Elf Cookies you are in for a treat. 

Right about now, Santa is up in the North Pole working hard in his workshop to ensure all the good boys and girls receive their toys on time. 

These cookies are very similar to the cookies Mrs. Claus would serve the Elves in Santa’s workshop during the Christmas season.

Mrs. Claus is baking up the most delicious foods  that will help to sustain everyone during this busy time of year. Ever wonder how the elves get their energy? It’s by eating elf cookies of course.

Not only are these cookies super moist and tasty they’re also very healthy for you.

Packed full of  antioxidants, from the The Matcha powder which also known to enhance a calming effect because of the amino acid L-Theanine, which helps with the production of dopamine and serotonin. 

These two chemicals serve to enhance mood, improve memory, and promote better concentration something that can benefit everyone! This offers just the right amount of sustainable energy that helps to keep the elves going all night long. Serve with a light cream cheese topping, and some green sprinkles, just make sure you allow the cookies to fully cool down before hand. Otherwise the cream topping will melt and drip down the cookie.

We hope you enjoy them as much as we do.

Wishing you and yours a joyful, peaceful and warm, holiday season!


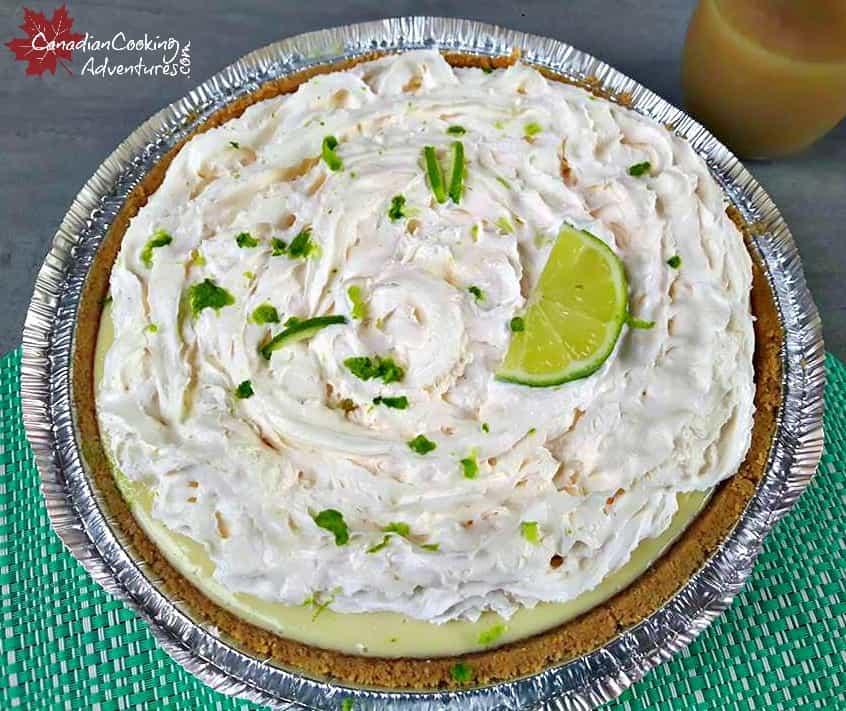
Serve them with a pre-made or homemade whipped cream frosting!


Super easy to make, you can have these done in under 30 minutes.

Notes: Make sure the cookies are completely cooled, before placing the whip cream topping on.


I am so thrilled you are reading one of my recipes, if you made this recipe i’d love to hear about it! Thank you very much for reading and until next time see ya in the kitchen. Don’t want to miss a recipe? Sign up for our NEWSLETTER delivered right to your inbox every Month!


Original Eggnog Recipe

Try My Original Eggnog Recipe and you will never want to go back to store bought again.  

Sometimes it’s the simplest things that can put us in the holiday spirit. And for me it is making this EGGNOG from scratch at home. 

For me sitting by the fireplace at nights with a cold glass of eggnog is that time, where I let everything slow down and allow myself to be grateful for the year soon to pass and hope for joy in the year to come

Whatever it is you do to recreate the warmth and magic of Christmas season, I truly hope you get that moment of peace on earth. hope it works for you.

WHY EGGNOG AT CHRISTMAS

Eggnog is believed to have descended from a drink called a “posset,” which consisted of hot curdled milk with the addition of added spices. Which became very popular around the Christmas holidays in England where it warmed the souls and hearts of many.

WHERE EGGNOG ORIGINATE FROM

Old England!

I have never been much of a store-bought eggnog fan because I find it’s to thick and sugary, not to mention not near as good as the homemade stuff!

I much prefer good old home cooking around the holidays.

And I think most people feel the same, because homemade is just that much better right? 

Well the same goes for eggnog, so I’m sharing my all time favorite recipe for a homemade eggnog that is not to thick or sugary and spiced oh so perfectly to warm anyone’s soul.

This nog only contains 5 egg yolks and 1/3 cup of sugar, so if you’re wanting a lighter eggnog just omit the cream for whole milk and se less egg yolks. 

Looking online for the perfect eggnog recipe, may leave you confused. Wondering, should I make my eggnog with raw or cooked eggs?

Well I don’t know about you, but I don’t like the thought of drinking raw eggs, so for me that is not an option, yuck!!

So if you are debating whether or not to make this recipe or someone else’s recipe that may call for raw eggs, I plead with you please don’t!

Raw eggs can be very dangerous since some carry salmonella, so cooking this eggnog ensures you are safe, plus it tastes sooo much better.

I usually overindulged in the stuff in the evenings, but it’s Christmas and it’s allowed right? Wishing you and yours very happy and safe holiday season.

The meringue gives it that foamy effect

The eggnog poured into a pretty purple/clear cup. 

CAN EGGNOG GO BAD

Yes, homemade eggnog should be enjoyed within 2 to 3 days of making it. However, honestly it does not last more than a few hours in my house. And if your house has more than 2 people in it. I’m sure it will be the same story! 


Note: Make sure you are cooking all the egg as specified in the steps above to ensure you are not 1 in 200,000 people who contact salmonella annual from raw eggs. Also you can add some Captain Morgan’s Spiced Rum to this nog once it’s cooked for a boozy drink.


I am so thrilled you are reading one of my recipes, if you made this recipe i’d love to hear about it! Thank you very much for reading and until next time see ya in the kitchen. Don’t want to miss a recipe? Sign up for our NEWSLETTER delivered right to your inbox!

Red Thai Curry with Chicken, Spinach, Peppers and Mushrooms

I just love Thai food as you may know and try to eat it as much as possible. It’s not only super easy to make it’s also very healthy for you.

So don’t let the unknown ingredients in  this recipe scare you, because Red Thai Curry is not hard to make at all.

The nice thing about cooking Thai food is that once you prepare, you will then have all the necessary ingredients and know how to prepare it again.

Before you know it you will be a TOP CHEF in your kitchen, cooking Thai dishes like a Pro. So you have two options when preparing this dish, either you can make it from scratch, with the traditional “Kaffir lime leaves”, Lemongrass”, and “Galangal” among other Thai spices that would be prepared and then crush in a mortar for about 20 minutes.

Or you can buy the premade “Red Thai Curry Paste” which has all this in the paste and is much easier. Red Thai curry paste can be found in your international aisle at your local grocery (see picture) below of what we use. The combination of chicken, spinach, red peppers and mushrooms makes for a tasty curry. I hope you give it a try because it’s just as good if not better than what you would find served in your favorite thai restaurant. 


Keep in mind a good coconut milk will be half solid a half watery. One that is all watery does not work as well for this dish, typically organic varieties have the best products.

*Optional ~ for extra heat add 1/2 a Bird’s eye chili to step 6.

Notes: 

  • Keep in mind a good coconut milk, will be half solid a half watery. One that is all watery does not work as well for this dish, typically organic varieties have the best products.
  • “Lemongrass”, “Galangal” and “Kaffir lime leaves” can be found in most Asian stores. “Thai RED Curry Paste” can be found in most Supermarkets, Thai RED Curry paste has all the above ingredients in it needed to make this dish.
  • Add in the lime last, you do not want to cook the lime because it will ruin the flavor.
  • Do not eat the “Lemongrass”, “Galangal” and “Kaffir lime leaves” there just for flavoring, if you’re going to use these for added flavor, make sure to bruise each item before adding to the pot.
  • Want more heat, simply add in some Thai Bird’s eye chilies or Thai Chili Paste. Caution when preparing Bird’s Eye Chilies, these chilies are very hot and can burn the eyes so proceed with caution.


I’m thrilled you are reading one of my recipes, if you made this recipe id love to hear about it! You can post a review, picture below or via Instagram and by doing so you will be automatically entered into our seasonal CONTEST to win one of our great prizes. Winner will be notified via email within a week after the contest closes. Thank you and until next time see ya in the kitchen. Don’t want to miss a recipe? Sign up for our NEWSLETTER delivered right to your inbox!

PIN IT FOR LATER

Easy Key Lime Pie

This Easy Key Lime Pie contains only 4 ingredients and no eggs.  

If you have never tried this delicious pie that hails from Sunny Seaside Florida, then you are in for a treat! It’s super fresh tasting, tangy and sweet.

And if you knew it was this easy to make, I’m certain you would be making it more often.

This is one of my favorite pies, next to some other berries kinds.

And with only 4 ingredients such as sweetened condensed milk, sour cream, key lime juice, and whip cream. This pie is easy to make.

And takes less than 30 minutes from start to finish! 

HOW TO MAKE KEY LIME PIE

  • Some people like to add 2 cans of condensed milk, so if you prefer you can do that too.
  • Personally I prefer it made with one can because it gives more of that tangy taste that I love.
  • Plus if you add 2 cans, you will find it makes to much filling.
  • So if you decide to do so, be prepared for some extra filling on the side. Which I guess isn’t so bad right? 

This is my favorite KEY LIME JUICE!

For my all time favorite pie recipe!

Key Lime Pie is always best the next day, so allow it to sit in the fridge overnight for the best flavor.

When your read to serve, add your whipped cream on-top otherwise it will melt all over the place.

LOVE KEY LIME PIE? Then you will want to try my other recipe below!


I am so thrilled you are reading one of my recipes, if you made this recipe i’d love to hear about it! Thank you very much for reading and until next time see ya in the kitchen. Don’t want to miss a recipe? Sign up for our NEWSLETTER delivered right to your inbox!

Rhubarb & Strawberry Cheesecake Frozen Yogurt

Hello Summer Fresh Rhubarb, i have been waiting all year for you. The trick to making the perfect Rhubarb and Strawberry Frozen Yogurt is to puree your Rhubarb. This is done by cooking down the Rhubarb in a saucepan with a little water and sugar till tender and then you simply mash it with a fork and or blend in a food processor if its stringy. And don’t forget, this freezes a lot quicker than store-bought frozen yogurt. Because it contains no extra fillers, so if your going to freeze overnight you can add in some corn starch or vodka to make scooping easier. Also, if you want more tart frozen yogurt, feel free to decrease the sugar in step 3!” 

What you will need:

To make the Rhubarb and Strawberry Frozen Yogurt:

  1. In a saucepan add in your cubed Rhubarb, with 3tbsp of sugar. Cook on medium/high heat for 15 minutes or until fork tender, and mash. If you find it easier you can transfer it to your food processor to puree to a smoother consistency once its been cooked down.
  2. Once your Rhubarb is done transfer it to the fridge for 2 hours to cool.
  3. Next lets make the Yogurt, if your yogurt if its not GREEK, you will need to strain the water out. If its GREEK omit this step. “In a strainer lined with 2 coffee filters allow your plain yogurt to strain by placing it in the fridge for 2 hours, you should get about 1/2 cup of water and discard of that.
  4. Now, lets prepare that delicious cream cheese mixture. In a food processor add your cream cheese icing, and powdered sugar. MAKE sure your food processor is cleaned out because you will be pulsing your strawberries in it next. Once the cream cheese is smooth “light and fluffy”, set aside on the counter so it reaches room temperature.
  5. Now in the same food processor, chop up 3 cups of frozen strawberries and then whisk them into your Greek yogurt. Then add in your rhubarb, condensed milk, milk, vanilla extract, maple syrup, and red food coloring and whisk till everything is combined.
  6. Now, pour your yogurt mixture into your “frozen ice cream maker” and process for 20 minutes or according to manufacturer’s instructions.
  7. Now comes the fun part, grab a large plastic container will a lid (you will be using this to freeze your frozen yogurt in) after letting it sit for 20 minutes in the (Cuisinart machine to make it easier to remove) you then can start by pouring half your “Rhubarb & Strawberry mixture” in your container and then add in all of your room temperature cream cheese icing (To fill the middle of the container). Top with the remaining “Rhubarb & Strawberry mixture”. You also can mix the cream cheese directly into the ice cream if you desire, it will just look different then the picture.
  8. You can eat it soft as is or put in the freezer to allow it to freeze more for about 2 hours before serving
  9. Before scooping, remove from the freezer for about 10 minutes to scoop.

Note: This can store in the freezer up to one month.

I am so thrilled you are reading one of my recipes, if you made this recipe id love to hear about it! You can post a review, picture below or via Instagram and let me know how it turned out. And by doing so you will be automatically entered into our seasonal CONTEST to win one of our great prizes. Winner will be notified via email within a week after the contest closes. Thank you very much for reading and until next time see ya in the kitchen. Don’t want to miss a recipe? Sign up for our NEWSLETTER delivered right to your inbox every Month!