
In our house we have a weeknight tradition and that is making pizza. There’s something wonderful about making pizza at home, its personal and fun.


Believe it or not, there once was a day where people did not have stand up mixers and they used their HANDS to knead pizza dough. YES it’s true, and here is my all time favorite recipe for handmade pizza dough which rises perfectly every time.
There are two methods to having this crust, you can make it thick or thin and I’ll teach you both methods below.
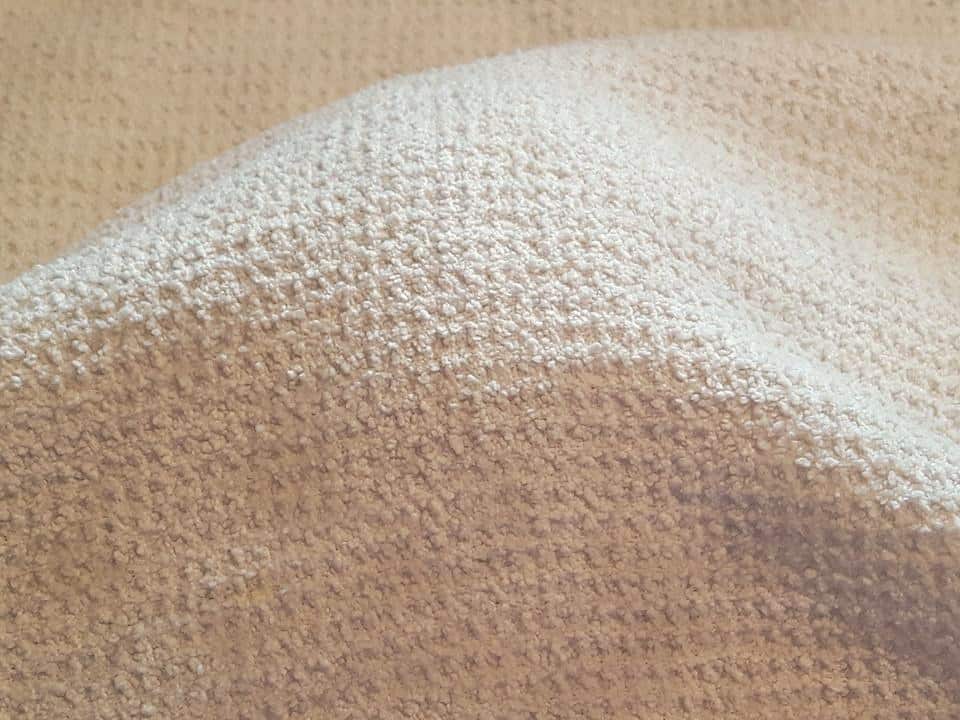
Cover the dough for 60 minutes and allowing it to rise!
It took me some time to perfect this dough, so this recipe comes from lots and lots of trial and error. I learned that pizza dough is best made with “BREAD FLOUR” because bread flour has a higher protein content compared to all purpose flour.
So when it’s combined with water the protein forms gluten in the dough which makes it lighter. Also it’s very important to have fresh yeast, so if it doesn’t foam/bubble roughly 15 minutes after its mixed with the warm water, then it most likely not good.
Once the dough has risen you have two options for shaping the crust. You can use a rolling pin to flatten it out or you can lift it and stretch it out like they do in the pro pizza shops allowing gravity to do the work. The method is completely up to you.
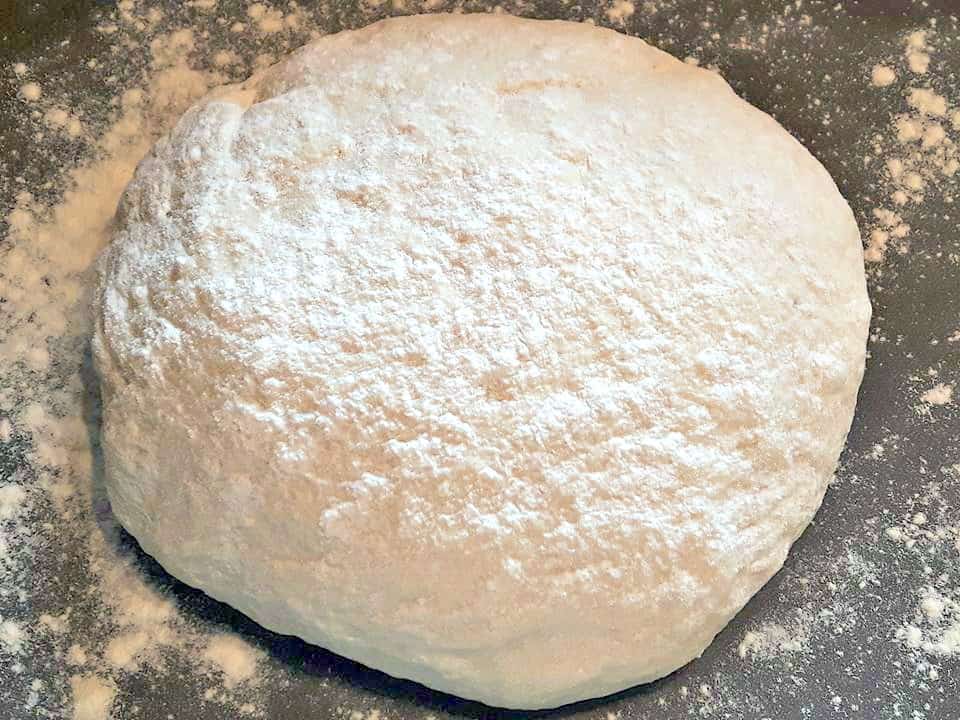
It has RISEN 🙂
Note: Prior to baking make sure to brush the edges with a little olive oil, this will make the edges more Golden. Also make sure the water is warm, using cold with make the yeast inactive and to hot will ruin it. Cook the pizza on a pan to ensure even cooking, if you don’t have a pan place your pizza on the bottom rack. You can use a stand up mixer if you would like, just add all the ingredients into the mixture then pour your yeast/warm water over top.
Freezing: If you are doubling the recipe to freeze some dough for another time, just make sure you are planning to use within one month otherwise its not as good. Start by placing each pizza dough ball once its has risen, into a plastic ziplock freezer bag. Then place onto a flat metal sheet into the freezer allow it to freeze solid. ONCE frozen you can remove the sheet and let it freeze till your ready to use. Defrost on the shelf before using the next time.
I am so thrilled you are reading one of my recipes, if you made this recipe i’d love to hear about it! You can post a review/picture below or via Instagram and let me know how it turned out. And by doing so you will be automatically entered into our seasonal CONTEST to win one of our great prizes. Winner will be notified via email within a week after the contest closes. Thank you very much for reading and until next time see ya in the kitchen. Don’t want to miss a recipe? Sign up for our NEWSLETTER delivered right to your inbox!


PIN IT FOR LATER

